
The Homemade Sauerkraut Project – It’s a Success! (Seriously, that Kraut is amazing!)
Ever since I did my first Whole30® a little over 6 months ago, I’ve heard so many great things about sauerkraut that I felt I really needed to incorporate it into my regular diet.
As luck would have it, I happen to love sauerkraut.
Not quite so lucky, though, was the realization that good sauerkraut is very hard to come across. And very expensive, too!
Most of the commercial stuff that’s available at the grocery store is loaded with all sorts of nasties, and more often than not, commercial sauerkraut is generally pasteurized and then packaged in a brine of extremely salty water. This kind of sauerkraut has none of the beneficial probiotics or enzymes of homemade sauerkraut.
Gah!
There was only one thing left to do: I had to learn how to make my own.
So I read, and read, and read some more on the subject, until finally, I felt ready and comfortable enough to start my very first batch.
Of course, I took notes and pictures to share my experience with you.
Here’s how it went.
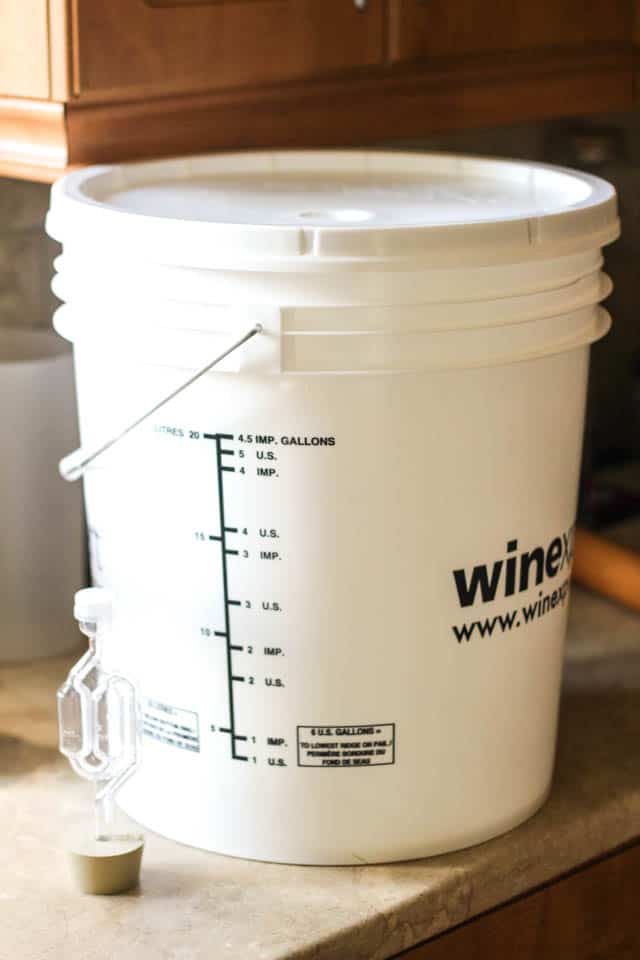
First, I went out and bought me what’s known as a Primary Fermenter. You know, one of those buckets that’s used to brew wine and/or beer at home.
Only I would put mine to much better use!
This beautiful food grade, 6 gallon bucket released my wallet of $40.
Not bad, considering all the batches of sauerkraut it’ll hold and ferment for me in its lifetime.
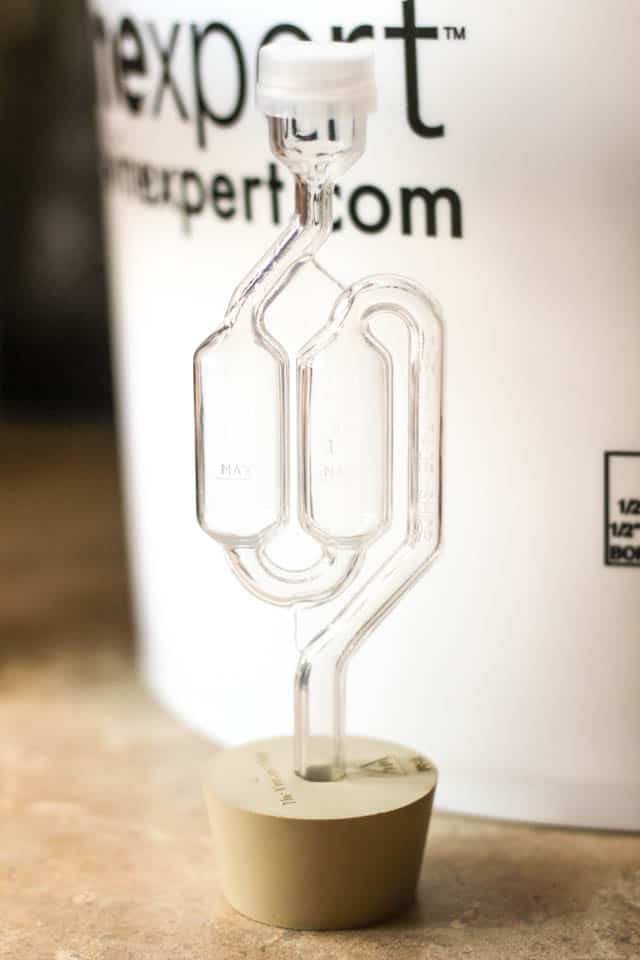
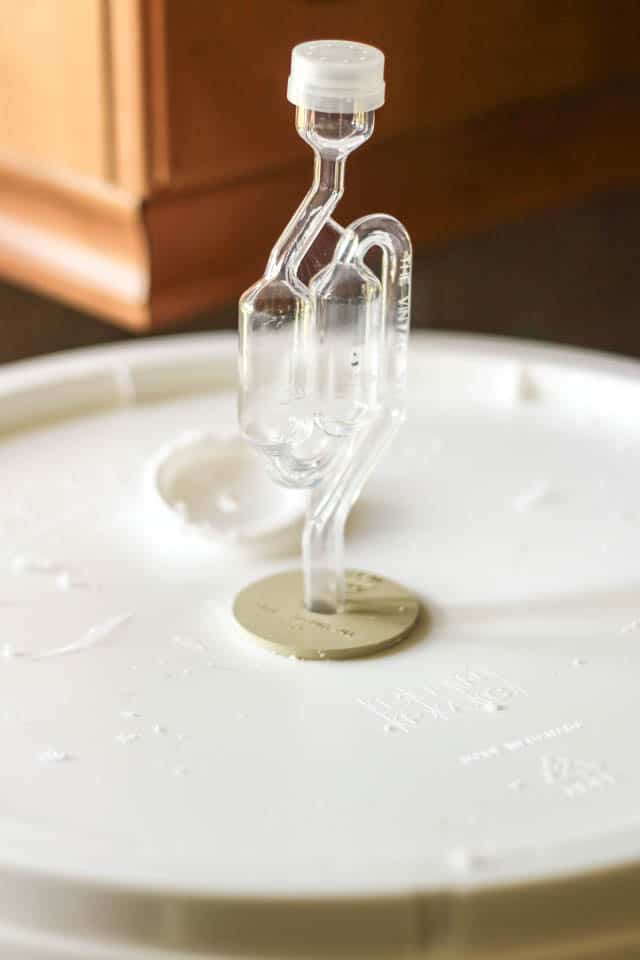
While I was at the Home Brewers Supply store, I also got me what’s called an Airlock, or Fermentation Lock.
This neat little contraption allows carbon dioxide to escape the fermenter but won’t allow air to get in, which prevents oxidation, or rot.
This nifty little gadget cost me an extra $5. Worth every single penny, if you ask me!
Now for the “ahem” handy and technical part…
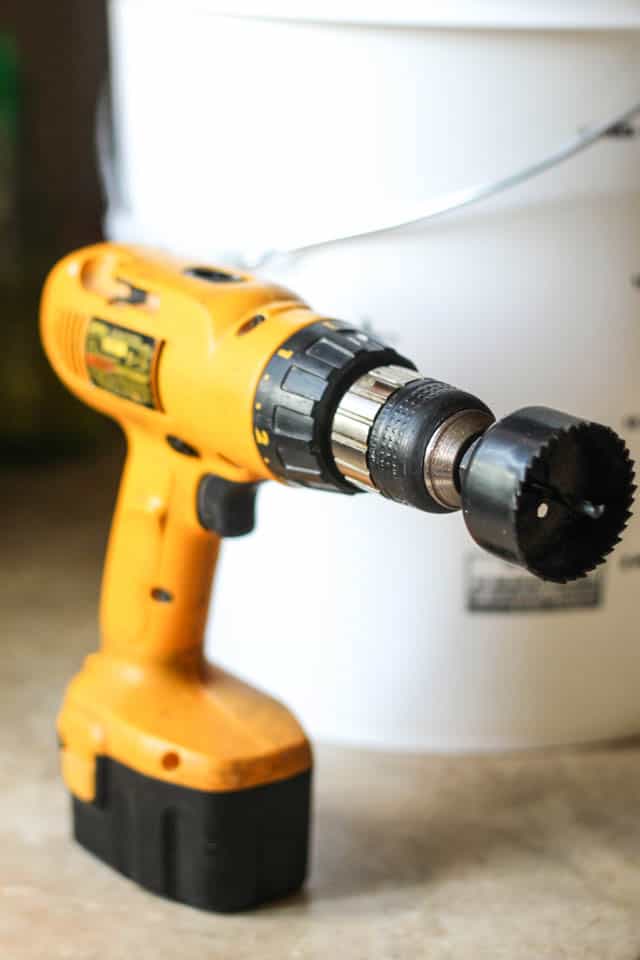
Don’t worry guys, installing the Fermentation Lock will require only a few tools and very little “construction” skills.
First off, you’ll need a power drill and a hole saw of the appropriate size.
Your airlock will have to sit tightly in the hole that you will be punching with that saw, so pick a size that’s somewhere halfway between the larger and the smaller end of the airlock’s rubber plug.
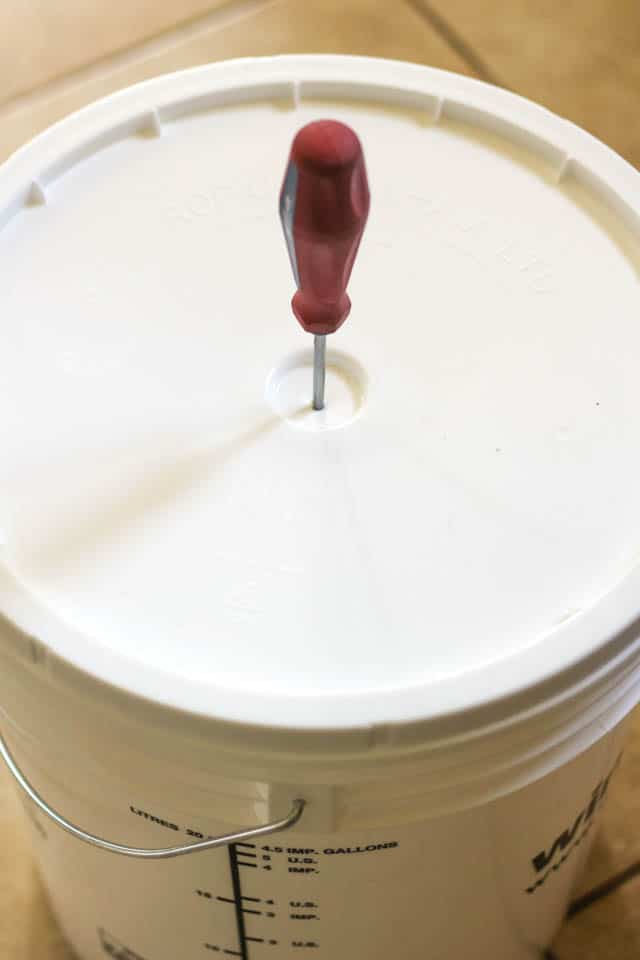
You will also need some kind of a punch to mark the spot where you want to drill the hole for your airlock to rest.
Now that hole doesn’t HAVE to be smack in the center of the bucket’s cover. It could be anywhere, really.
I just thought dead center would be easier, and prettier!
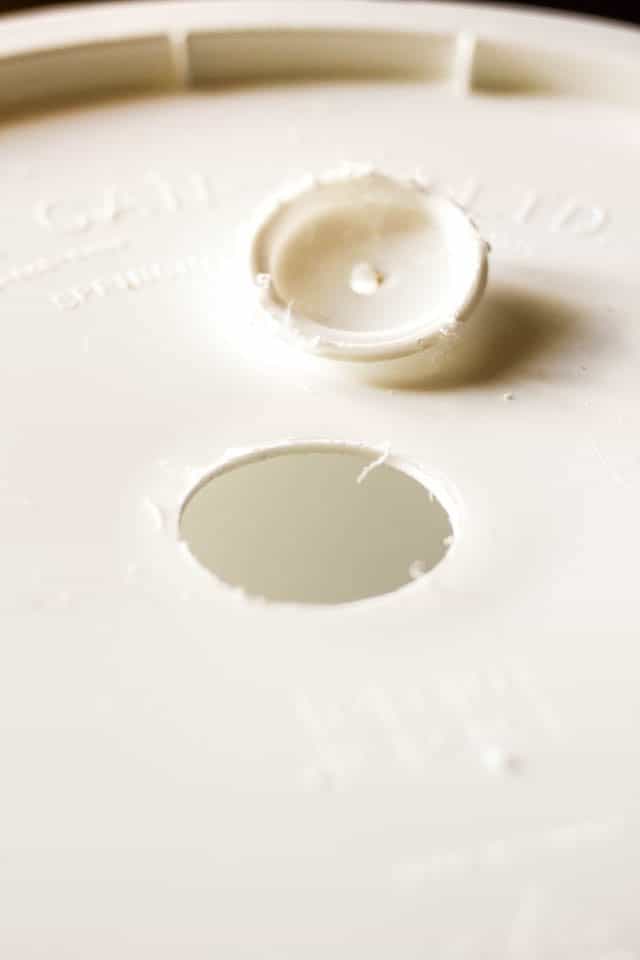
Once that hole has been punched, you want to go ahead and pierce a bigger hole using the hole saw.
And place your airlock right in your freshly made hole.
Euhm… you might want to rinse it off first, to get rid of all those little pieces of plastic!
I was just demonstrating here that, TADA, it fits perfectly.
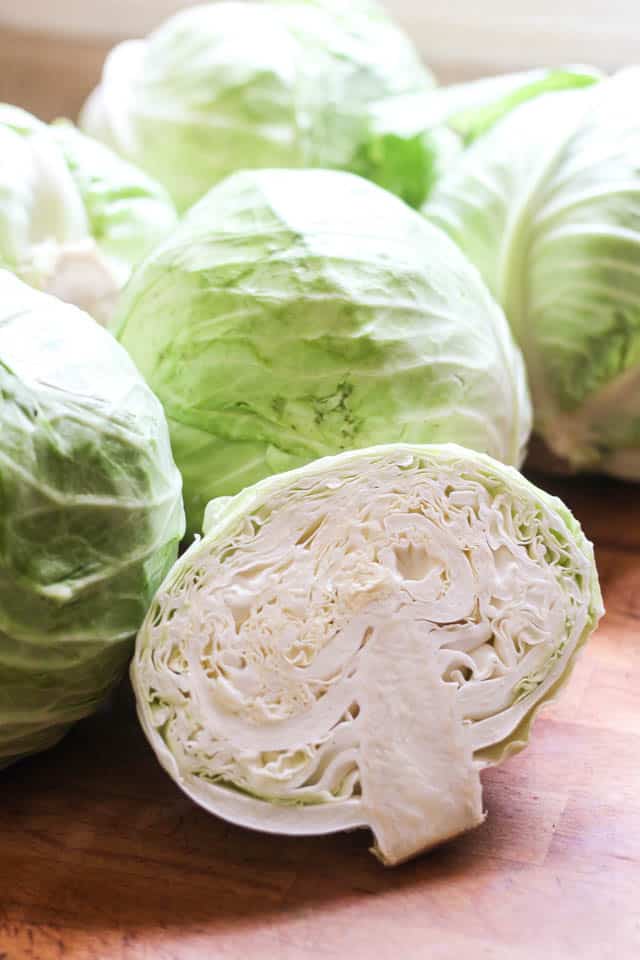
Now that you have your container taken care of, you will need to prep you some cabbage to put in it.
A lot of cabbage!
I used a total of 4 large heads plus half a tiny little one, just because it was begging to be part of the project, too!
So I gave in and let him join the others…
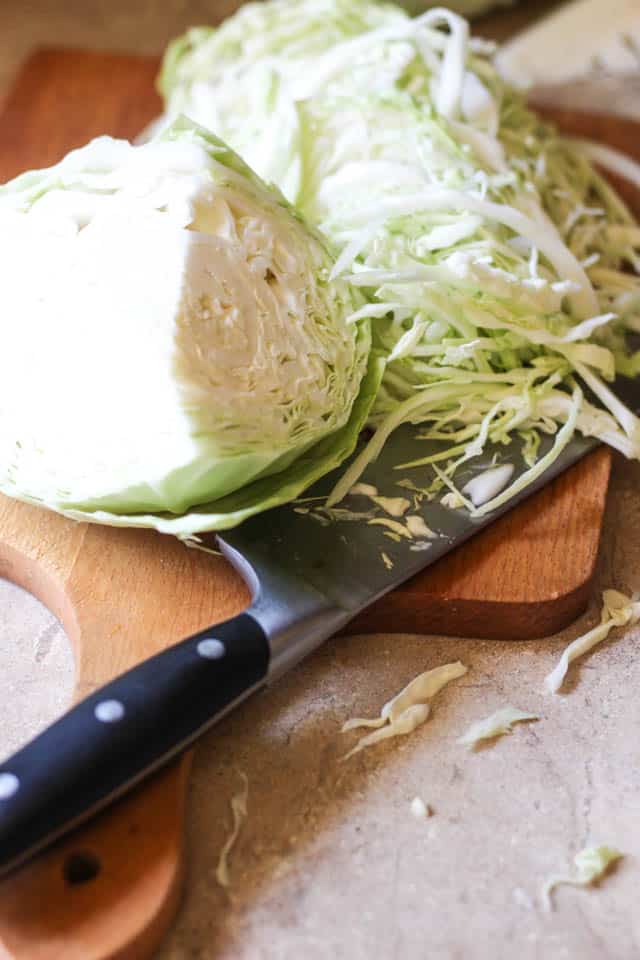
First, you will want to remove all the outer leaves. Then, cut your cabbage in 4 pieces and remove the core.
Now, you’ll need to finely shred your cabbage.
To get the job done, you could simply use a knife, but that would take you a while, and might leave you with a few blisters on your fingers…
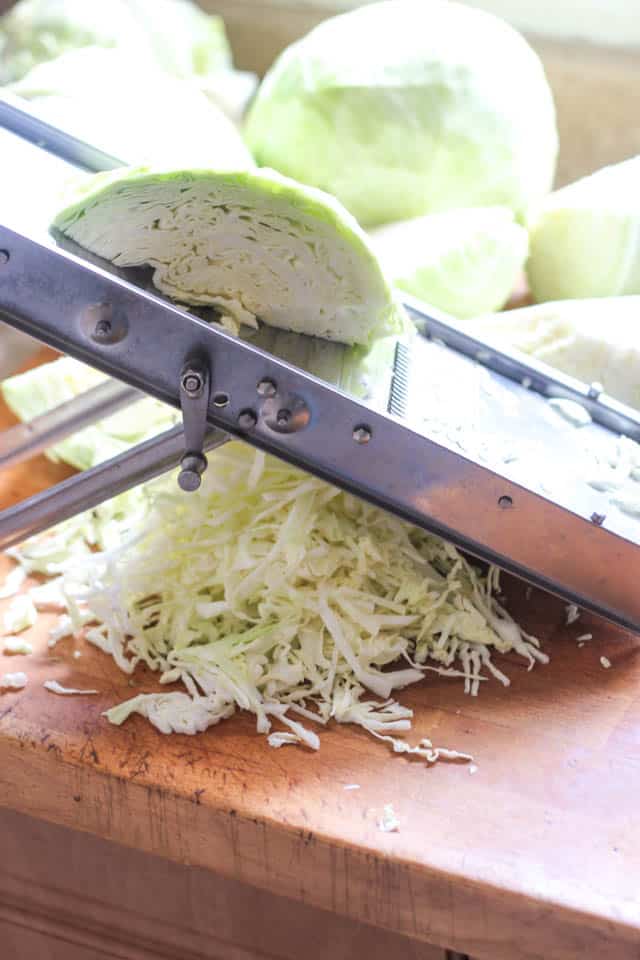
A mandolin sure would be a nice upgrade…
But still, it would take you a wee while!
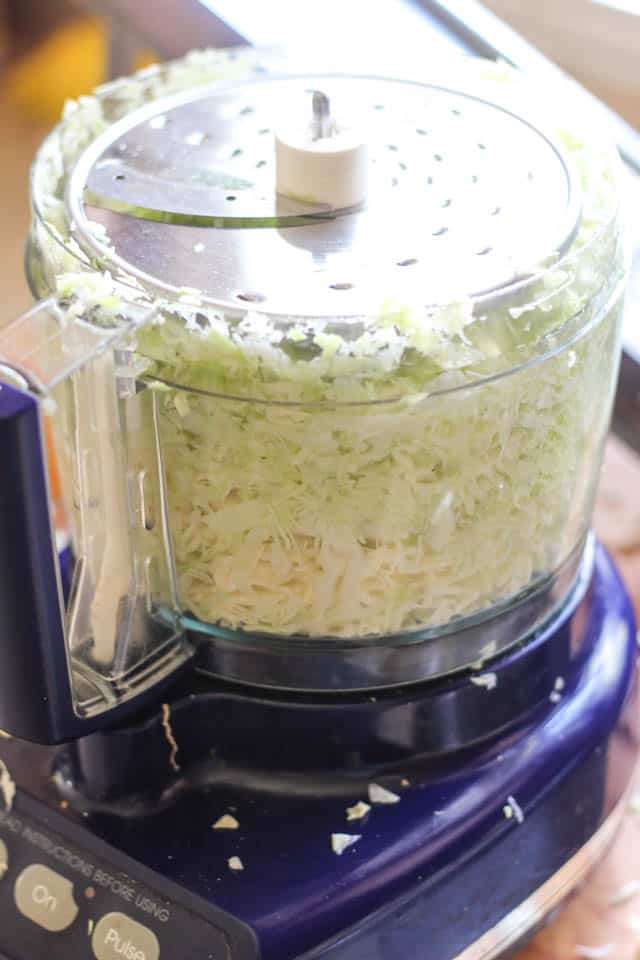
When I’m dealing with that big a job, I always like to rely on my trusty heavy duty food processor.
Equipped with the slicing disk attachment, it took care of the task at hand in no time at all!
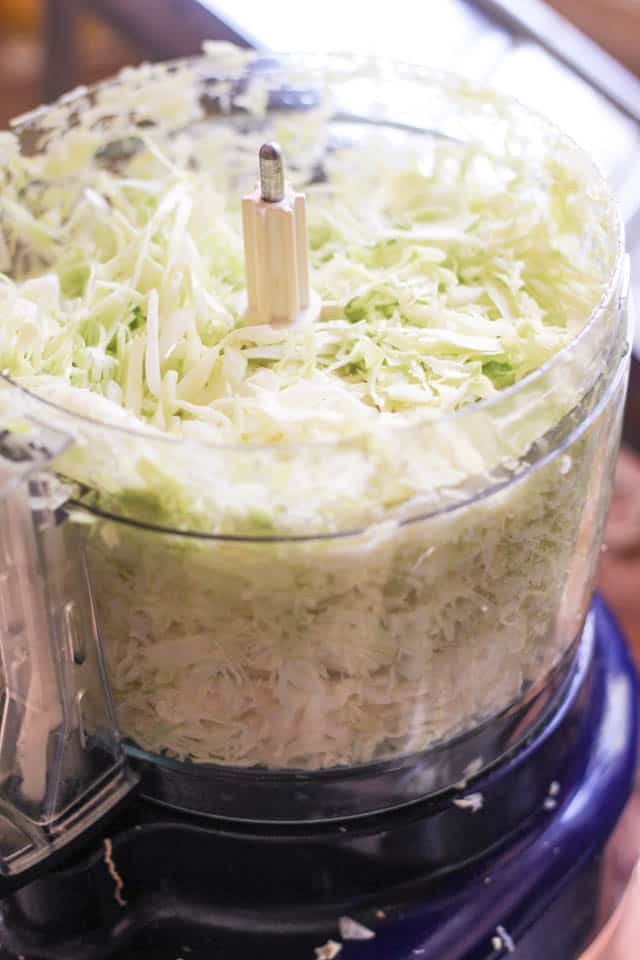
And it shredded my cabbage to just the right consistency, too!
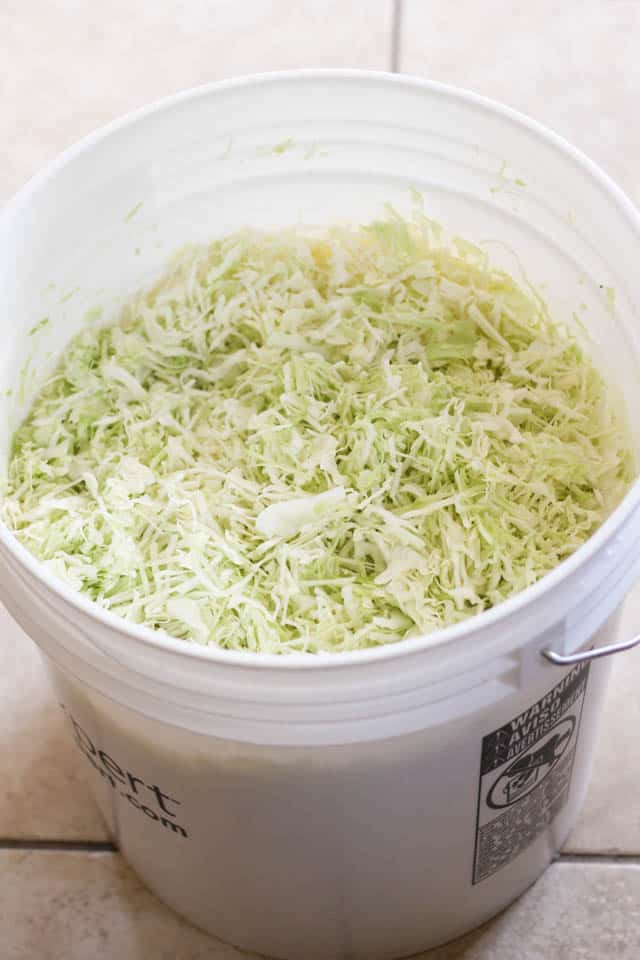
Each bowlful got thrown right into the big white bucket, until it was almost full.
I told you, we’re talking A LOT of cabbage!

Alright, time to add the salt.
For 4 large heads of cabbage like that, I needed 6 tablespoons of salt diluted in 4 cups of boiled (or bottled) water.
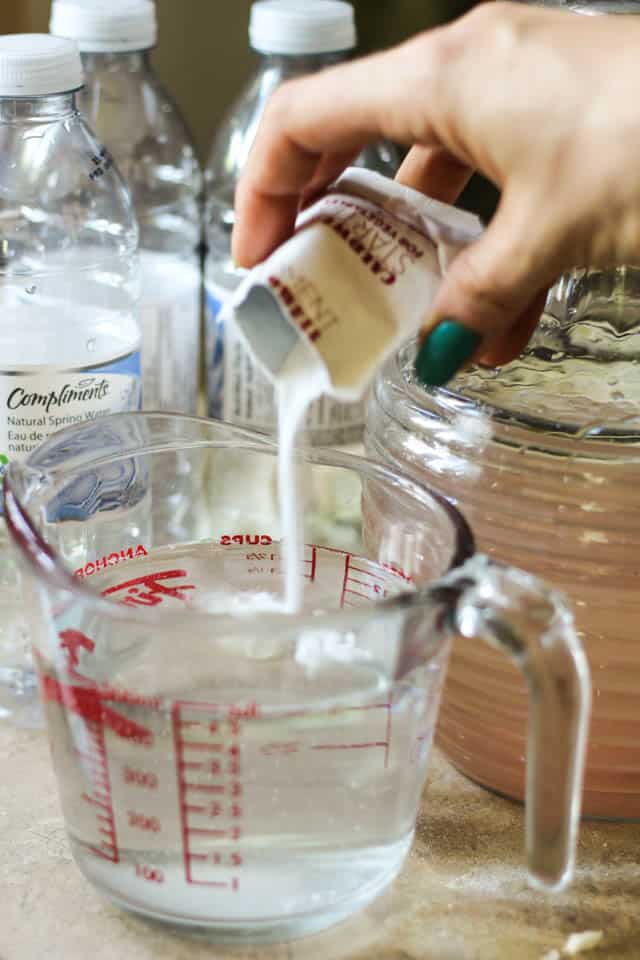
Also too, to be on the safe side, as well as to make sure my sauerkraut would be nice and crunchy, I chose to add some starter culture.
While not absolutely necessary, using starter culture pretty much insures you that nothing will go wrong during the fermentation process, as it supplies a great deal of bacteria to support the process right from the start.
So in went 2 packages of Caldwell’s Starter Culture diluted in 2 cups of bottled water.
Time to beat that cabbage up a little!
Or a lot…
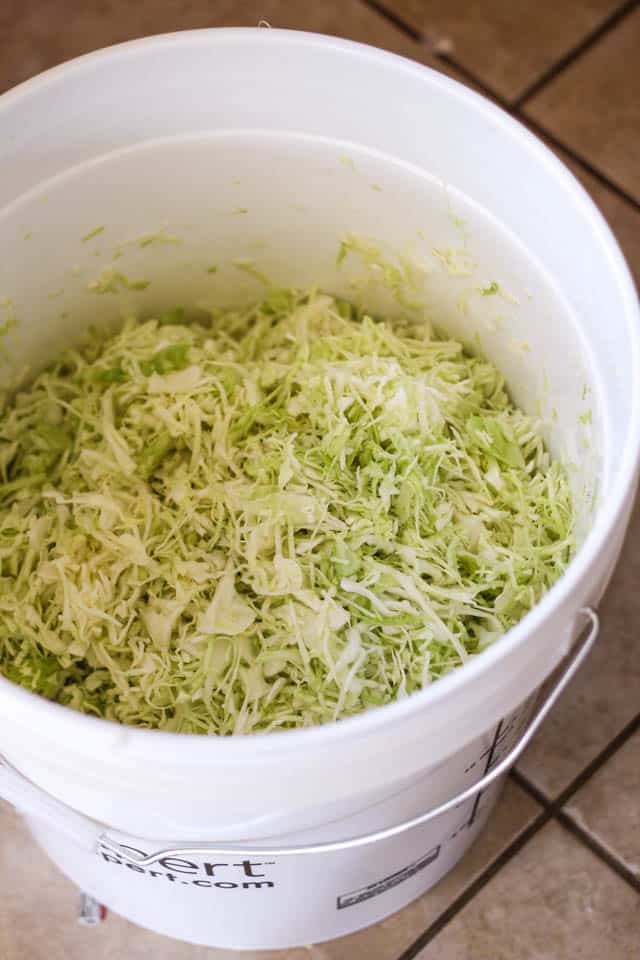
Pictured above is what my cabbage looked like right after I added the salt and starter culture.
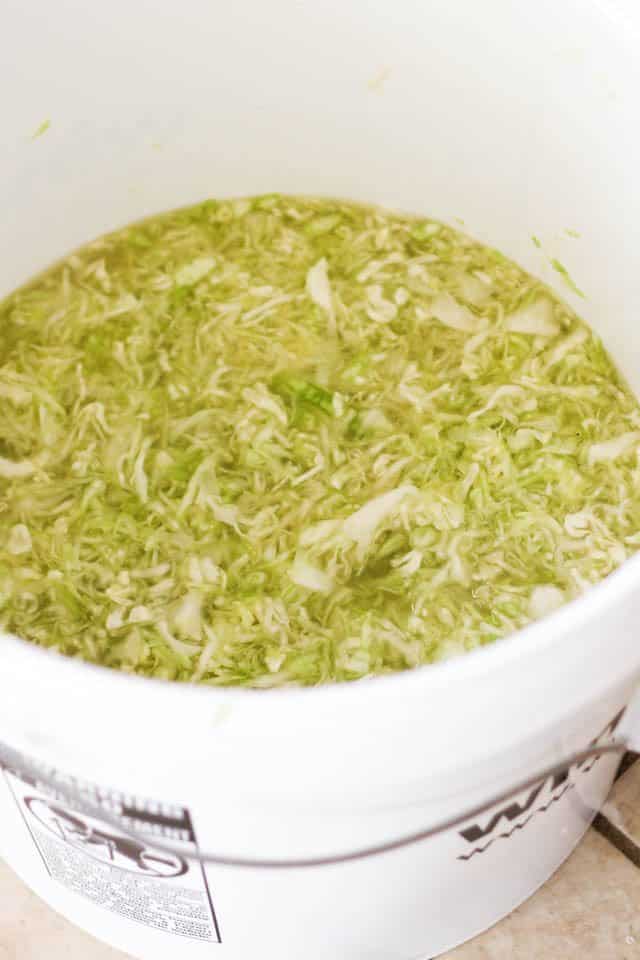
And that’s what I had after about 10 minutes of kneading, mixing, beating and mistreating my cabbage.
To get this job done, you want to whip up the heavy (and CLEAN) artillery, such as a meat mallet, a rolling pin (the French kind that has no handles, you know) or even a (brand new) wooden baseball bat, why not?
But I honestly think that the best tool for this is your hands. Make sure you clean them nice and good before you begin, and really go ahead and scrub all the way to your elbows. Because yeah, you’ll be digging this deep!
Now what you want to do is squish and squeeze the cabbage so that it releases some of its liquid, which will blend with the salt and starter culture to form your brine.
Eventually, the cabbage will have released enough water for the brine to completely submerge it.
At this point, you can stop beating your cabbage and wash your hands again. Trust me, you’re gonna want to.
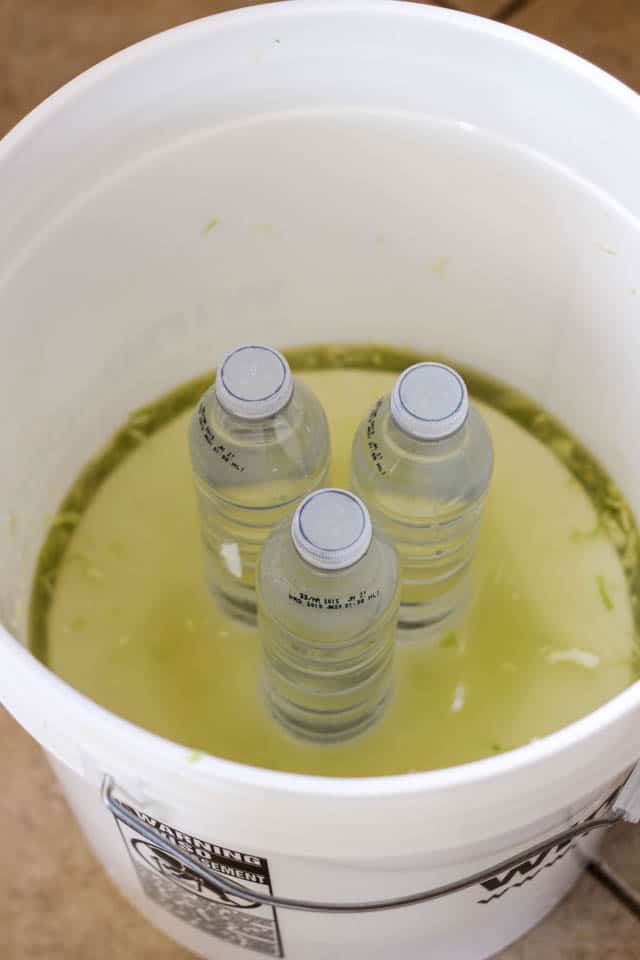
Now, it is absolutely imperative that your cabbage stays submerged AT ALL TIMES during the fermentation process, so you want to help it stay under the brine.
The best way to do that is to push it down with a plate that fits nice and snug in your bucket and to hold that plate down with a weight.
I used water bottles, so I wouldn’t run the risk of breaking my precious plate! (yeah, I used one of my favorite ceramic plates… I like to live dangerously!)
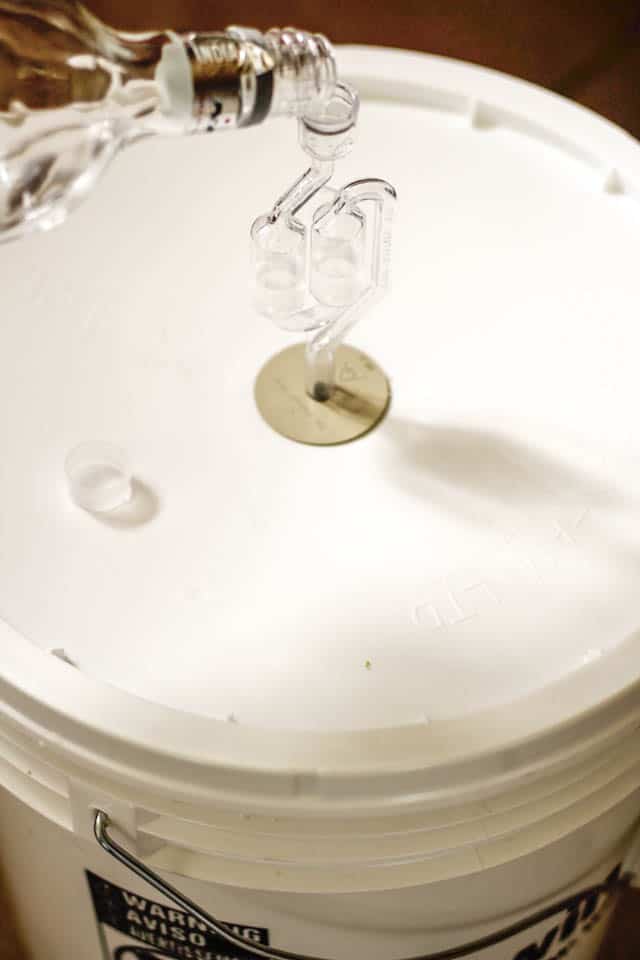
Now that your cabbage is sitting safely and comfortably under that brine, you’ll want to put the cover on and add a little bit of booze (vodka is best) to your airlock.
Add just enough so it fills up about halfway on both sides.
You could also use water, but it’s better to use alcohol to prevent contamination in the event that some of the liquid would inadvertently be drawn into the fermenter.
Now put that baby away in a relatively cool room and leave it undisturbed for a full month.
Yeah, you heard me right. A FULL MONTH! That’s how long it takes for the fermentation process to complete.
Of course, you can check in from time to time just to make sure that everything is fine and that your cabbage is still under the anaerobic safety of the brine.
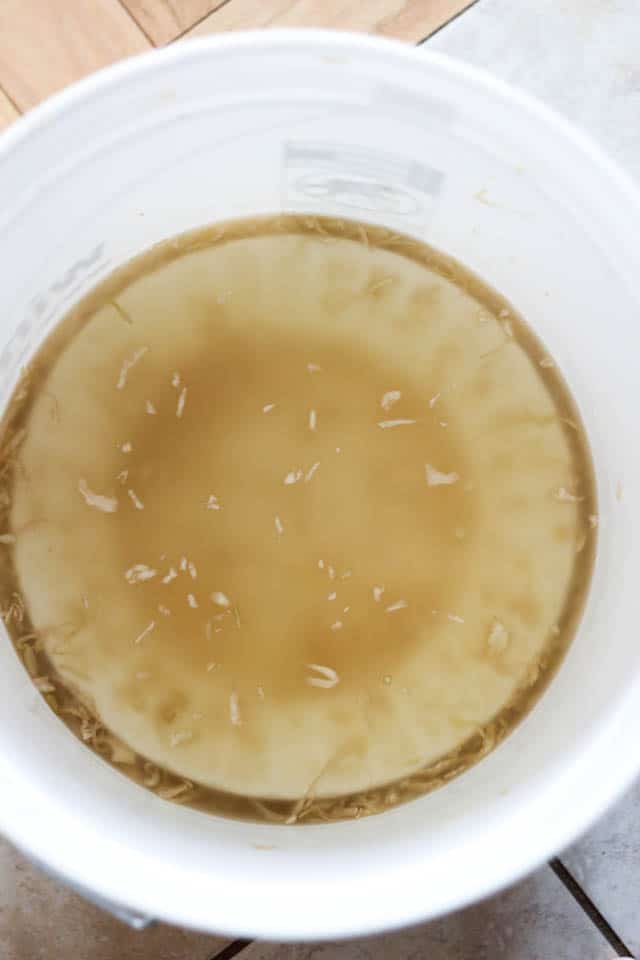
After a month, remove the lid and this is what you see.
Strange and very unappealing color, I know…
But don’t be put off by it. This is seriously good stuff, I guarantee it.
Let’s remove that plate and see what’s underneath.
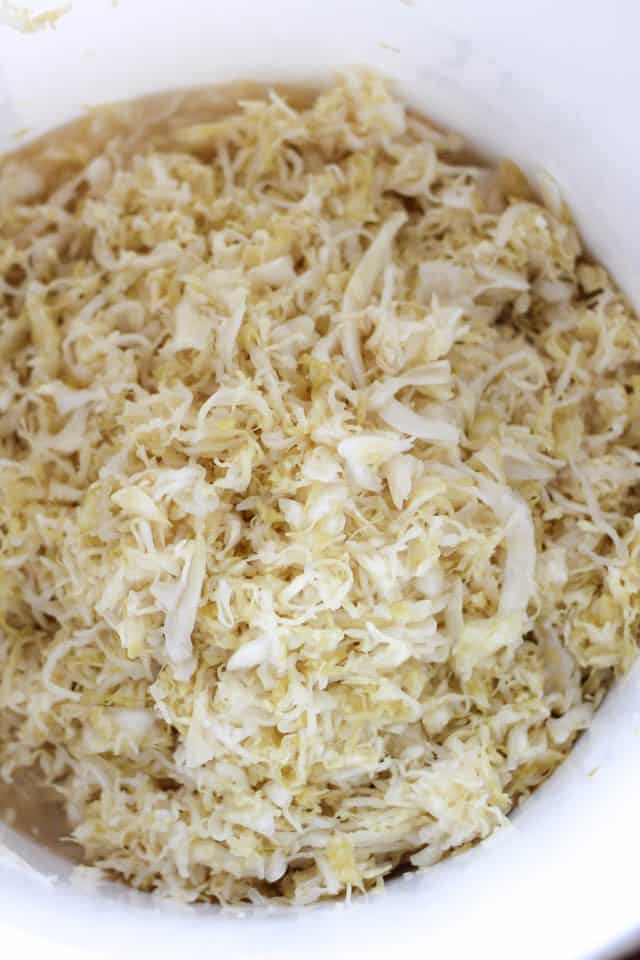
Better, isn’t it?
Sure starting to look like sauerkraut to me!
Let’s pick up a sample and look at it closely.
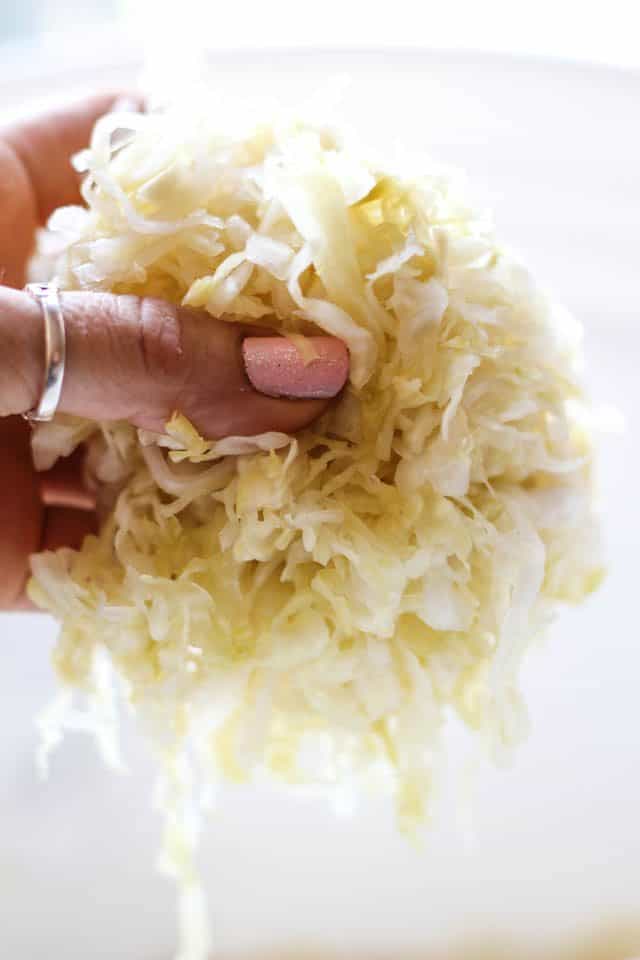
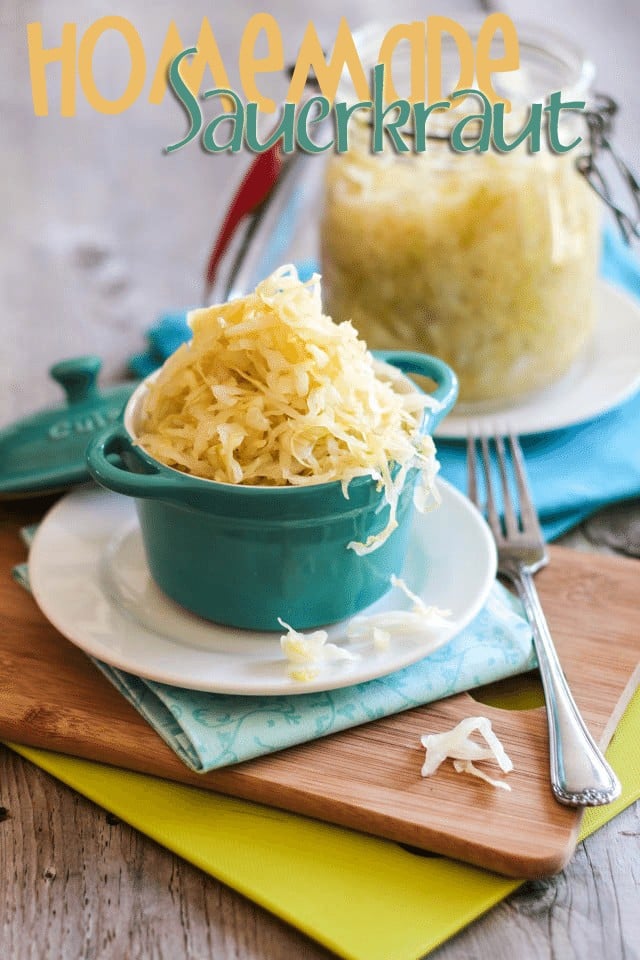
Oh yeah! Beautiful
That’s exactly what I’d been hoping for.
Crispy, crunchy, super tangy and salty sauerkraut.
It’s perfect, in every possible way.
And I created that!
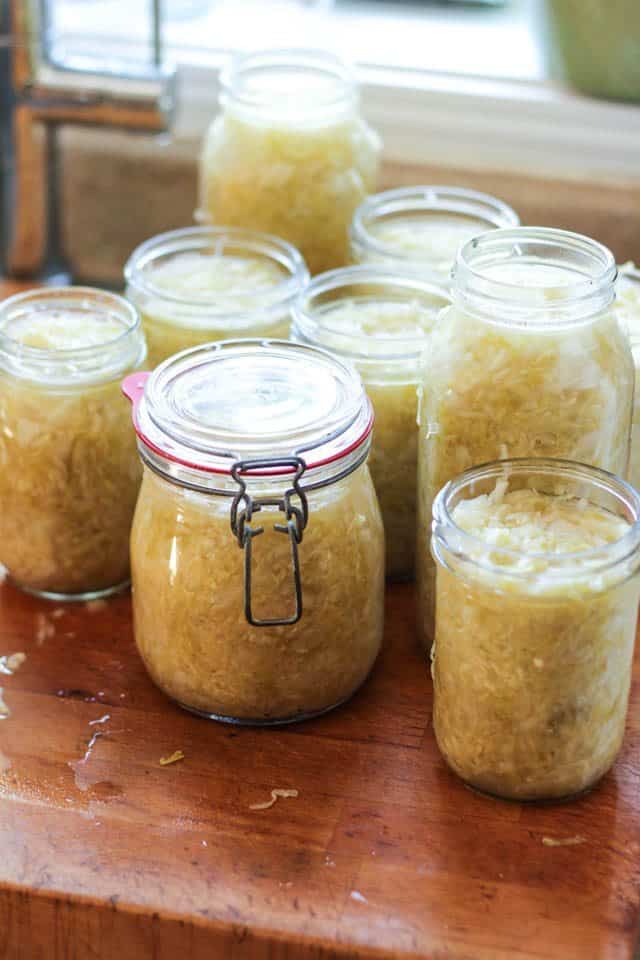
Time to transfer it into jars and place it in the fridge, where my precious kraut will keep for months.
Not only will it keep, it will also get better. Apparently, it takes about 6 months for sauerkraut to get to taste its very best.
Not sure it’ll last that long…
Oh, and by all means, do not chuck that leftover brine: use it to start a new batch, or even to try your hand at fermenting some other veggies.
I’ve only just started experimenting with this, but I get the feeling I’ll be fermenting ALL SORTS of things.
Of course, I already have another batch of Kraut going…
As well as a batch of fish sauce…
And some corned beef too!
Corned beef and sauerkraut. Now that’s a winning combination to me! 🙂
Hmmm…
I’m aslo starting to think that soon, very soon, I’ll be tackling Kombucha.
Because hey, I’ll need something to drink with that corned beef and kraut, won’t I?
Ha! It’ll be the ultimate fermented meal!


46 Comments on “The Homemade Sauerkraut Project – It’s a Success! (Seriously, that Kraut is amazing!)”
Nice! I am going to have to try my hand at sauerkraut – I have only ever made it in small batches before.
I do have some kombucha on the go at the moment though.
Oh, I so have to try my hand at making kombucha! First, I need to find me (or create me) a SCOBY… Did you make your own?
Ok, this is BADASS! It’s like HomeDepot meets Julia Childs meets Chemistry Set.
Some friends of mine have tried their hands at making sauerkraut, but failed miserably. It was like an eruption of mold or something. Really gross.
So hats off to you Sonia; what you did is remarkable!
LOL! Man do you ever crack me up! 🙂 Thanks, my friend. You just made my day! 😀
I’ve learned that the type of salt you use matters greatly. Most common salts have plastic particles and mold spores that will affect your fermentation process.
Love, love sauerkraut, especially on mashed potatoes. Unfortunately, Hubby does not. I will have to find neighbors to share before attempting this. Please share the corned beef fermentation process and recipe. Thank you for sharing this sauerkraut recipe. 🙂
Oh, but sauerkraut keeps for a very long time, Bonnie. And you can have a little bit every day, too! I made this whole batch just for myself, although my son is finding it really good and steals some frome time to time… who knows, maybe hubby will learn to love it too! 😉
As for the corned beef, it’ll be a few weeks still before I know whether the experiment was successful. Fingers crossed! 🙂
How great to have some good instructions on how to do this. My husband and I both enjoy good sauerkraut. We might take exception about your bucket being better for sauerkraut than brewing beer (although we would not brew our own beer) because we are huge fans of craft beer. And good wine. 🙂 Thank you for posting this.
Ha! I totally hear you, Susan. I used to brew my own beer and wine, and even had beer on tap right at home! But since I don’t drink anymore, I’m kind of happy to have found a new use for the brewing supplies! 😀
Looks great! it has been awhile since I made sauerkraut. My better half already has a ton of home brewing supplies so I may think of making a batch or two this year. If I do I’ll try your method. Thanks for posting! ~sue
Let me know how things go and how you like the taste of that homemade kraut if you end up “brewing” up a batch! I was a tad skeptical at first, but I swear, no storebought can ever beat the taste of that! 🙂
Wow, wow, wow, you’ve really given us the full monty here sister — love the step by step and the chemistry behind it all 😉 – you self made woman you!
Wow, that is some project..Amazing to go through it and see how much goes into it….Can I have a bottle of the wonderful mix…
That is awesome! Is there a way to make it in smaller batches? Living in a small 1 bedroom apartment here…I do make my own kombucha though! It’s very easy. I make about a gallon a week (unless I forget about it and let it ferment longer…)
Of course you can make a smaller batch, Chelsea. You only need get your hands on a smaller primary, or food grade bucket of some kind. The rest of the process is exactly the same! 🙂
I can’t wait to start brewing my own kombucha. I feel it’s only a matter of a few weeks. I’ll know who to go to if I have questions! 😉
Did you have to sterilize the jars before putting the kraut in?
No, I did not. Sterilizing is not necessary since the kraut is being kept in the fridge.
Bought the equipment, and now going to make the sauerkraut.I was wondering, have you tried to ferment other foods besides the sauerkraut. Wonder if you could make Kim chi, or pickles,using this set up?
I haven’t made anything else using that set-up, Chris. I made pickles, but made them directly in the jar. I suppose that it you wanted to make a large batch, this set-up would probably work! Let me know how it goes if you end up giving it a go!
Love your writing style, entertaining and informative. My family is starting to scale up our sauerkraut business in Minnesota and we are looking into holding classes to teach people to make their own kraut and other fermented goodness. It really is an incredibly simple and intensely beneficial process so thank you for helping to spread the wealth!
Thanks, Tom! I really appreciate your kind words! Good luck with the classes, that’s really awesome. What a beautiful thing to teach people. I honestly wish I could attend! 🙂
Looks great, but FWIW Lowe’s carries food grade buckets for around $4, plus another $3 for a lid (Or $7 for a “Gamma” screw-top lid)
I have a question. What if you don’t have the little airlock gadget. How would you do it then? Would I put the lid on the bucket?
You would put the lid on the bucket, Michelle, but make sure it’s not air tight. That co2 needs to be able to escape!
Hi,
We have a winemaking bucket we use just to make sauerkraut. Do you seal the lid on the pail and use the air lock for the entire month? How often do you look at it and does the air that gets in at that time cause any mold? I would really like this process as we do have to throw away some kraut as we get to the good stuff. We put in jars and waterbath for 25 minutes.
Yes, I do seal the lid on the pail and use the airlock for the entire month. The air that gets trapped inside will get forced out in no time by the CO2 that will eventually form in the bucket. I do check on it from time to time, like maybe every week or so, just to make sure everything’s fine. If necessary, I will remove loose pieces that found their way to the surface. There is no need for a water bath, really. This process would in fact harm or even kill the beneficial bacteria that we just worked so hard to create. Just put the sauerkraut in clean glass jars, seal and and refrigerate. This will keep for months, no problem.
Hope this helps!
What. Kind. Of. Liquid. Do. U. Put. N. Jars
getting ready to host a sauerkraut making party and have read the comments. Last time i made it we put water in a plastic bag and covered the container with the bag floating upon the cabbage. did not use a gas escape device. worked well. that was in Pennsylvania in September and now it is November in Florida. My biggest concern is the heat. In Pa the garage floor was fine, but in the south I may have to keep a closer watch. Looking forward to getting new friends involved.
Hope everything goes fine, Kip! Keep me posted! 🙂
I just discovered your blog now in 2018 and I think it is great! I am confused in regards to the addition of vodka. Why is it added and exactly how much is added? Does the alcohol eventually dissipate? I have relatives that can not have alcohol for various reasons.
The vodka doesn’t go in the sauerkraut, it’s just to prevent air from getting in…
That looks good i also can sauerkraut i have been helping my mother all my life and plan to pass it down to my daughter you can also pack quart jars with cabbage add cold water and 2 tablespoon of pickling salt leave lids loose while it works off adding water weekly for a couple of weeks i go by zodiac sighn thighs and it will stay white and crunch on shelf cool place for year or longer
I also had planned on water bath. I’d have to get another refrigerator. I’m interested in how the zodiac works.
Hi I just made my first batch of sauerkraut. I never saw bubbles or got anything “floating “ during fermentation. I covered my pail with a towel. I tasted it and it’s ok but salty….. looks like yours. Any suggestions?
Your ideas a great but in the south we can do it with a Home Depot bucket, a round plate. All that pricier stuff is really not necessary. I think I will use your recipe but my sisters method just to cut costs. I know it works because I loved my sister’s sauerkraut. Thank you for your wonderful idea.
4 pieces large cabbage? What’s that in kg? How can we follow your recipe with this kind of information? Cabbage in my place might come in large heads too, but might be more loose, have more space between the leaves than yours. Unfortunately the internet is full of this kind of “recipes”
Easier way to cut is the shredding attachment for a Kitchen Aide stand mixer. I also cut on the porch for easier cleanup. My recipe only requires salt. Nothing else. The difference is after the cutting. I put 4-6 inches of cabbage in and part of the salt. Next, you stomp it. I use a baseball bat that’s been thoroughly washed and sanitized; it’s never been used to play ball. Get that cabbage very juicy. Keep adding layers until all the cabbage is done. I make 3x what you did every other year. Check out tge Ball canning book.
After you ferment the cabbage instead of putting it in the icebox can you can it in jars to put on the shelf for much later?
I’m afraid that wouldn’t be possible. It’s imperative that you refrigerate the sauerkraut to halt the fermentation process.
Can you pressure can this in quart jars once it is fermented?
It needs to be stored in the fridge to stop the fermentation process.
Excellent how to post! Thanks! For cheapskates like me I get free 5 gallon food buckets from Panera or Jimmy John’s. They toss them. They are food grade buckets with lids that their pickles come in. I usually go after hours and pull them out of their dumpster but certainly if you ask they would probably give you a few.
Can you can this recipe. If yes how long processing? Water or pressure canner???
I make saurquart about 2 times a year using a method that my Romainian mother taught me. It is similar to yours but seems much easier. I too use a 5 gallon bucket and about 5 heads of cabbage shredded on a mandala. After shredding each head I sprinkle 1 table spoon of kosher salt and mix, squeezing the cabbage slightly and pushing it down at the end. I cover it with a cheese cloth (this keeps stray cabbage from popping up, put a plate on top and anchor it down with my “special rock. The water from the cabbage will begin to emerge. The fresher the cabbage, the more water will come out as the salt does it’s magic. I will cover it and then check it in the morning. It is at this point I add the water that has been either boiled or purified. I never use hot water as it can make the cabbage mushy. Once that is done I give it a good stir; reaching way down to make sure I am turning all the cabbage. I taste the brine and check for saltiness. If the brine is to salty I add some additional water but this is seldom necessary.
The 6 tablespoons of salt is usually spot on. I then recover the cabbage and place it in a cool place. After a few weeks I will check it again and taste it. You should begin to taste the saurquart’s beginning fermentation. I stir it again and seal it up. I will check it about once a week until it reaches the taste we like. Leaving it to long will cause it to soften so checking it is a good idea. In warmer weather it will ferment faster. Once it is where I like it I put it in canning jars, adding the brine, seal and place in a 10 minute hot water, canning bath. By doing this you do not have to refrigerate until you open the jar. This method has been pretty fool proof for me. Someone asked what to do if the saurquart was to salty…try rinsing it in cool water and sometimes that will help. I find the 6 tablespoons to 5 cabbages (about 15 pounds or 7.5 kilos) works great. Thanks for all your tips!
Wow, you are motivating! Thanks for reminding and showing me these healthy foods can be possible to make and enjoy! Cindy
What brine do you use to put in the jars when you store them? Is it the brine it fermentes in?