
My Go-To Classic Coleslaw Recipe
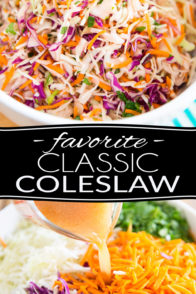
Making your own Classic Coleslaw at home is so easy! This one tastes just like the stuff you buy at the store but is so much better for your health! Try it once, you’ll never go back…
It looks like the content of my fridge is dictating the course of my posts, lately… This time, I had a bunch of cabbage that needed to be used up, so I figured I would make my usual, go-to, favorite coleslaw of all times. And that lead me to realize that, while I had already shared this recipe with you, it had been ages, and I’d since improved it a bit! And also too, my old pictures could totally use a little revamping. So I thought it was well worth the update… Cuz I mean hey, who doesn’t like coleslaw, right?
Sometimes, though, making coleslaw can be a little bit intimidating… it’s hard to get it to taste just right, like the one we’re used to, the stuff we usually buy at the store, that’s seemingly healthy on the surface, but so very unhealthy once one takes a good long look at the list of ingredients… Scary, I tell you! How it is that they managed to take such a healthy dish and turn it into some kind of culinary monstrosity is beyond me.
But this homemade version, I’m telling you, is super easy to make and it tastes just like the “real deal”. I’ve no doubt that once you’ve made it, you will never again be tempted to go for the ready-made version; especially not if you have indeed checked that list of ingredients.
Alright, so let’s make us some slaw. It’s no rocket science, you’ll see.
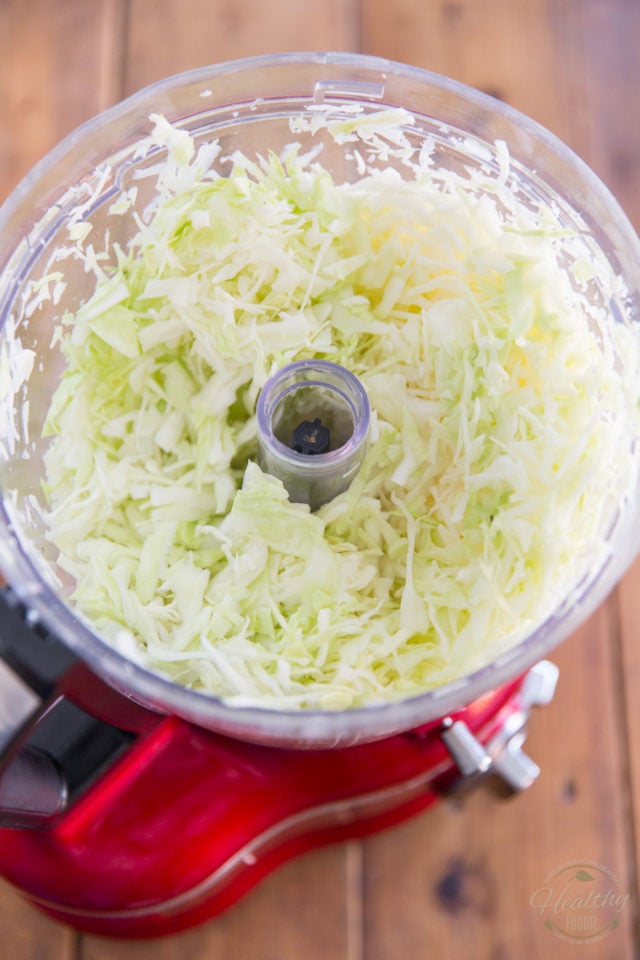
Cabbage that is shredded nice and thinly is one of the key ingredients to making good coleslaw! The best way to do that, I find, is by using the slicing disc of a food processor, but you could also do that with a sharp knife.
If you do happen to have a food processor in your kitchen, though, I strongly recommend that you take it out! For one, it’ll make the task SO much quicker and effortless, and for two, it will do a much better job at shredding that cabbage super thinly and evenly than you could ever pull with a knife alone. Unless, of course, you had crazy amazing knife skills…

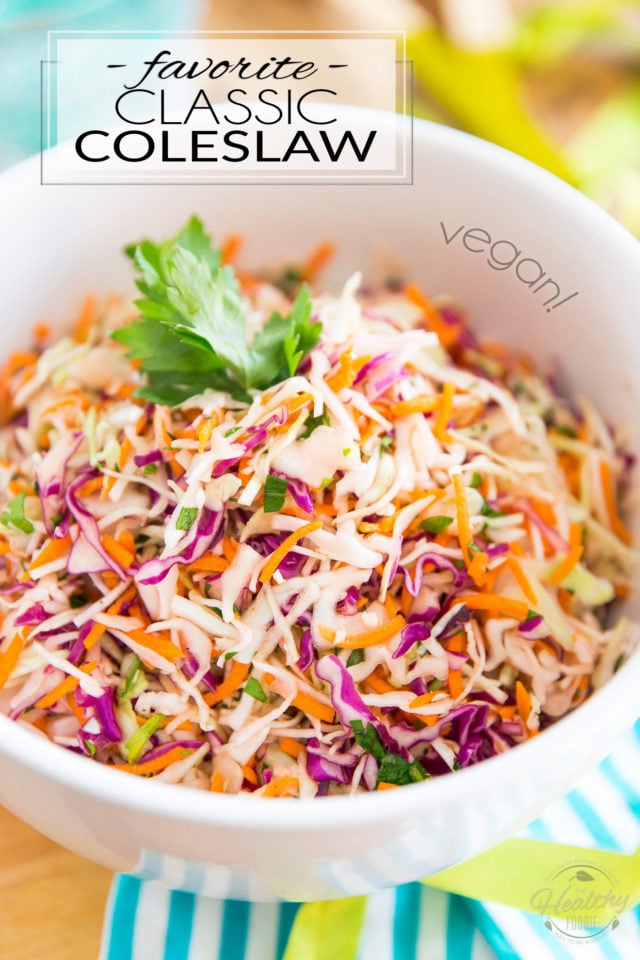
Also, I find that adding a little bit of red cabbage adds so much color and makes the slaw look much more inviting… Now, you don’t absolutely have to use both green AND red cabbage, but If you do happen to have some of it on hand, by all means, throw it right in. If not, simply use more green cabbage…
I like to use a ratio of about 4:1, but it’s no exact science… As long as you have about 10 cups of cabbage in total, feel free to use whatever ratio you prefer.
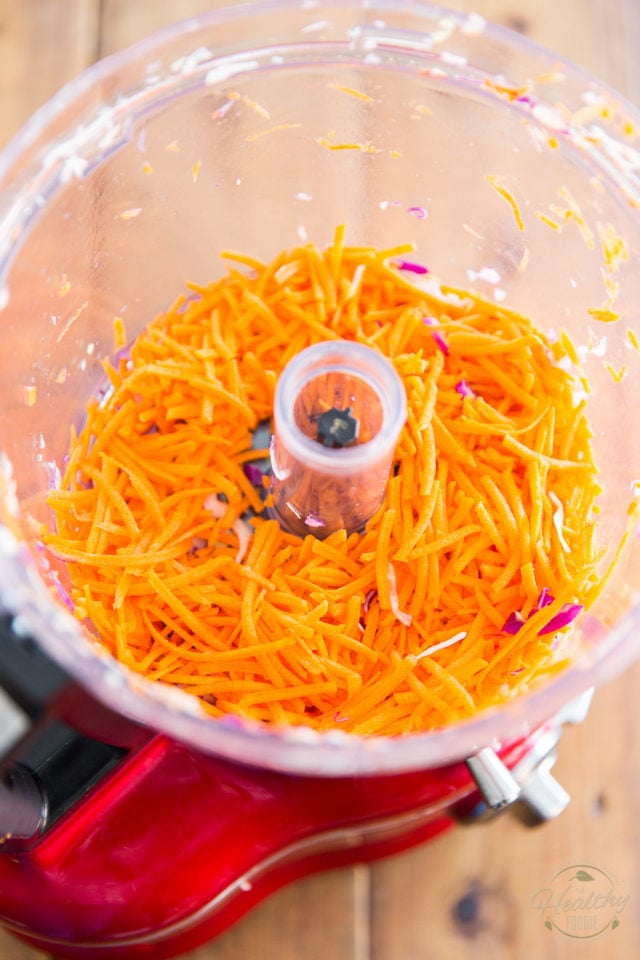
To grate the carrots, a box grater works wonders, but if you already took the food processor out of the cupboard, might as well use it… simply switch discs and use the large grating disc this time.
Don’t worry about cleaning the bowl either, this is all going in the same place…
Now place that shredded cabbage along with the grated carrots and chopped parsley in a VERY large mixing bowl. Really! Use the largest bowl you can find; You’ll be glad you did when comes time to mix things up!
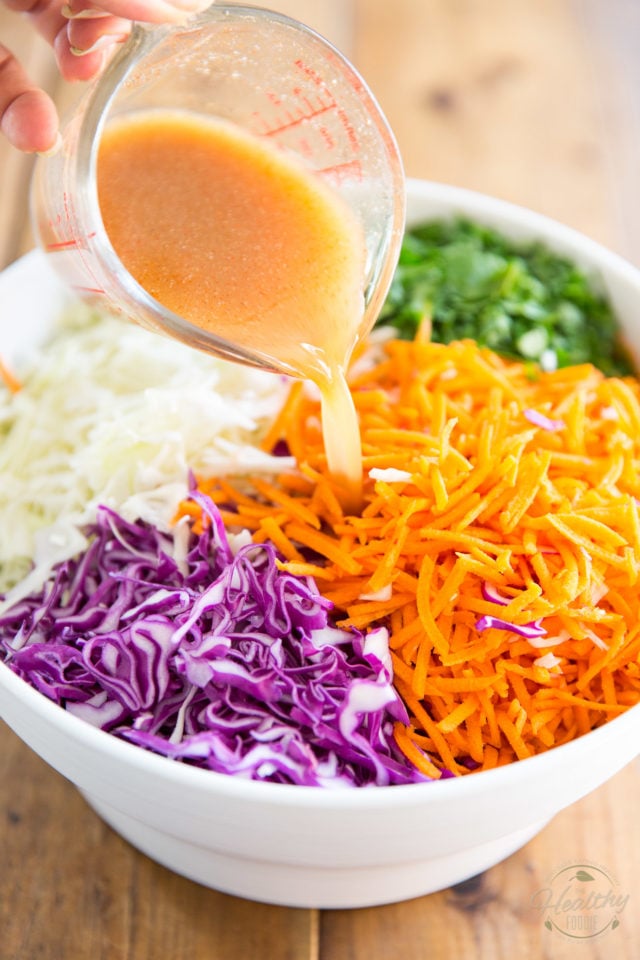
Then, put the ingredients for the vinaigrette in a small bowl or glass measuring cup and whisk briefly with a fork; pour that right over the vegetables…
About that vinaigrette, you may be tempted to substitute another tastier and “healthier” kind of vinegar to the plain old boring white vinegar that my recipe calls for but really, you should resist that urge with all your might. I’ve tried many other varieties and while I am not usually a fan of white vinegar, I must admit that it really is the variety that gives the best flavor in this case. So take my word for it: stick with white vinegar.
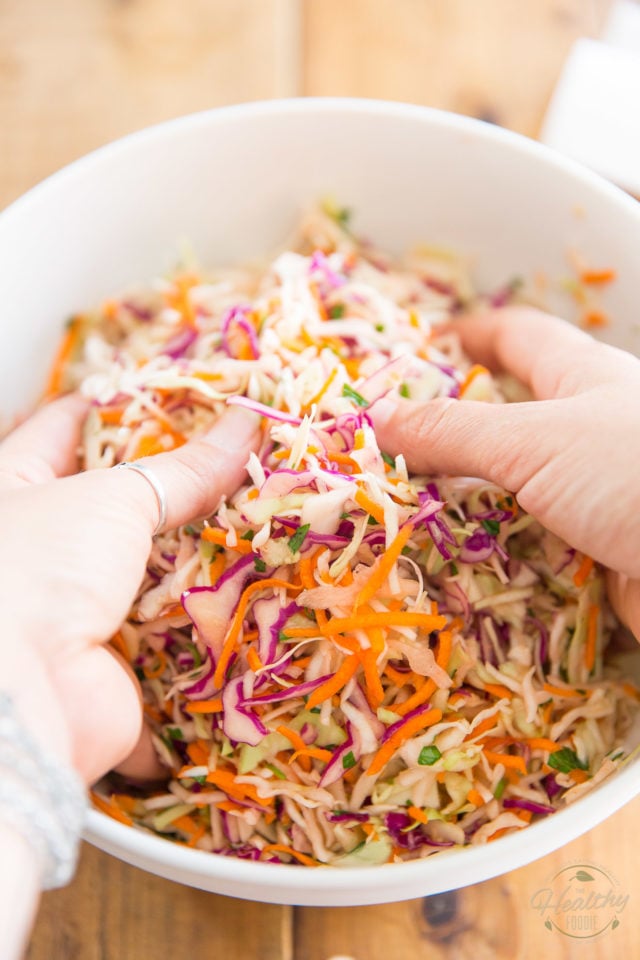
Now for the fun part… you need to mix all this really well, until all the ingredients are well blended and evenly distributed. Hope you did grab a real big bowl! Again, I find that the easier way to get this done is with your hands, but if you really don’t care to get your hands dirty, a big serving spoon will eventually get the job done.
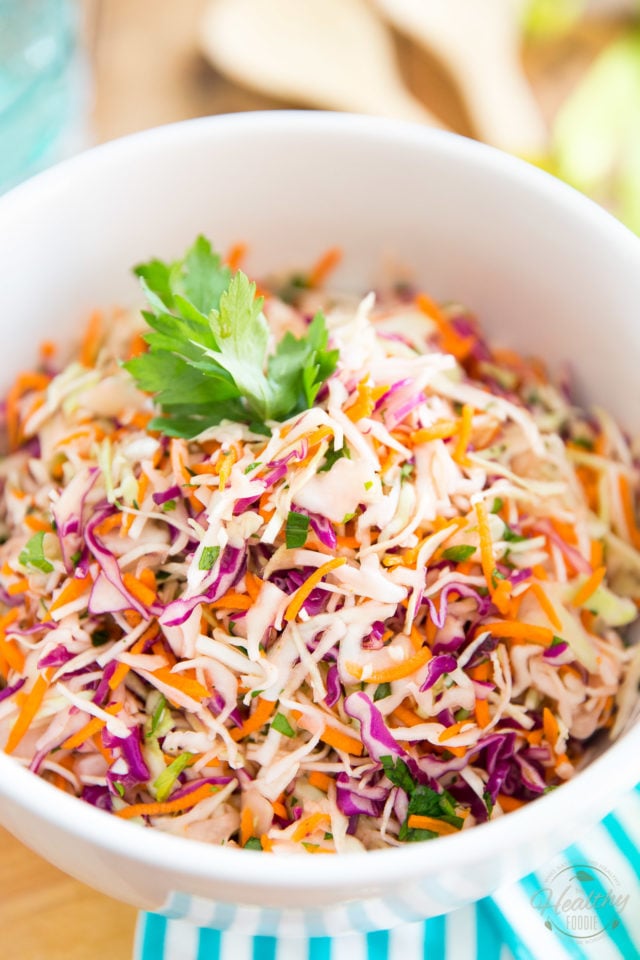
And now for the most important step of this entire recipe: you need to let your slaw chill and rest in the fridge for AT LEAST 4 hours, but preferably overnight. Trust me! In fact, if you were to taste this slaw right now, you would probably find it very unpalatable and think that this is the worst coleslaw you’ve ever eaten. But give those flavors a chance to develop and mingle and become friends with one another, and you’ll see: some kind of crazy magic will take place! A sensational party will soon be happening in that bowl, and all you’ll want to do is move it right there, inside your mouth!
Your finished coleslaw will also keep and age very well for about a week in an airtight container. So although some slight discoloration is to be expected, especially when using the red cabbage, you shouldn’t be afraid to make this coleslaw way ahead of time, and make a huge batch, too!
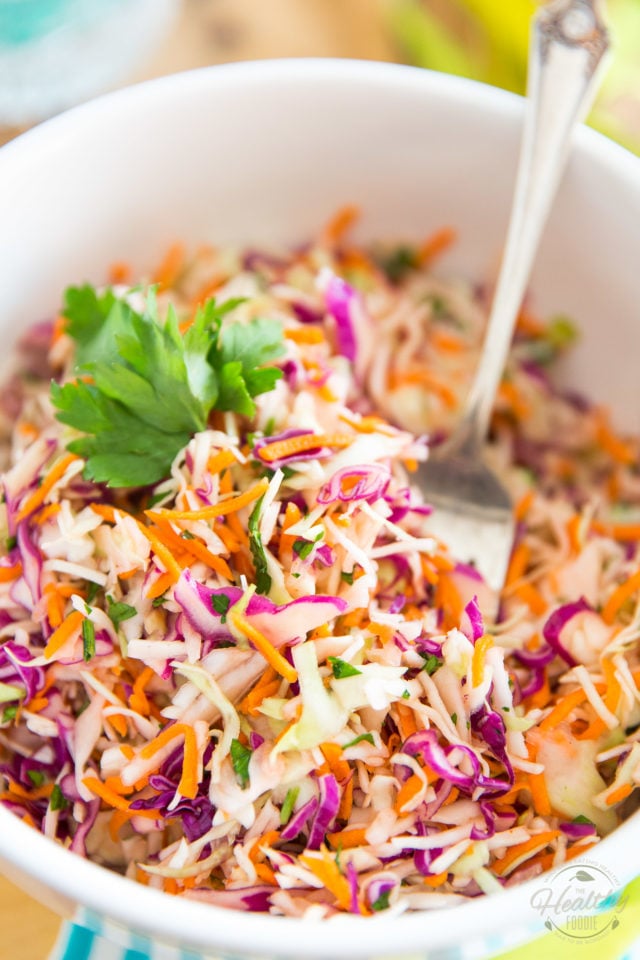
You’ll be glad to have it in the fridge and will probably end up serving it with most, if not all of your dishes!

Classic Coleslaw
Ingredients
- 8 cups shredded green cabbage, (about 1/2 medium)
- 2 cups shredded red cabbage, (about 1/4 small)
- 2 large carrots, grated
- 1/4 cup chopped flat parsley
For the vinaigrette
- 1/3 cup white vinegar
- 4 tbsp pure maple syrup
- 2 tbsp lemon juice
- 1 tbsp avocado oil
- 1-1/2 tsp Himalayan salt
- 1/2 tsp ground white pepper
- 1/4 tsp ground ginger
- 1/4 tsp onion powder
- pinch cayenne pepper
Instructions
- Place the shredded cabbage, grated carrots and chopped parsley in an extra-large mixing bowl.
- Place the ingredients for the vinaigrette in a small container or glass measuring cup and whisk briefly with a fork to combine, then pour over the vegetables and mix well, preferably with your hands, until well blended.
- Now place your slaw in the fridge to chill and allow flavors to develop and mingle for AT LEAST 4 hours, but preferably overnight.
- This slaw will also keep (and age well) for up to a week in an airtight container.
Nutrition
If you’ve tried this recipe, please take a minute to rate the recipe and let me know how things went for you in the comments below. It’s always such a pleasure to hear from you!
You can also FOLLOW ME on PINTEREST, FACEBOOK, INSTAGRAM and TWITTER for more delicious, healthy recipes!
*Editor’s Note: This post was originally published in June of 2015 and has since been completely revamped and updated with better pictures. A few minor modifications to the original recipe have also been made.


2 Comments on “My Go-To Classic Coleslaw Recipe”
Yum a good reminder of a classic. I like a few of the twists in your dressing. I might just make a big batch of that today 😊 thank you
Sonia: I really hope it doesn’t taste like the store. I hate store-bought salads.
Will give it a try. Thank you so much for a scale that changes the serving size!