
Nut N Seed Butter
Kick up your mornings and make your breakfast memorable with this amazing homemade Nut N Seed butter. So good, you’ll never go for store-bought ever again!
Hungry or not, nut butter is something that I absolutely can’t resist. It had been a long time since I’d been inspired to create a new variety, but the other day while shopping at my local COSTCO, I came across this jar of crazy tasty looking Nut N Seed butter.
Of course, I didn’t buy it… rather, I thought to myself that I’d HAVE to create my own. And do I did!
My oh my, is this stuff ever amazing! I love how the chia seeds sort of pop with every bite. So much so, I think I’ll need to create more varieties. Well, when this jar is empty, that is…
Before we go any further, a word of warning: if you are going to whip up a batch of this wonderful spread, you’ll need the following: a good food processor (I use this beauty) and A LOT of patience!
I’ve said it before and I will say it again: making nut butter at home will, more often than not, seriously test your patience. You will invariably doubt that it will ever happen MANY times during the process. Hey, even I still doubt, sometimes.
You’ll get to practice your favorite curse words and will probably hate me once or twice, too. Accuse me of having you waste perfectly good food… And put the life of your trusty food processor at risk.
But in the end, it always works out great. Let me demonstrate…
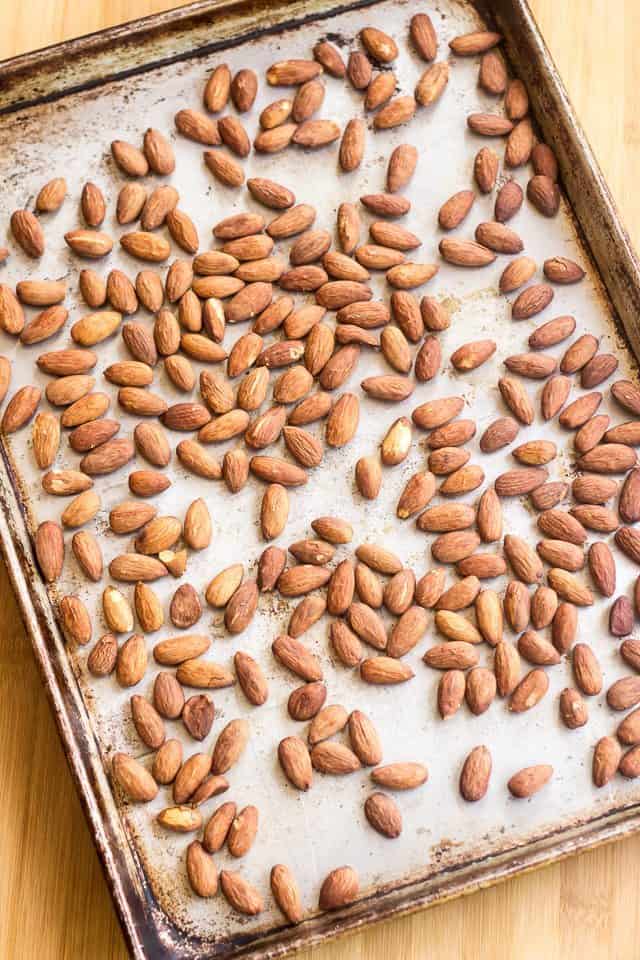
First, preheat your oven to 350°F; place the 2 cups of raw almonds in a single layer on a large baking sheet.
Then, place the almonds in the oven and toast them for 15 minutes, moving the nuts around a few times during the process.
So far, so good. This is the easy part!
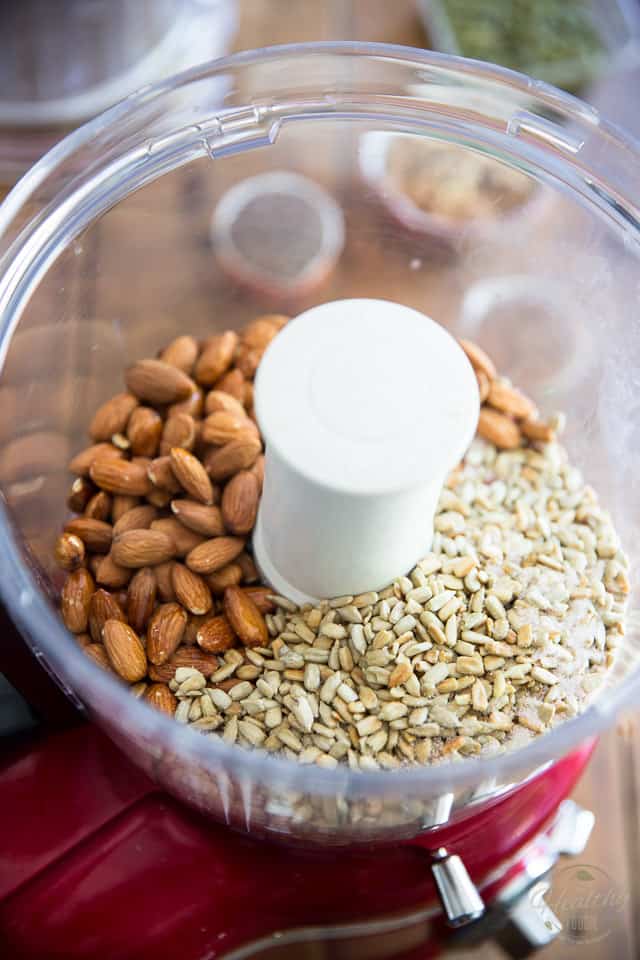
Now let your almonds cool until they can be safely handled with your bare hands, then transfer them to the bowl of your food processor; add the sunflower seeds, as well as the macadamia oil and salt.
If you didn’t have any macadamia oil handy, feel free to use any other neutral tasting oil that you have available.
You’re going to want to process those nuts for a total of 10 to 15 minutes, stopping to scrape the sides from time to time, until the butter becomes very smooth and creamy and fairly runny in consistency.
This is where the real test begins.

After about one minute, not much will have happened. Your nuts will look something like this… fine gravel or coarse sand. It’s all good.
Put that lid back on and keep going.
Note that if at any point in the process you fear for your food processor’s life, it might be a good idea to give it a little rest, although most good ones are equipped with an emergency system that will make the motor stop before it overheats. Just give it a few minutes to rest after that’s happened and it’ll be good to go!
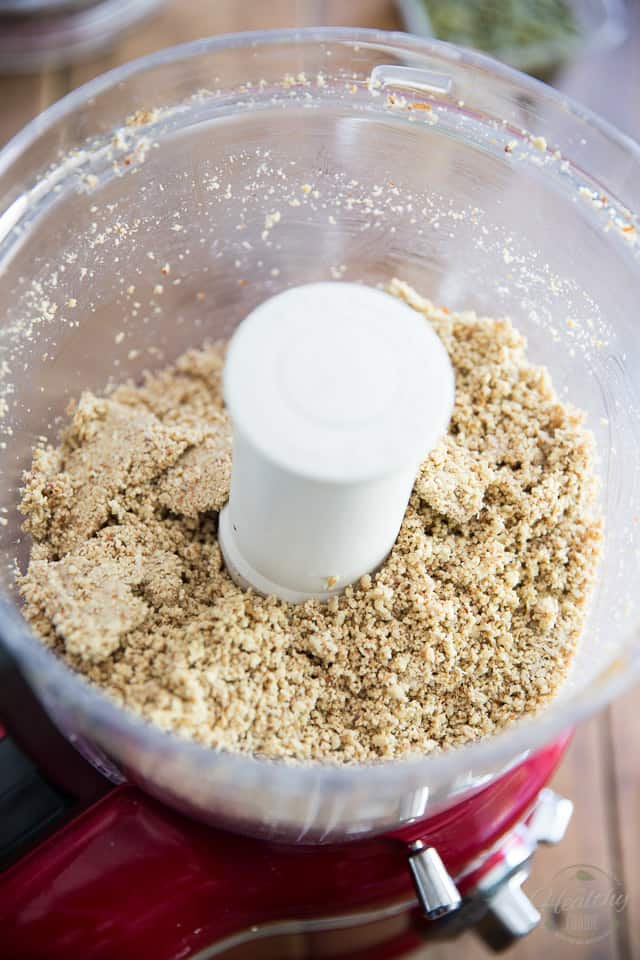
About 3 to 5 minutes into the process, your nuts will be a lot finer and will start to sort of want to clump up. Still not looking anything close to smooth and creamy, though…
At this point, you’ll notice that you need to stop the motor and scrape pretty often, to get those nuts into the blade’s path. You may have started to curse and swear a little. Just a little. But keep going. Good things are about to happen.

After about oh, 8 minutes, maybe, and something like 29 bowl scrapings, things are going to look even worse. Now your nuts they will look kind of like cement and you may have started to lose hope by now.
You’re maybe thinking that I must believe in Santa Claus if I think for just one second that this is ever going to turn into creamy nut butter… Or that I probably kiss every frog I come across.
Trust. Put that lid back on for the 30th time and flick that switch to on!
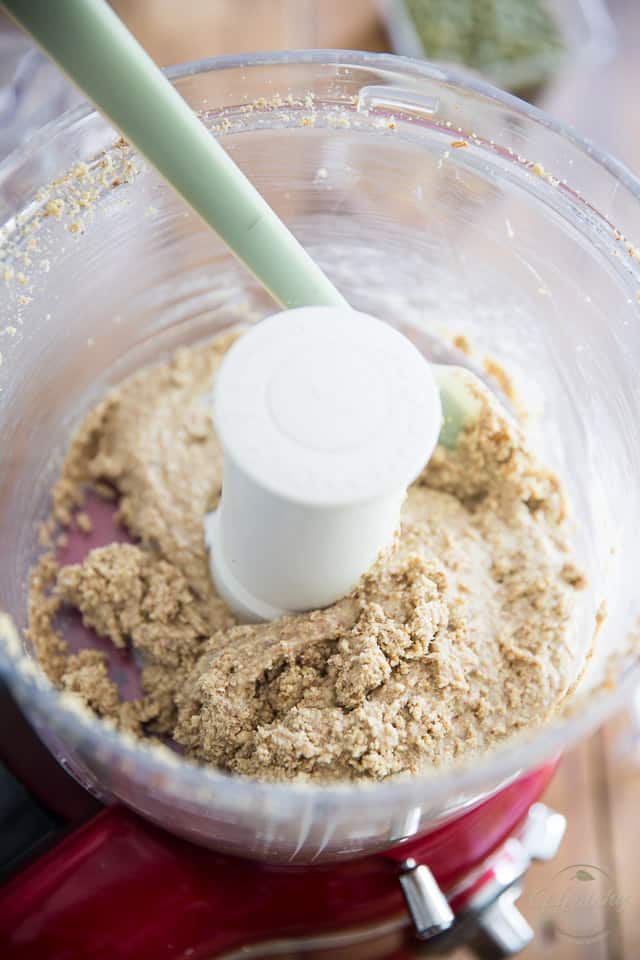
A few minutes later, you should finally get your first glimpse of hope, as the nuts will start to release some of their oil and will give hints of perhaps eventually wanting to change to a more spreadable form…
Don’t give up now, we’re almost there. Keep stopping and scraping. I know it’s a pain, but it’ll be worth it, I swear!
And remember to give your food processor a break if you feel it needs it.
At last, we have something that kind of resembles nut butter! It’s a bit coarse, still, so you’ll want to let it spin for a few more minutes. The good thing is the stopping and scraping thing is now pretty much behind you. All the spinning will happen fairly freely, from now on.
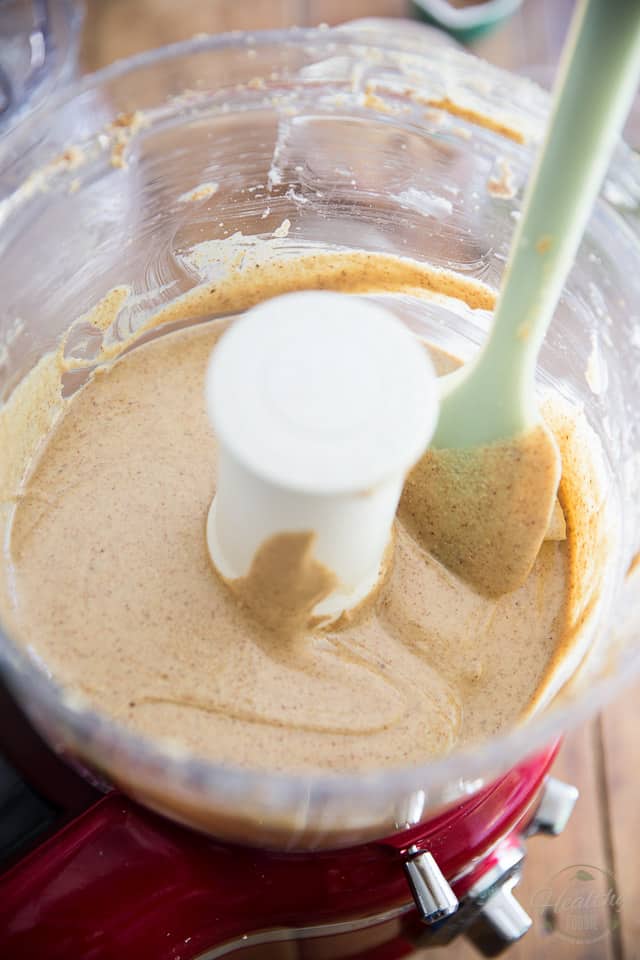
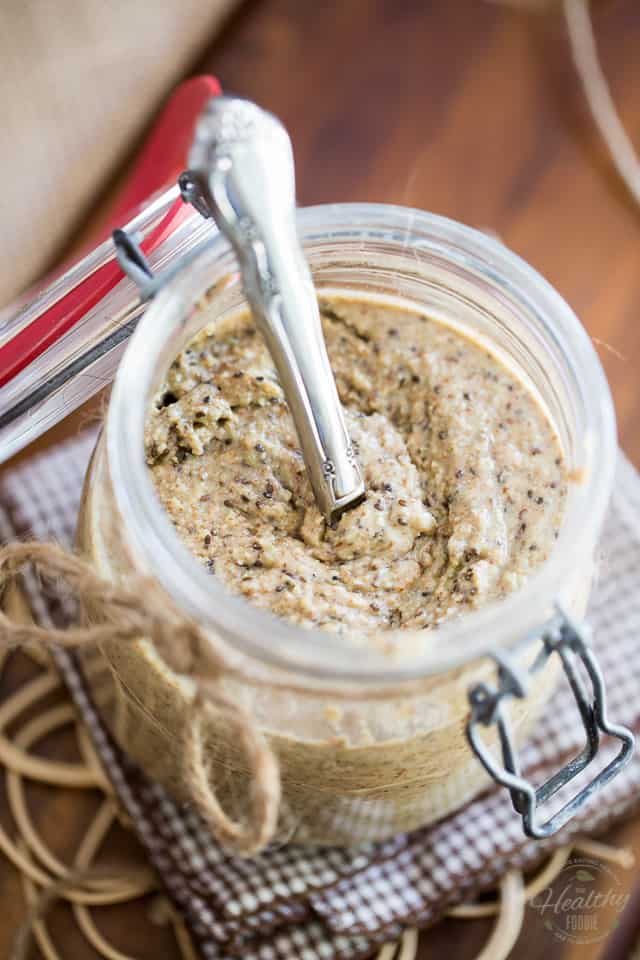
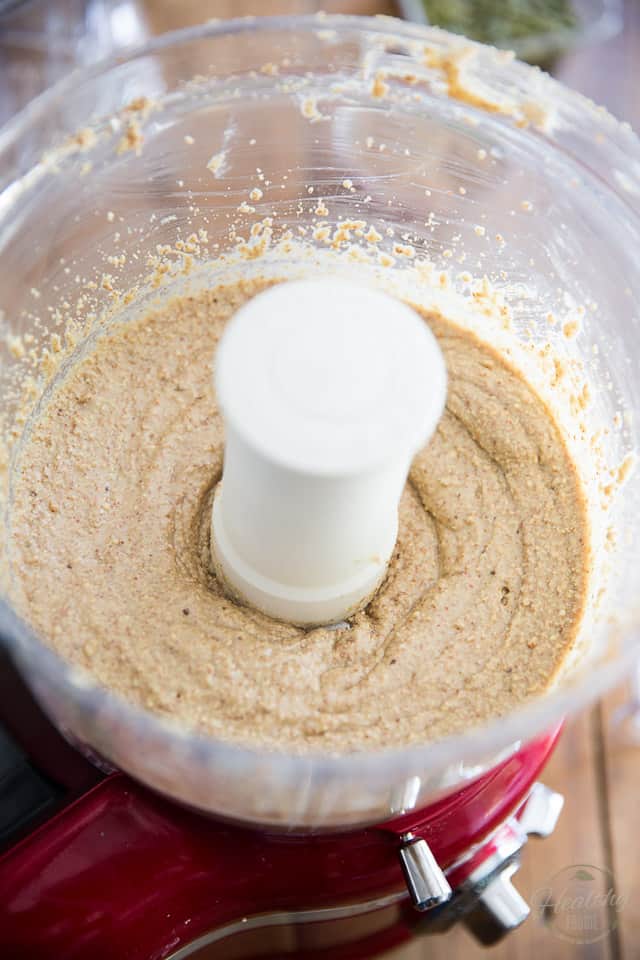
It won’t take long for your nut butter to finally have the consistency you were after since the beginning! It’s a thing of beauty, isn’t it? You can shed a tear, if you want. I won’t judge, promise!

Now the remainder of the process will go extremely quickly: simply add the pumpkin seeds and walnuts to the smooth butter and process until the nuts are reduced to tiny little pieces.
Just a few seconds will do the trick.
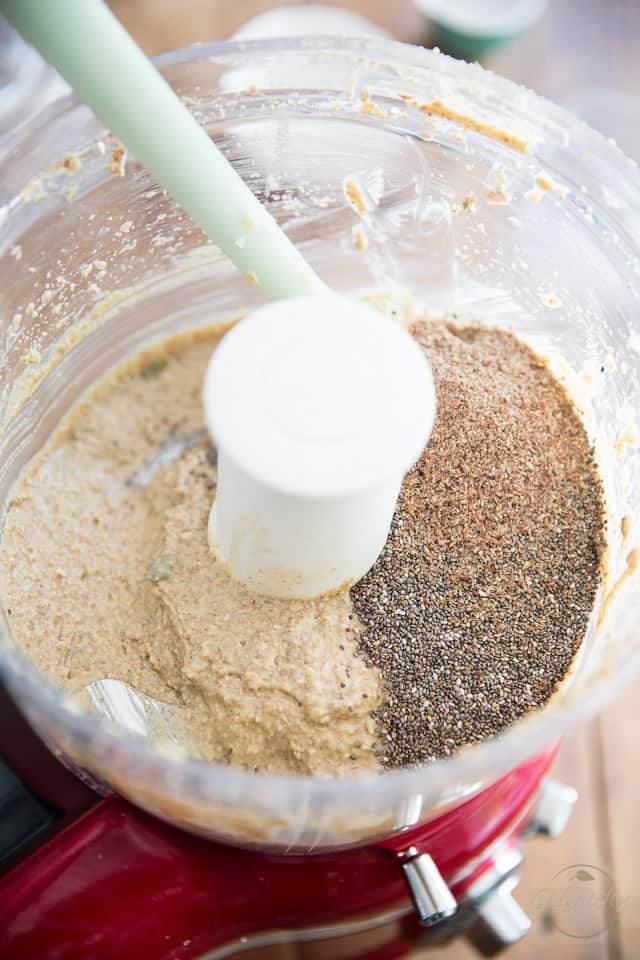
Add the chia seeds and flaxseed meal and resume processing until just incorporated. Again, no more than a few seconds…
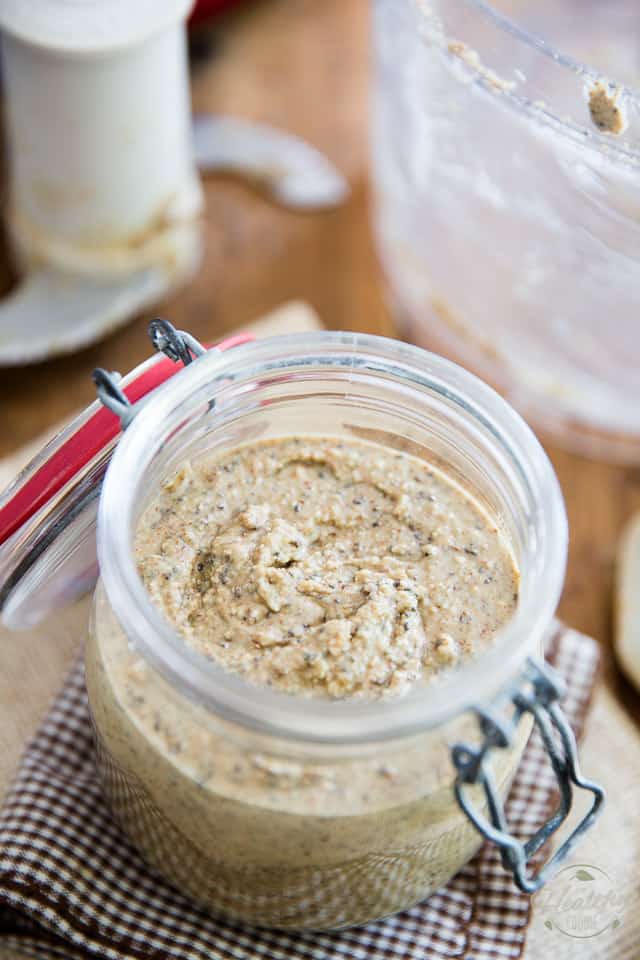
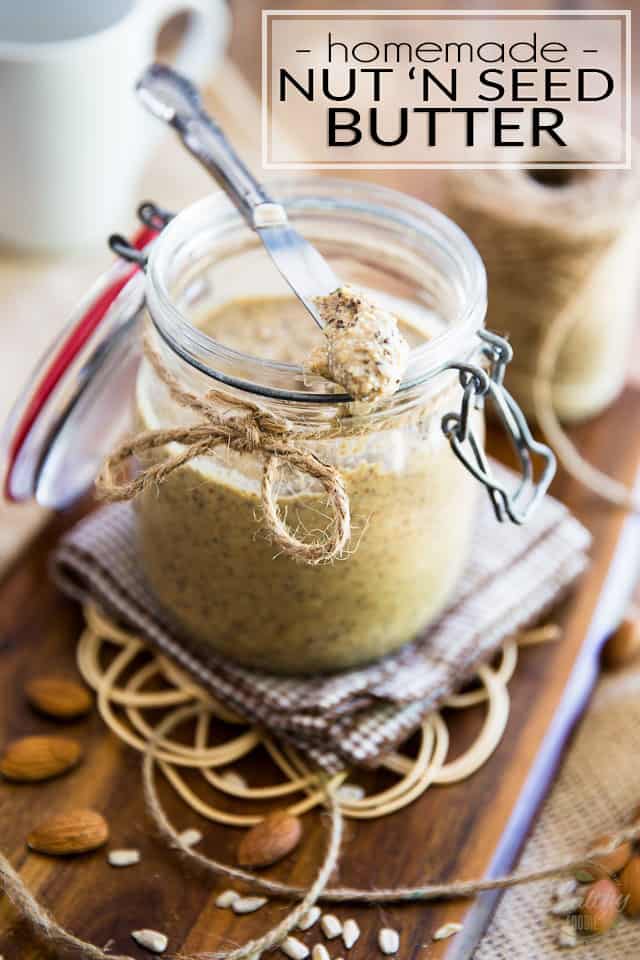
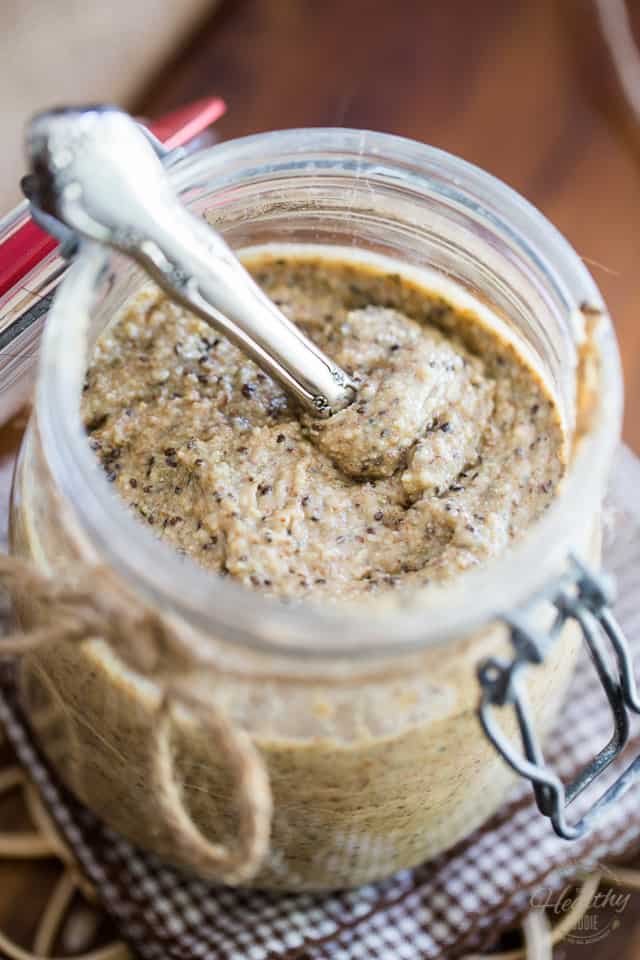
Transfer your beautiful Nut N Seed butter to a clean air tight glass jar and let it rest for a day before indulging. Take my word for it: warm, straight out of the food processor nut butter doesn’t taste all that great. It needs to settle, flavors need to meld and mingle, some kind of magic has to happen. A full day usually does the trick.
Again, trust me. This little waiting period makes all the difference in the world.
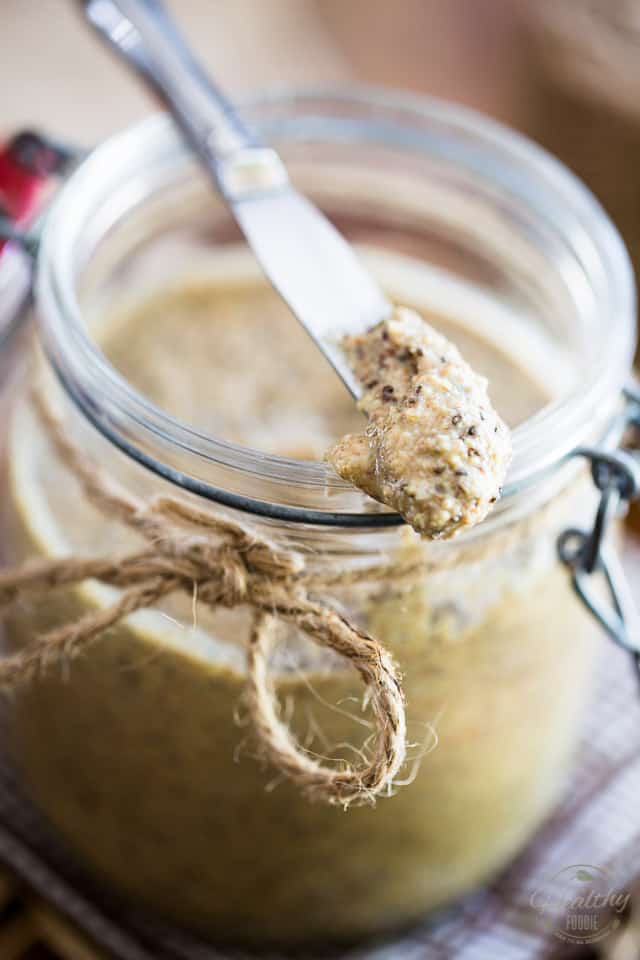
Your finished Nut N Seed butter will keep for up to a few months, providing you store it in a clean, airtight glass jar. And you don’t constantly go for a little “finger-dipper-taste”…
Nut N Seed Butter
Ingredients
- 2 cups raw almonds, toasted
- 1 cup toasted unsalted sunflower seeds
- 1/4 cup macadamia oil
- 1/2 tsp salt, I use Himalayan salt
---
- 1/2 cup pumpkin seeds
- 1/2 cup walnuts
- 1/4 cup chia seeds
- 2 tbsp flaxseed meal
Instructions
- Preheat your oven to 350°F
- Place 2 cups of almonds in a single layer on a large baking sheet
- Place the almonds in the oven and toast them for 15 minutes, moving the nuts around a few times during the process.
- Allow the almonds to cool until they can be safely handled with your bare hands, then transfer them to the bowl of your food processor; add the sunflower seeds, as well as the macadamia oil and salt.
- Process for a total of 10 to 15 minutes, stopping to scrape the sides from time to time, until the butter becomes very smooth and creamy and fairly runny in consistency.
- Add the pumpkin seeds and walnuts and process until the nuts are reduced to tiny pieces.
- Add the chia seeds and flaxseed meal and resume processing until just incorporated.
- Transfer to clean air tight glass jars and keep in a cool dry place for up to a few months.
Nutrition
If you’ve tried this recipe, please take a minute to rate the recipe and let me know how things went for you in the comments below. It’s always such a pleasure to hear from you!
You can also FOLLOW ME on PINTEREST, FACEBOOK, INSTAGRAM and TWITTER for more delicious, healthy recipes!


5 Comments on “Nut N Seed Butter”
This is interesting flavors of nut butter. I have never tried to make nut butter because my food processor is pretty old.
You don’t know what you’ve been missing out on! I say making nut butter alone is worth investing in a food processor. But then again, I might be a tad obsessed with the stuff, so perhaps my opinion shouldn’t count… 😉
I absolutely love the nutrients packed into this gorgeous nut & seed butter! I’ve actually never tried my hand at homemade nut butter, and that needs to change pronto! I have every ingredient I need in the pantry…must make this asap!
Oh, you said it, Julia! Making nut butter at home is so rewarding and so much fun, too! I hope you like it as much as I do! 🙂
Thanks for the recipe! Great and clear procedure on making this. I’ve got my ingredients and my food processor and I’m gonna take a stab at making my own nut and seed butter right now!