
Smooth and Creamy Coconut Butter – Why you should invest in a Vitamix
You know how I’d been dreaming of getting my hands on a Vitamix for years, but never seemed to be able to justify the expense to myself. Try as I might to convince them, my brains would just brush off any and all of my arguments, no matter how valid.
That was until one day I got to borrow my mom’s machine. AH! Now that did the trick. There was simply no way I could go back to being Vitamixless after I got to try one. I was instantly addicted. And now that I am the proud owner of one of those dream high-speed blenders, I wonder how I ever managed without it… A day rarely goes by without me using my precious Vitamix.
As luck would have it, I had the opportunity to test both models of Vitamix’s new generation of blenders: the G-Series. I opted to go with the Professional Series 750 because frankly, for the price difference, if you are going to invest in a Vitamix, I think it’s very well worth paying a little more for the higher-end model. Why? Because first, it comes in Brushed Stainless, whereas the Vitamix 7500 is only available in black, white or red.
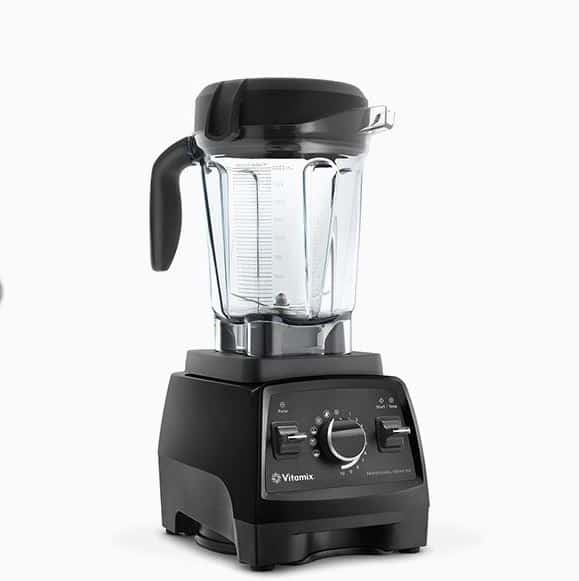
Also too, the Professional Series 750 offers 5 pre-programmed settings, including a self-cleaning option. That alone is worth dishing out a few extra bucks. You simply choose the program you want, i.e. smoothie, frozen dessert, soup, purée or self-clean, hit start button and let the machine do all the work. It’s quite fascinating to look at, too!
Both the G-Series blenders are equipped with an ultra-responsive variable speed button, as well as a handy pulse feature. Oh, and the folks at Vitamix finally redesigned their container to make it wider and shorter, so it can fit under most kitchen cabinets and it’s so much easier to scrape clean, too!
Honestly, I use my Vitamix all the time now. I use it to grind my coffee beans, a task that gets taken care of in mere seconds; I use it to make silky smooth nut milks (I can even skip soaking the nuts if I’m in a pinch); I use it to grind my coarse Himalayan rock salt; I use it to make hot soups and sauces, and even whip up the occasional smoothie…
But, as you probably guessed knowing me, what I appreciate it most for is to make velvety smooth nut butters, and ESPECIALLY, smooth and creamy coconut butter.
That alone, is very well worth the investment, if you ask me!
Remember how I’d come up with a way to make my very own smooth coconut butter at home, using my good ole food processor? Sure, it was nice and dreamy, but frankly, it also was a lot of work.
The Vitamix yields even better results in a fraction of the time, and requires only fraction of the effort. Even the clean-up will be a cinch thanks to that handy self-clean setting (oh yeah, i really do love that feature!)
Think I’m exaggerating? Not at all. Take a look at my initial post, and then look at how easy the process is with the vitamix.
I used the exact same recipe and the exact same ingredients, in the exact same amounts.
Alright, let’s get started so you can see for yourself how much easier this is…
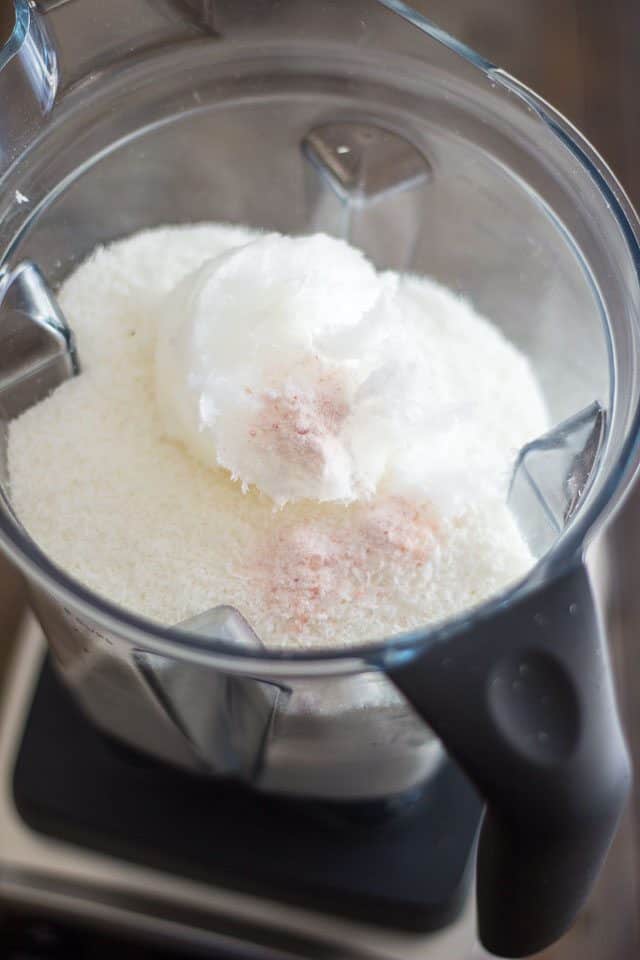
The shredded coconut, coconut oil and salt got added to the container, all at once.
Notice how that container is filled almost all the way to the top…
Process on medium speed for about 30 seconds to a minute, then slowly increase the speed all the way up to the highest setting.
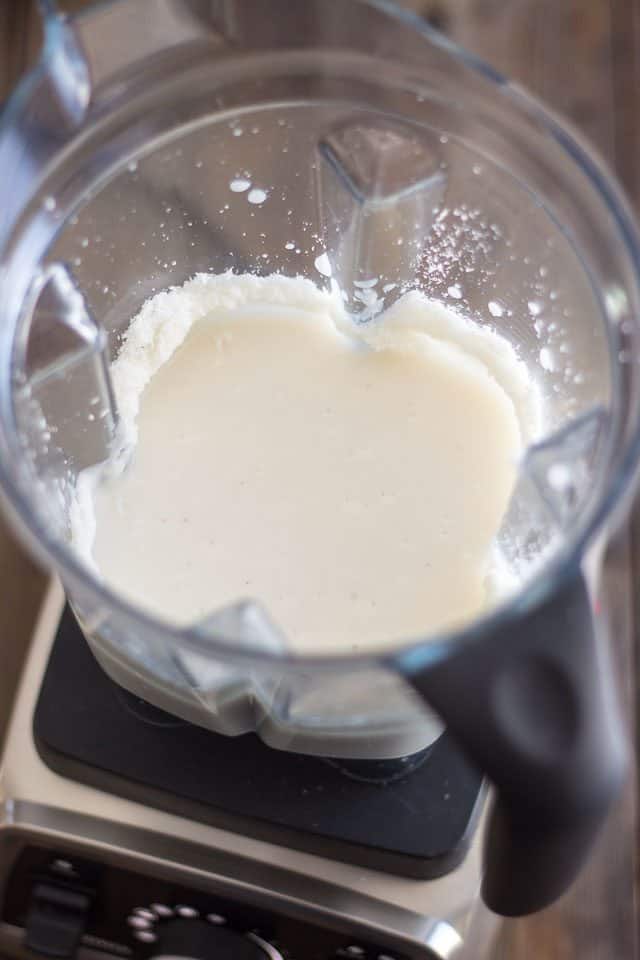
Here I chose to stop the motor and remove the lid just to show you where I was at after about 1 minute of blending. I took the opportunity to scrape the sides. That’s that only time I did that…
So, you too might want to remove that lid and scrape the sides once or twice during the blending process, just to be certain that you have every last bit in there, but frankly, that should hardly be necessary.

Keep processing until the coconut becomes smooth and has the consistency of heavy cream, about 3 or 4 minutes total.
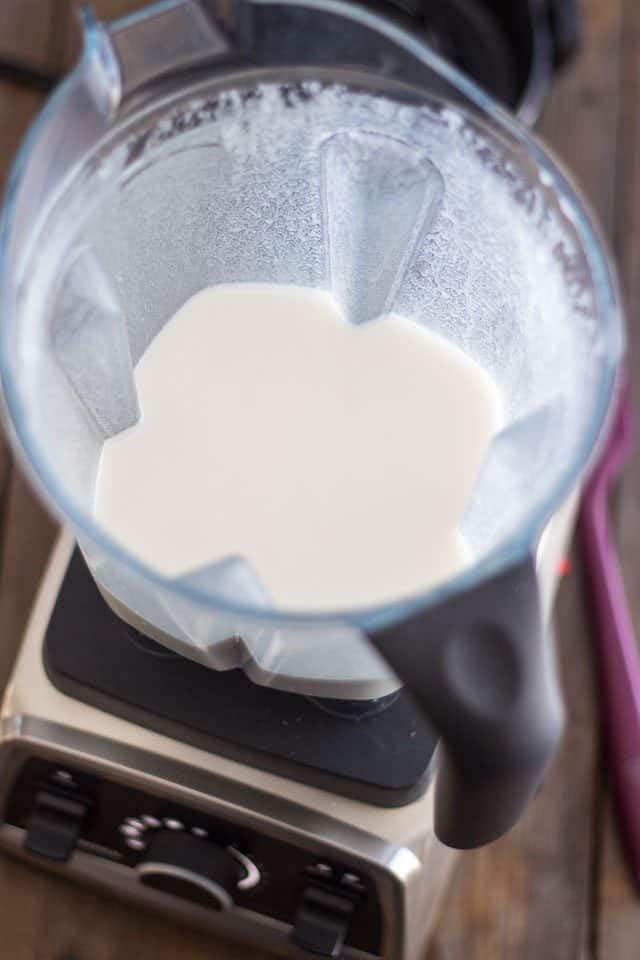
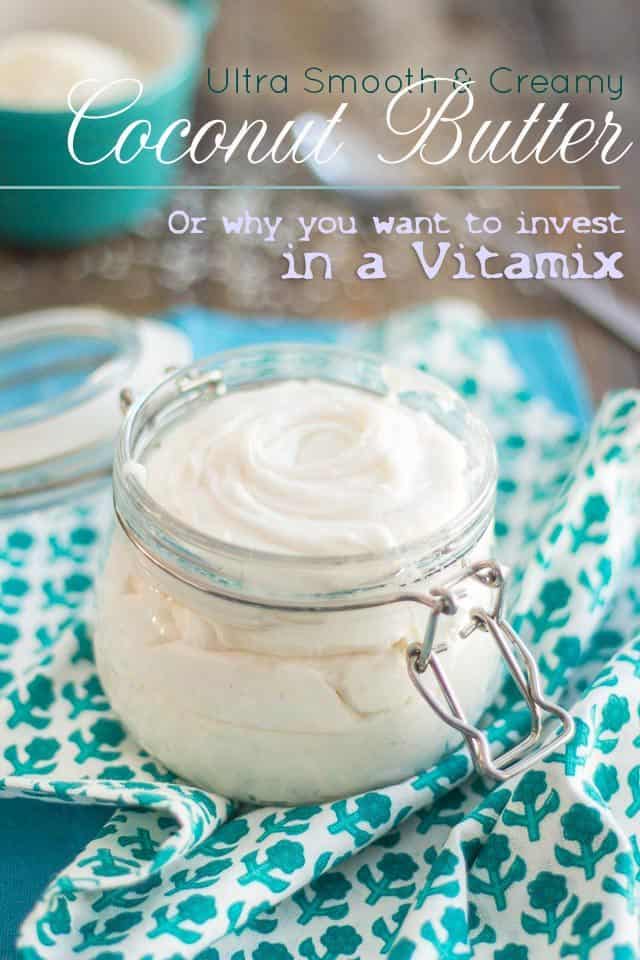
THIS, is what you’re looking for: a beautiful coconut mixture that’s white as milk and thick as heavy cream.
Take a second and stick your nose in there: the smell is D-R-E-A-M-Y.
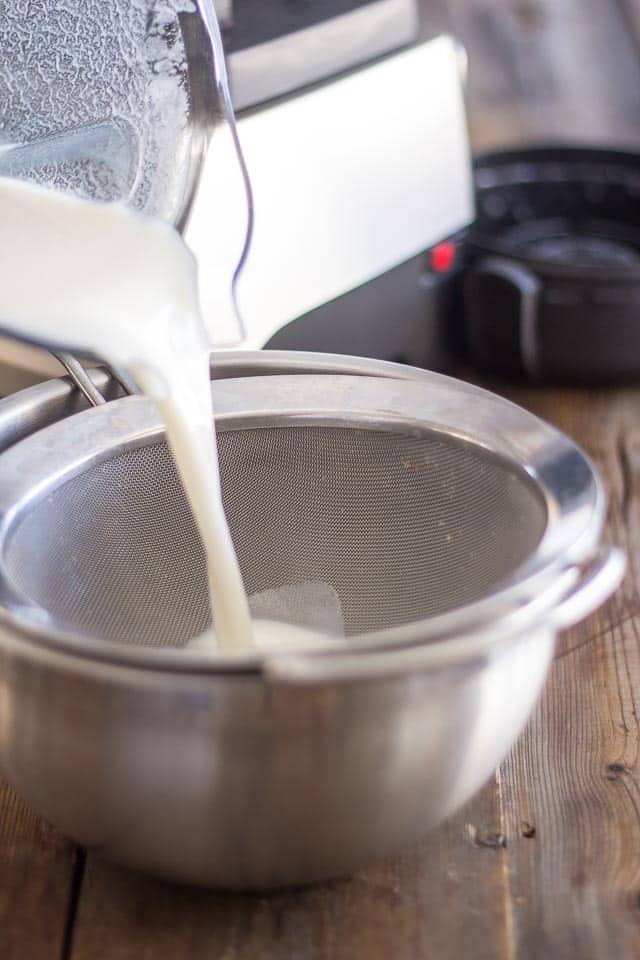
Now just for the hell of it, I decided to pour my freshly blended coconut butter into a fine mesh sieve, just like I had when I made the “high maintenance” version.
See how fluid that is? Not a particle in sight.
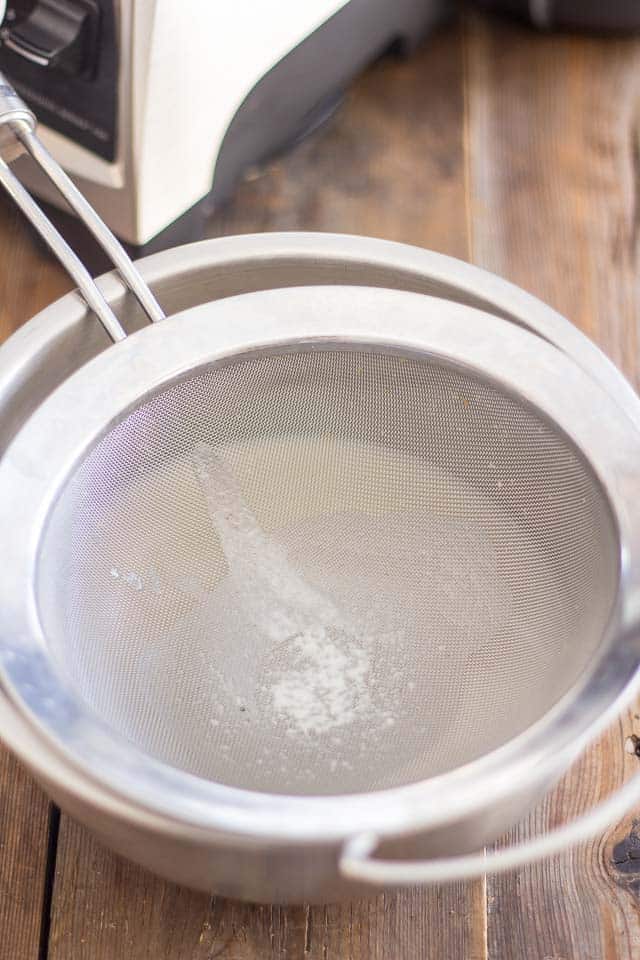
And THIS is what got left behind, without me touching or forcing anything down that sieve, after all the coconut butter had gone through.
Quite the contrast with the other version, wouldn’t you say?
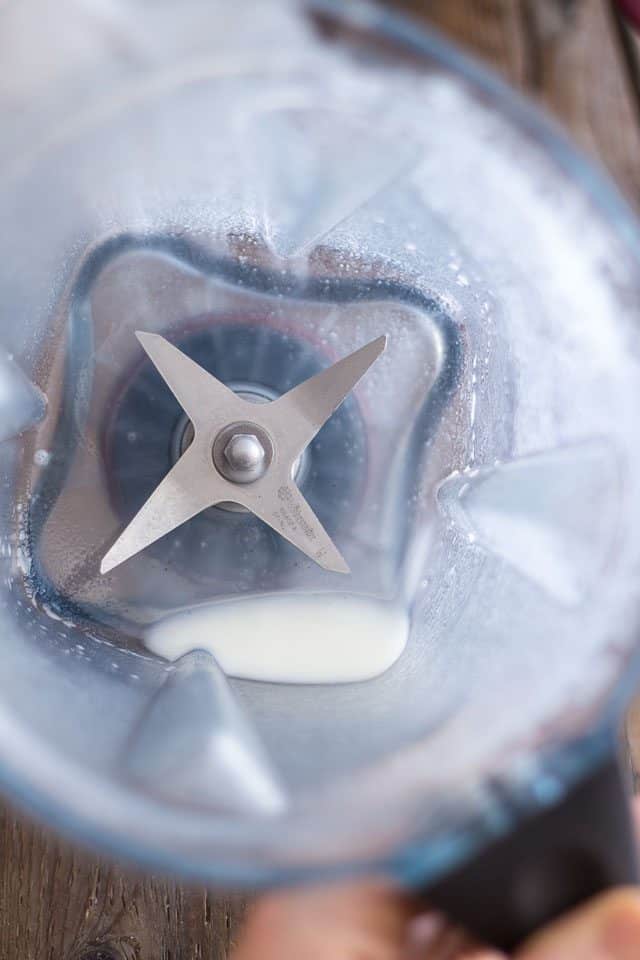
And this is what was left at the bottom of the container, without me even scraping it… can you say easy clean-up? And don’t forget that self-clean feature on the high-end model!
At this point, you could pour the coconut butter directly into an airtight glass container and store it in a cool, dry place. Then you’d want to let it set, cool down and give it time to get back to its natural consistency, which would take about 24 hours.
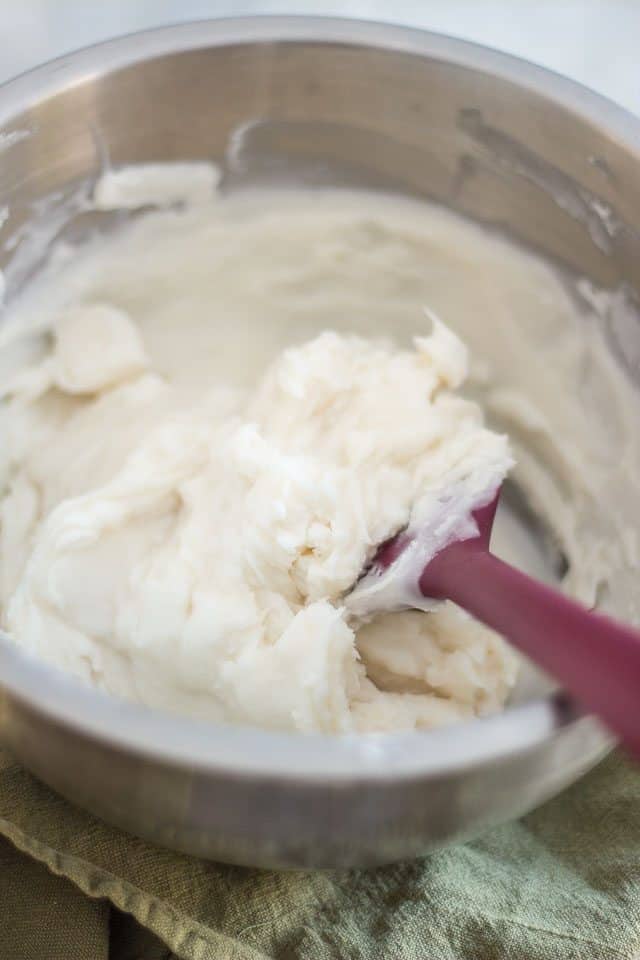
But, if you wanted a really smooth, fluffy and creamy butter, instead of storing your coconut butter immediately, you could transfer it to a large mixing bowl and place it in the refrigerator for about 30 minutes, until it starts to solidify around the edges while remaining fairly soft in the center.
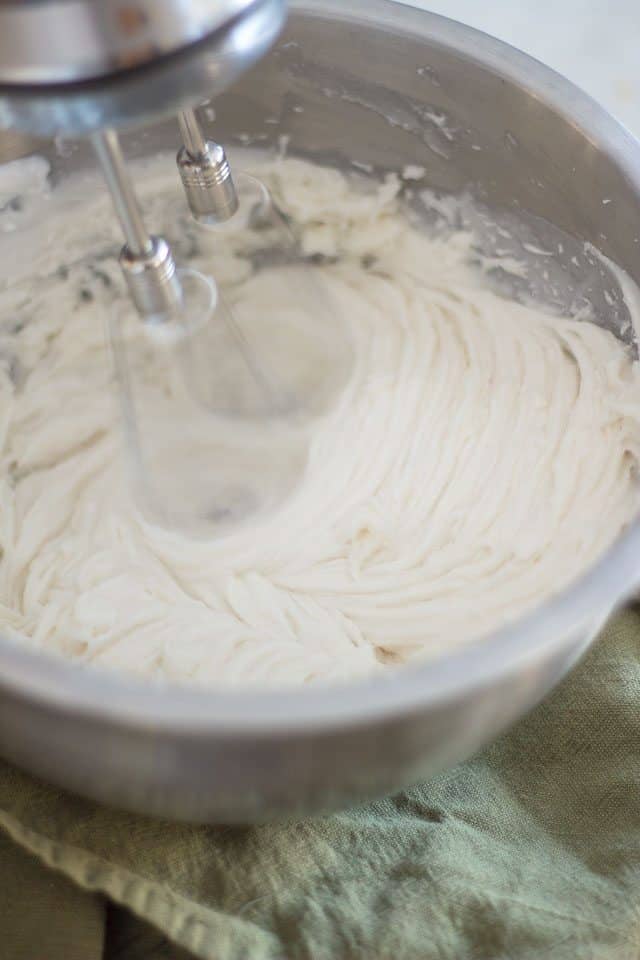
Then, you would need to take your chilled coconut butter out of the refrigerator and break it down with a spoon. You would then have to beat it with an electric mixer, starting on low speed and moving up to high, until well combined, soft and creamy.
Return to the refrigerator once more for 10 to 15 minutes to firm up, then beat again on high speed for about 30 seconds to a minute, until the coconut butter becomes really fluffy.

Now transfer the butter to an airtight glass jar and store in a cool, dry place.
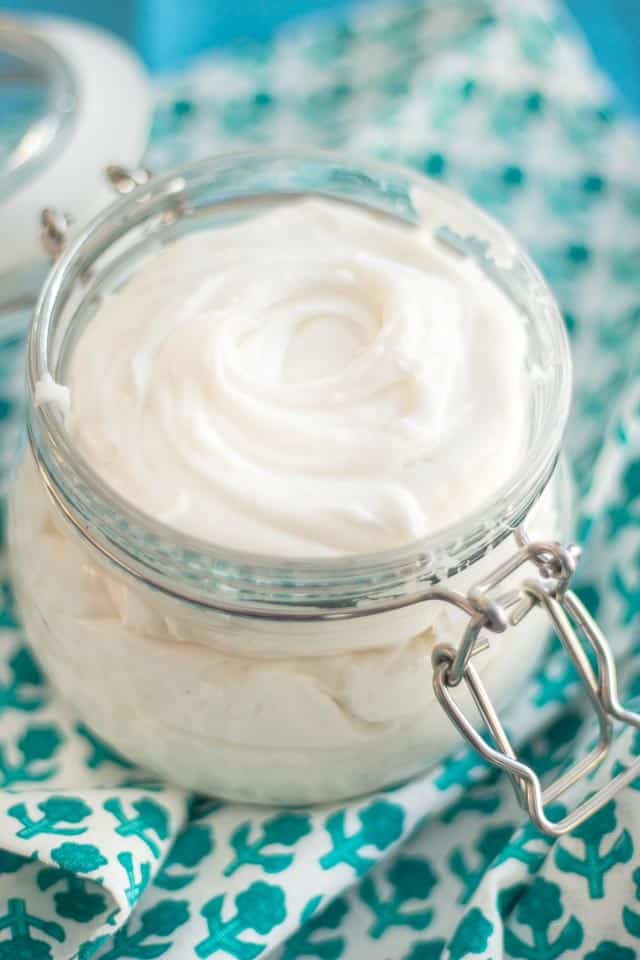
Unlike the other version, this butter won’t need time to set and can be enjoyed right away…
Yeah, you can go get a spoon, I’ll wait!
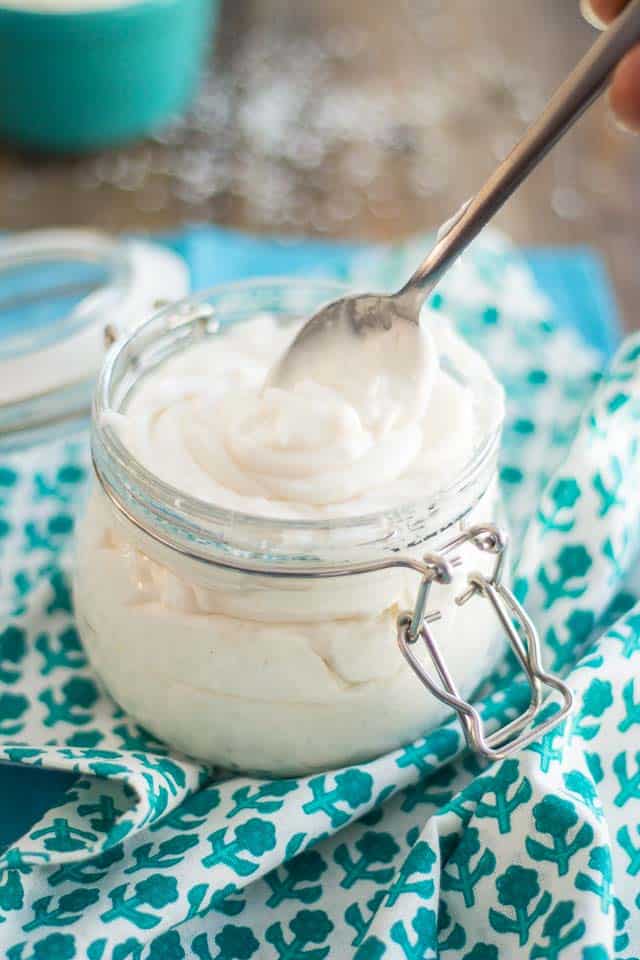
Now does that look creamy and fluffy and smooth enough for you?
I say making your own coconut butter at home and never having to buy the overpriced ready made stuff ever again is worth investing in one of those dream machines…
Oh, and to be able to make all kinds of other nut butters, too. Just wait until I start sharing recipes, you’ll see what I mean.
In the meantime, if you’re looking for more reasons why you should probably invest in a Vitamix, check out this amazing and very inspiring roundup of 52 Surprising Things You Can Make in a Vitamix.
I’m sure you’ll find a few good arguments there…
Smooth and Creamy Coconut Butter
Ingredients
- 6 cups unsweetened shredded coconut
- 1/2 cup coconut oil
- 1/4 tsp Himalayan salt
Instructions
- Add all the ingredients to your high speed blender and process on medium speed for about 30 seconds to a minute, then slowly increase the speed all the way up to the highest setting. Keep processing until the coconut becomes smooth and fairly liquid in consistency, about 3 or 4 minutes total. You might want to remove the lid and scrape the sides once or twice with a rubber spatula just to be certain that you have every last bit in there, but that should be hardly necessary.
- Pour the smooth butter into an airtight glass container and store in a cool, dry place. Note that this coconut butter will need time to set, cool down and get back to its natural consistency, which will take about 24 hours.
- For a really smooth, fluffy and creamy nut butter, instead of storing your coconut butter immediately, transfer it to a large mixing bowl and place it in the refrigerator for about 30 minutes, until it starts to solidify around the edges while remaining fairly soft in the center.
- Take this out of the refrigerator and break it down with a spoon, then beat it with an electric mixer, starting on low speed and moving up to high, until well combined, soft and creamy. Return to the refrigerator for 10-15 minutes to firm up, then beat again on high speed for about 30 seconds to a minute, until fluffy.
- Transfer to an airtight glass jar and store in a cool, dry place. Unlike the other version, this butter doesn’t need time to set and can be enjoyed right away.
Nutrition
If you’ve tried this recipe, please take a minute to rate the recipe and let me know how things went for you in the comments below. It’s always such a pleasure to hear from you!
You can also FOLLOW ME on PINTEREST, FACEBOOK, INSTAGRAM and TWITTER for more delicious, healthy recipes!


43 Comments on “Smooth and Creamy Coconut Butter – Why you should invest in a Vitamix”
Sonia, I literally have the exact same post plotted out for today! I made coconut butter in my vitamix this morning, and it was so unbelievably easy and perfect that I just had to photograph it and spread the word. I didn’t use coconut oil, so it’s definitely more thick, but the vitamix is hands down the best most utilized tool in my kitchen. And I really had no idea coconut butter was soo downright easy. Great minds…haha
I’ve been making my own for quite a while now, but I never thought the Vitamix would make such a huge difference. I just couldn’t believe how smooth and creamy it came out, and in so little time, too! Have you tried making nut butter in it?
Yes!! I usually make smaller batches than I would in a food processor. There have been a few vitamix over heat episodes where it’s just stopped working but if you don’t put too much in it’s usually all good.
I tried this today and it worked ok. Do you have to fill it with coconut flakes? I used a whole bag but it wasnt full . I feel like without liquid it just gets kinda jammed and doesnt really blend it. I finally added some soy milk and that helped some . Any tips?
Oh man! I have the older model of Vitamix, and the new one definitely looks like a step up. Still, I’m sure I could get the same or similar results…I just might have to use a spatula to get everything out 😉 I absolutely love my Vitamix! My nut butters and coconut butters are way creamier than a lot of what I see online (with no oils added!).
I think the older model will work just as well for coconut butter, Chelsea. It’s so thin that it basically pours out like heavy cream! For nut butters, however, I think the older model would have driven me mad. It’s so tall and slim, scraping it clean has to be a real nightmare. I definitely ADORE the new container!
When you blend it, how does turn into a liquid when blending? If it’s butter, shouldn’t it end up a thick paste instead of a liquid?
The heat generated by the blender is enough to make the oil in the coconut melt and turn into a liquid. When it gets back to room temperature, it solidifies again and turns into a firm butter.
This. Was. Amazing. By far the best coconut butter I’ve ever had. I did the mixer version and it was so simple! Thanks for sharing!
Glad to hear, Ladonna! Thanks for taking the time to let me know! 🙂
I can’t wait to try this! I was thinking of spreading it on (paleo) bread, but are there other ways to use this?
I use it as a base ingredients in a lot of recipes, Lynette, especially in baking. I use it a lot to make fancy nut butters, too! But I think my favorite way to indulge is just with a spoon! 🙂
Me too! The first time I made it I ate (on a spoon) almost the entire batch. I use my $24 blender though as I don’t have a Vitamix. Maybe some day…
I’ve been saying I should make coconut butter for months now…I am not motivated to do this. Thanks!
does this only work in the newer vitamix? i bought mine in 2011 but the motor has stopped working at least 100 times when i try to blend something without liquid. i then have to wait about 1-2 hours for it to work again. i’ve attempted coconut butter and that was a joke!!! it completely jammed the blades and the motor stopped.
What? I would totally contact Vitamix and let them know about that. 2011 is not an OLD model and your machine should totally be able to handle this job. Coconut butter is one of the easiest / quickest things to make, even in a regular food processor.
thanks!! do you know how i’d contact them?? i have sent countless emails to the site, called the company and left messages, and even called the repair center! nobody has ever gotten back to me. i will never deal with vitamix again since their customer service is an embarrassment.
For real? Wow, I am really surprised, and saddened, to hear that! I’ve never had to deal with their customer service, so I really wouldn’t know… Let me see if I can get some contact info for you.
Someone from their customer service should be contacting you shortly, Joanna. Please keep me posted!
omg sonia!! you must have super powers haha i actually gave up on trying to get it fixed or replaced. i’ve always been jealous of all the recipes i see others make in their vitamixes!
Very cool; thank you! I’ve got an older Vitamix, but am hoping to get a new one once they have fixed the black spec problem. (You can google “Vitamix black specks” to find plenty of discussions on it, but I believe the original one was on slickdeals. It’s very long, but the last few pages have the pros and cons listed pretty well:
http://slickdeals.net/f/7035600-vitamix-blender-certified-refurbished-246-75-25-shipping-5-year-warranty?page=67&rpid=73497934&rp=68
Until then, I’ll continue to use my old one. Sounds like it should work fine for this. Thanks again!
I contacted vitamix on Facebook and got a reply, and help with mine.
Beautiful recipe, I cannot wait to try this! thank you.
I recently purchased the 7500 model and it had thousands (not exaggerating) of tiny black teflon specs come out in it when I ran it with just water to clean it before using for the first time. So I returned it and received a replacement and it too released tons of black teflon specs that were clearly noticeable. Disappointed was an understatement and Vitamix customer service was an absolute joke. QVC is now sending me yet a 3rd 7500 unit and I will see if it has the black teflon specs when it arrives. This is so upsetting when consumers like myself buy beautiful organic produce for our families. I wouldn’t even use a teflon pan to cook in let alone have any of us eat it directly in our food. So I will have to wait to try this recipe as my Oster beehive is so overworked and can’t get anything really creamy. 🙁
For real? Yikes! That sucks. Hopefully 3rd time’s the charm. 😉
There seem to be specks in the pictures in this recipe too (sieve and jar) ;(
Can’t wait to try this recipe! What is the shelf life of the coconut butter and does it need to be refrigerated? Thanks!
No need to refrigerate, Ashley. Store the coconut butter in a cool, dry place where it will keep for up to a few months.
When you make this lovely creation and go thru the whipping portion, does the butter harden back up like the ones you buy after you store it?
It all depends on ambient temperature, Jennie. During the very hot days of summer, it will remain super soft and fluffy and perhaps even melt, whereas during the cold days of winter, it tends to get much firmer. Still, it will remain softer than the store-bought variety no matter what because of all that air that’s been incorporated into it.
I followed your recipe in my vita mix and mine never went to a liquid it just keeps getting thicker and is crumbly…. Thanks for any help.
Unless you made changes to the recipe, there is absolutely no reason why it wouldn’t work, Jessica. It might just need a little more time!
Sonia:
I have an awesome Vitamix, but was wondering if this recipe is meant for cooking only? What about a similar recipe to use as a moisturizer (skin)? Thanks, Sandra
This recipe is meant for eating, Sandra, but I suppose you could use it as a moisturizer, if you wanted to.
Maybe a dumb question, but what can i do with coconut butter, besides eat out of the jar?
Other than eating it out of the jar, I mostly use it as a base ingredient in other recipes. It’s also pretty awesome as a garnish over pancakes, muffins, waffles, etc…
Strawberry Coconut butter cream icing ! Amazing and so much healthier !
1cup strawberries halved, put in blender( vitamix) and pulverize into liquid . Add 1/2 cup of MELTED liquid coconut butter and blend the two together now add 3/4 cup (icing sugar) powder sugar , 1/2 tsp real vanilla extract, 1tsp Lemmon juice , pinch of sea salt ( I use Himalayan pink) and blend the rest together , refrigerate for 2-4 hours … It’s amazing and so good way less sugar then traditional buttercreams
Sounds very yummy indeed, Nova! Thanks for sharing! 🙂
About how many tablespoons does this recipe make ?
I want to try this recipe, and I’ve got (2) different 8 oz packages of unsweetened shredded coconut with each one having approximately 2 7/8 cups coconut shreds. Do you think I’ll be ok to run this recipe with about 1/4 cup of coconut shreds missing?
It’s perfectly fine, Janet. That quarter cup of shredded coconut will not be missed at all! 🙂