Dutch Oven Chicken Bone Broth
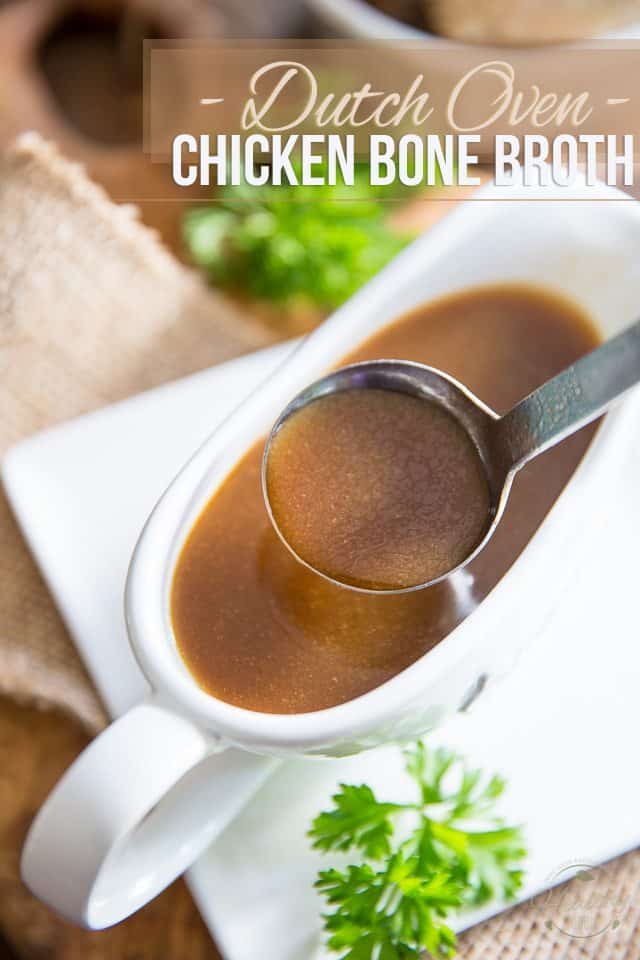
Soup season is right around the corner (YAY! I REALLY LOOOVE ME SOME SOUP!) and I know for a fact that I will be using my ultimate favorite chicken broth/stock often in the next few months, so I figured I might as well share my recipe with you.
Well, if you can call it that, ‘cuz it’s not really a recipe… it’s more like a technique!
But this stuff is seriously SO AMAZING and so easy to make, I simply couldn’t keep the “technique” to myself. This is NOT just your ordinary chicken broth; it’s just like bone broth, only it’s made with chicken. So it’s really Bone Chicken Broth.
Just wait ’til you see how intensely “gelified” this thing gets after an overnight stay in the fridge.
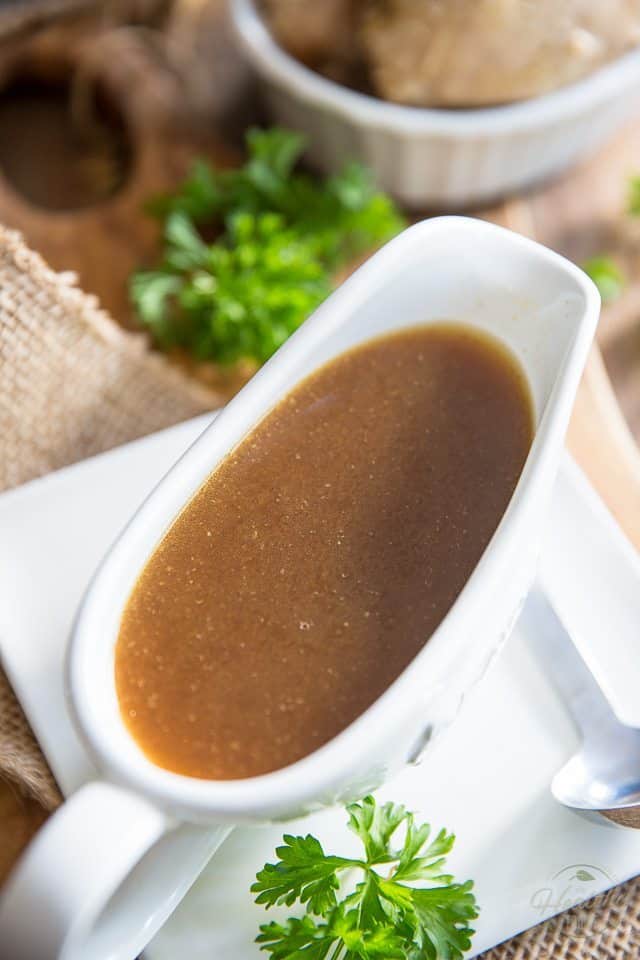
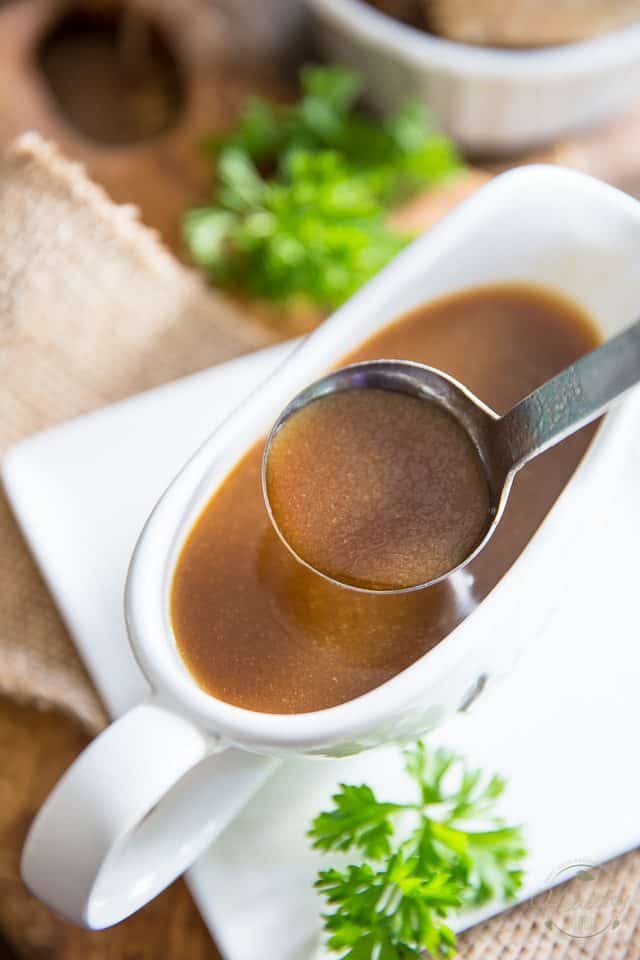
In fact, this chicken broth is so thick, so rich and so incredibly tasty, you could very well use it as gravy. I’m not kidding.
Try it once, and I’ve no doubt that it’ll become your go-to chicken broth recipe, too!
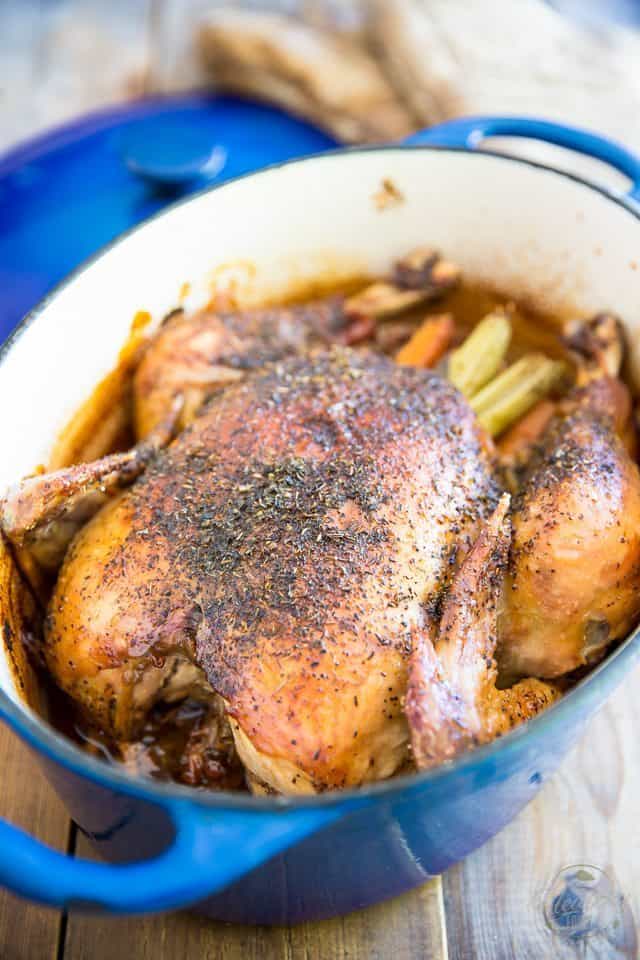
If you’re gonna make this broth, though, you must first make one of my famous Dutch Oven Roasted Chicken.
If you haven’t tried that yet, do yourself a favor and make one NOW! I’m telling you, you will not regret it. I haven’t cooked chicken any other way since I discovered that method. Even my Christmas turkey gets done this way.
Never in your life will you have had chicken so moist, so tender, so juicy and so tasty. Trust me, you’ll love it!
And if you don’t yet own a Dutch Oven, it’s totally worth getting one, if only for this…
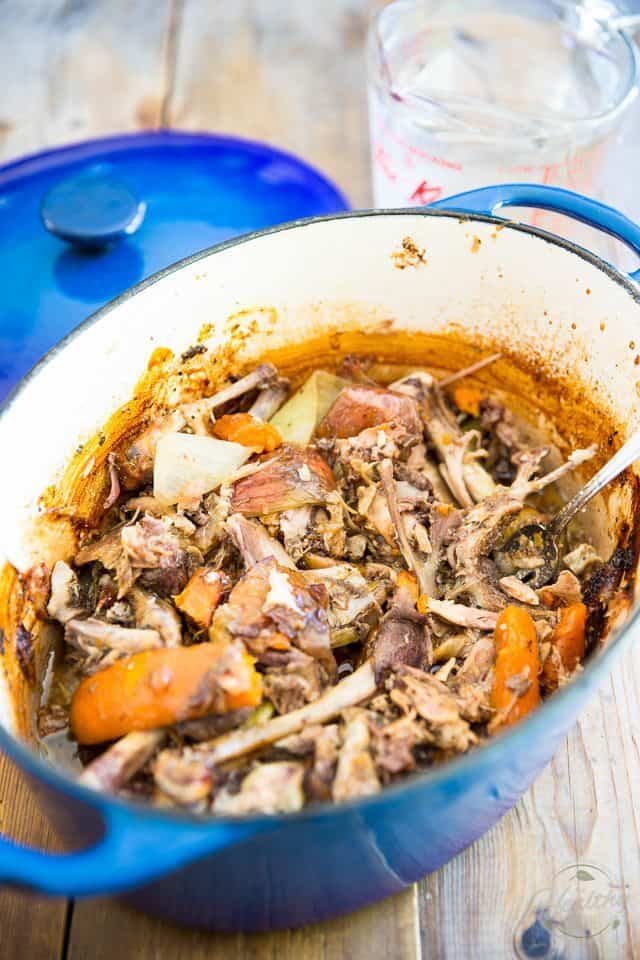
Once you and your family are done feasting on your chicken, or once you’ve picked all the meat from the carcass, return the bones and skin to the Dutch oven, along with any and all vegetable scraps.
Make sure that you also leave all the good stuff that was already in the Dutch Oven right where it sits.
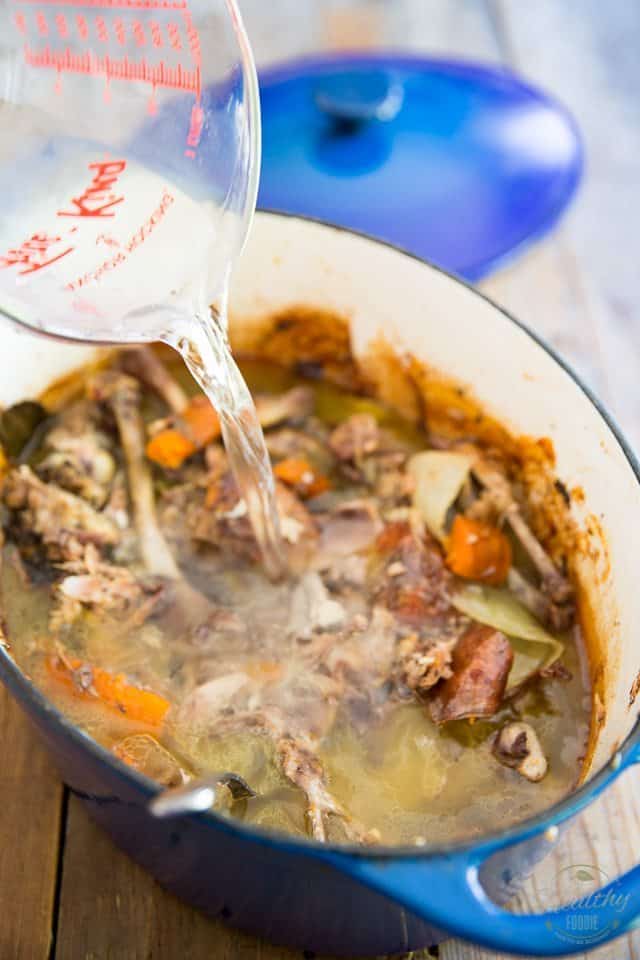
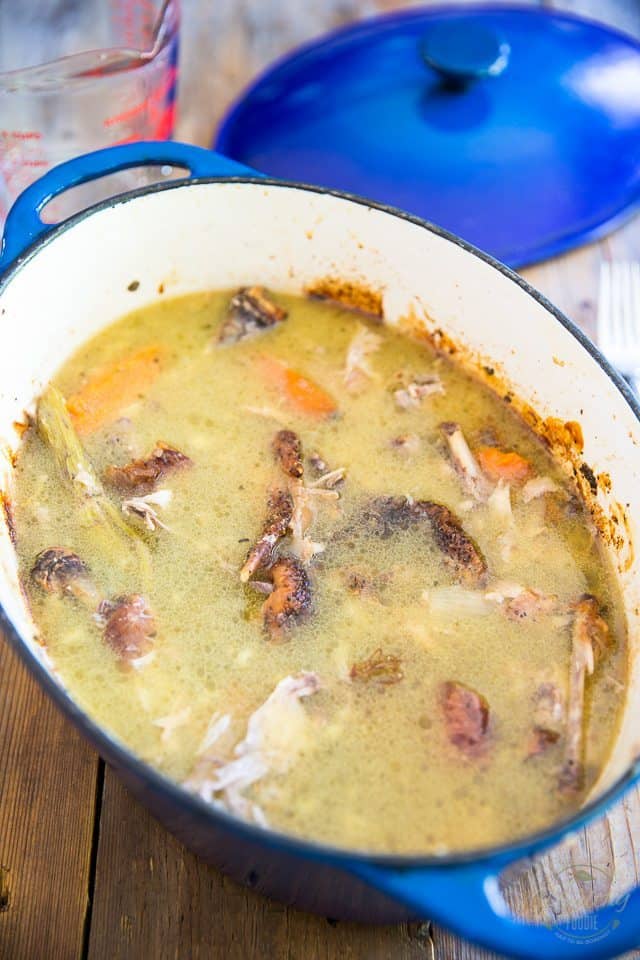
Next, add enough water to completely cover the chicken bones — about 8 to 10 cups should suffice — as well as a tablespoon of apple cider vinegar, to help draw more of the good stuff from the bones.
How much water you add isn’t really exact science…
Just make sure that your bones are completely covered. You could even add more if you wanted to make a lighter, less concentrated broth.
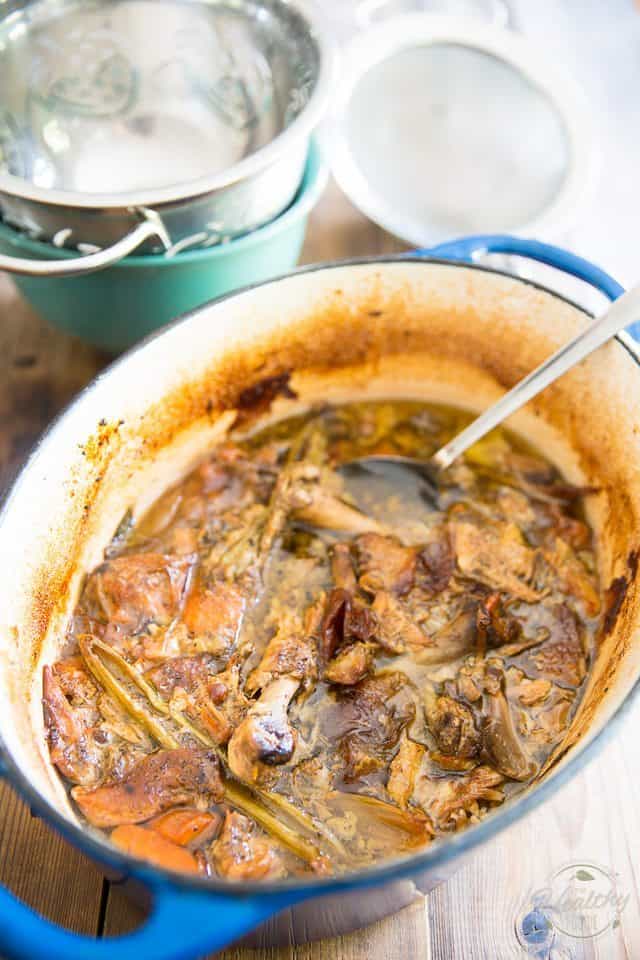
Now put the lid on and place the Dutch oven in a 325°F oven; bake for 5 to 6 hours, or until your water has turned into the most delicious, richest and darkest chicken broth.
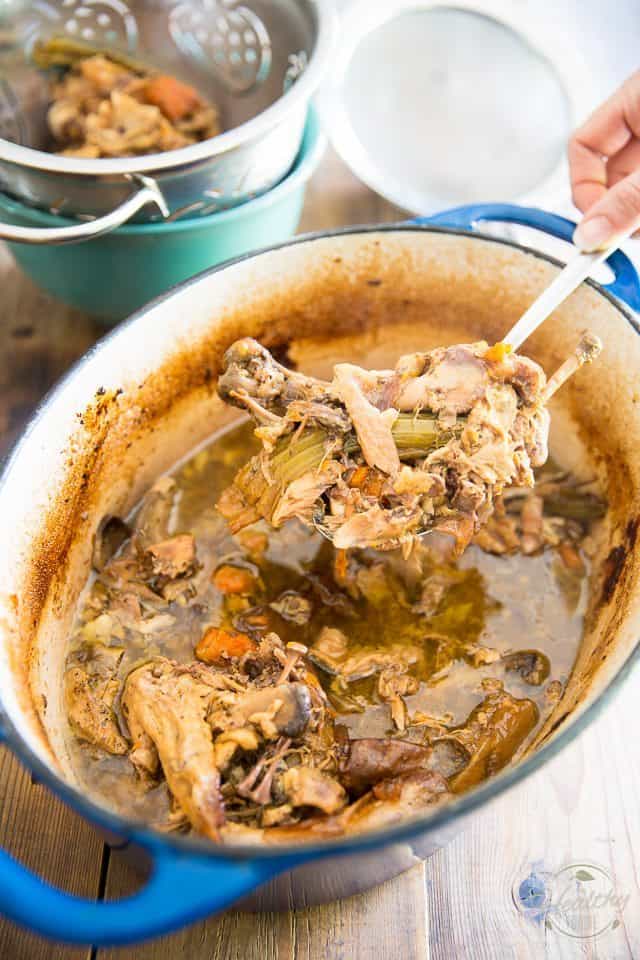
Remove the larger pieces with a slotted spoon; place them in a colander set over a large bowl to collect the excess juices.
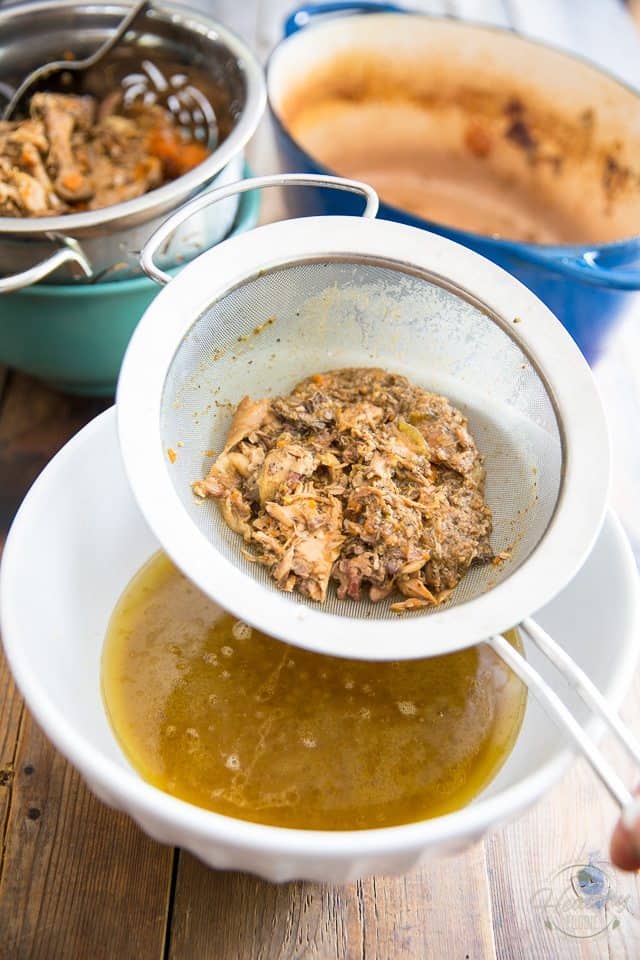
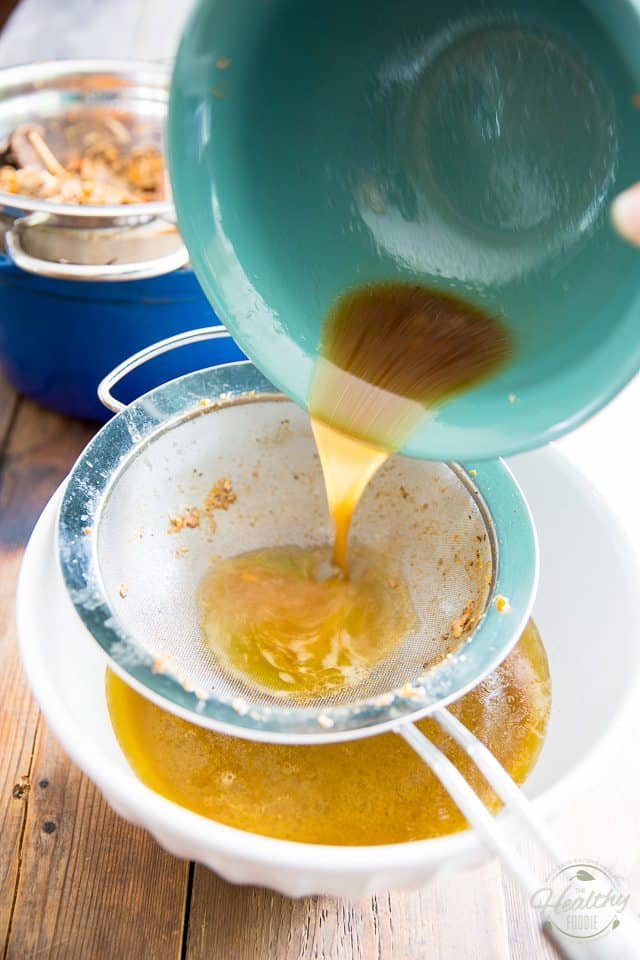
Then, strain the broth through a fine meshed sieve. Be certain that you press down on that pile of chicken scraps, to make sure that you extract as much liquid from it as you possibly can.
Then do the same with the larger pieces that you placed in the colander earlier. Press them down, and press them down hard! You’ll be surprised how much broth will come out of there!
You’ll then want to strain it through the fine mesh sieve, adding it to the rest of the broth.
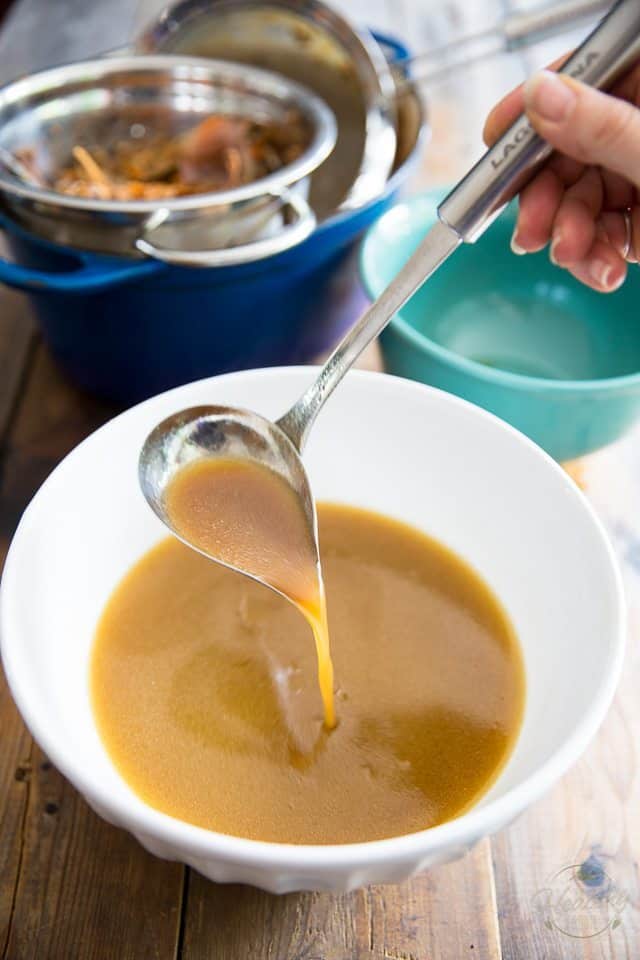
See all that precious golden liquid that came out of there. You DON’T want to let that go to waste!
Your broth is now technically ready to be used, but it does contain a fairly high amount of fat, especially if you returned the skin to the pot. Personally, I like my broths to be on the leaner side, so what I like to do is send my broth to the fridge at this point and leave it there until it’s completely set, usually overnight.
Besides, by the time I get to this step, I’m usually just about ready to go to bed… I’ll have put my chicken in the oven in the morning, taken it out of there shortly before dinner and then put the bones back in at around 6pm. By the time I get to strain my stock, it’s way past 11pm, time for an old woman like me to hit the sack.
Sometimes, what I’ll do when I don’t want to dirty up the kitchen that late at night is I’ll throw the bones back in the Dutch oven after dinner and wait until the next day to get my broth going.
Still, I’ll only rarely use my broth right away because I prefer to remove the fat, and this is much easier to do once the broth has completely set. So in the fridge it goes…
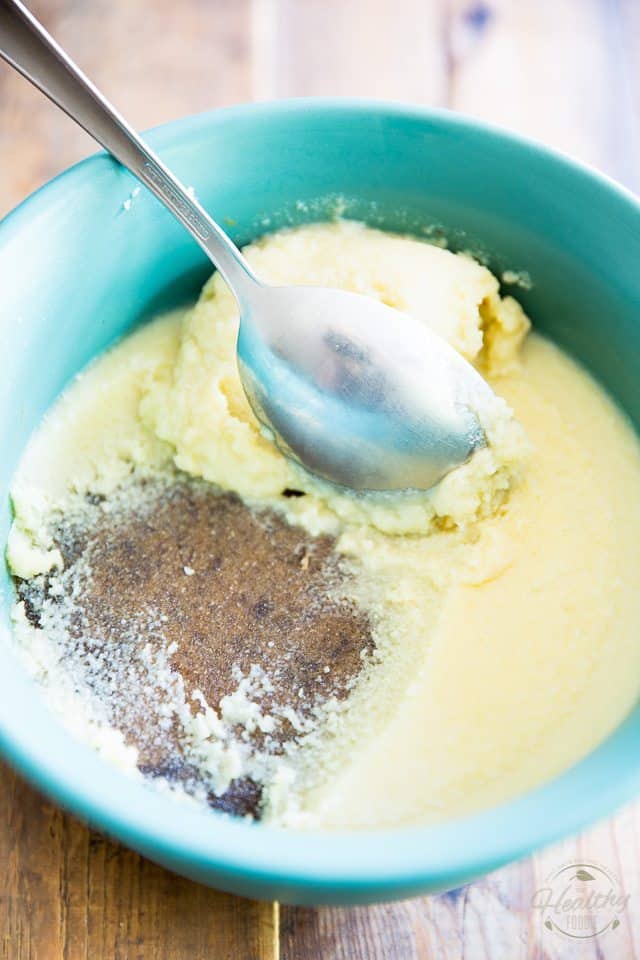
Once the broth is fully set, the fat will have floated to the surface and formed a thick, creamy, solid layer. In that state, it’ll be easy for you to remove as much, or as little as you want.
Like I said, I prefer my broth on the lean side, so I remove most of the fat. I do, however, keep it in the fridge in a little container and then I use it to cook with! That stuff is yummy, tasty, and will keep for a little while.
I strongly suggest that you do the same…
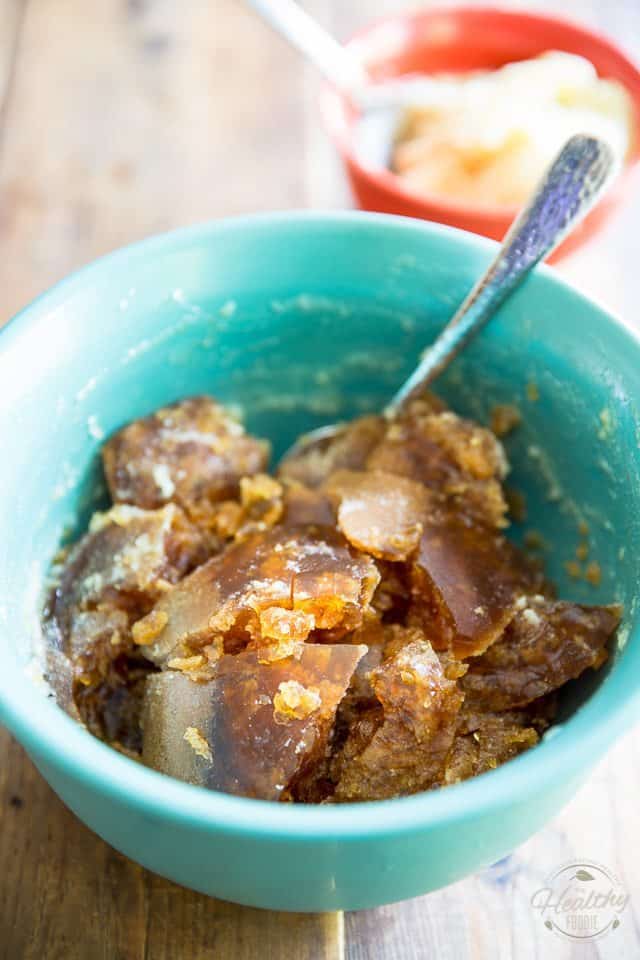
And now look at that broth!
THAT’S WHAT I CALL GELIFIED!
Just imagine how good it is for you… and how good it tastes, too!
Of course, before you use it, you’re gonna want to reheat it.
I’m not usually a fan of drinking broth, but this one? I definitely wouldn’t say no to a nice, piping hot cup. I would totally dilute it some before to serve it, though…
And one thing’s for sure, it will make ANY soup taste AH-MA-ZING!
I can’t wait for you to try it…
Dutch Oven Chicken Bone Broth
Ingredients
- The carcass and vegetable scraps from 1 Dutch Oven Roasted Chicken
- 8-10 cups of water
- 1 tbsp apple cider vinegar
Instructions
- Once you're done feasting on your chicken, or once you've removed all the meat from the carcass, return the bones and skin to the Dutch oven, along with any and all vegetable scraps. Make sure that you also leave all the good stuff that was already in the Dutch Oven right where it sits.
- Add enough water to completely cover the chicken bones, about 8 to 10 cups should suffice, as well as a tablespoon of apple cider vinegar, to help draw more of the good stuff from the bones.
- Cover and place the Dutch oven in a 325°F oven and bake for 5 to 6 hours, or until your water has turned into the most delicious, richest and darkest chicken broth.
- Remove the larger pieces with a slotted spoon; place them in a colander set over a large bowl to collect the excess juices. Then, strain the broth through a fine meshed sieve.
- Press down hard on the larger pieces you removed earlier to help extract as much of those juices as you possibly can and add those juices to the rest of the broth, straining them through the fine mesh sieve if necessary.
- Place the broth in the refrigerator until fully set and then remove as much or as little of the fat layer as you want (save this fat for cooking)
- The broth will keep for about 5 days in the refrigerator and up to a few months in the freezer. Note that this broth is extremely concentrated, so you will most probably want to dilute it when you use it.
Nutrition
If you’ve tried this recipe, please take a minute to rate the recipe and let me know how things went for you in the comments below. It’s always such a pleasure to hear from you!
You can also FOLLOW ME on PINTEREST, FACEBOOK, INSTAGRAM and TWITTER for more delicious, healthy recipes!












21 Comments on “Dutch Oven Chicken Bone Broth”
Sonia, have written to you before to say how your Dutch oven chicken has changed the way I cook roast chicken for ever! I have also been making stock since then (about 1/2 dozen times by now!) and I agree with everything you have written above, it is the most delicious stock I have ever made, to say nothing about the ease, i.e. already have the bones in a dirty pot. Didn’t know about the apple cider though so will try next time. Making pumpkin soup with it later this week and I already know how delicious it will be! Thanks!
Awww, thank YOU Emma for taking the time to leave such amazing feedback!! I’m just so happy to hear that someone out there loves this chicken and broth just as much as I do! I have no doubt that your pumpkin soup will be amazing. 🙂
Just like you said , delious tasting , I’m eating it now , the soup is in the oven .
I did take the skin off the chicken as I always do with chicken,and had a 3 lb chicken.
I was wondering if maybe I could have cooked it in less time seeing that it was only 3 lbs ?
I’m looking forward to tasting the broth.
Any of your recipes that I try are always amazing !
Awww, thank you so much, Diane, that is so incredibly nice of you to say! I’m really happy to hear that you feel that way about my recipes.
As for your chicken, you probably could’ve gotten away with a much shorter cooking time, seeing as how it was so small. But I think that when it comes to chicken, you simply just can’t overcook them! 🙂
Hopefully its amazing food and good to cook with my dutch oven.
Thanks for the great recipe! I used a 4lb chicken in a 6qt Lodge Dutch Oven. I cooked it for 3 hours 30 minutes, then took the lid off and put it under the broiler for 5 minutes to get the skin a bit crispier. I’m currently converting the remaining chicken parts into bone broth (while binge watching House of Cards — long recipes go well with Netflix!)
Hahaha, you got that one right, Anoop! Great idea, finishing that chicken under the broiler, I think I’ll do that next time! Hope the chicken and broth were to your liking! 🙂
OMG this recipe sounds soooo good! Im just wonderin how I might cook it in a slow cooker
Simply throw everything in the slow cooker and cook on low for 24 hours…
My Dutch Oven chicken has exactly 26 minutes left to cook. Can’t wait to try this!
My main reason for cooking the full chicken is because of the bone broth. It’s SO incredibly amazing for our bodies. It’s 8pm now, And I’m thinking I’ll carve the chicken and then put everything back in up until the time I fall asleep… Probably midnight.. Hopefully that will be enough time. Crossing my fingers that it comes out ok!
Also, I’m planning on putting it in mason jars in the fridge and then freezing some of them in 1 C mason jars. But my question is, How long does the bone broth last in the fridge?
I will usually keep mine for 3 to 4 days in the fridge, if I think that I will have an immediate use for it… otherwise, I let it cool, put it in ziploc bags and freeze it right away.
Can you help me figure out what I did wrong? I followed your recipe (or so I thought!)…I put the chicken carcass in the dutch oven, covered it with water and veggies, and baked it, covered, for 6 hours at 325. The house smelled great, I was so excited for it to be done. When I took the lid off, all the broth was gone! The inside of the dutch oven was all brown and burnt-looking and all that was left were dried up veggies. All these other commenters had great success with this recipe, what could I have done wrong?
I had the same issue. I guess just adding tons more water than I was expecting. The broth is delicious but most of it was gone.
Just made the roast chicken last night! It was a great success!! I will be making the bone broth today. Question, my chicken came with all the insides, like heart etc.. should I add those into the pot for the bone broth?
Absolutely! Throw them right in!
Oh my goodness, this recipe is a Godsend! Before I made this broth, I tried your Dutch oven roast chicken and that was phenomenal. I was only able to find a chicken around 3.5lbs so I adjusted the cooking time. It worked out perfectly. When I went to strain the bone broth, the bones were so soft, they broke apart easily…fantastic! This morning, I skimmed off the fat which I’m using in some roasted potatoes tonight. And I used a little of the bone broth to go on to make a bit of mushroom broth for a sauté. Thank you for sharing this incredible and easy recipe!
You are so very welcome, Dawn. The pleasure is all mine. And really, thank YOU for taking the time to share such amazing feedback. You totally rock!! 🙂
I followed the directions and at the end of it all I have maybe a cup of brith and a very burned up Dutch oven…..
I tried this method out yesterday with a turkey and OMG, I am never going back to making bone broth on the stove. My bone broth turned out so gelatinous and flavorful, best of all it only took 6 hours in the stove!
So easy to follow and smells amazing!!
Making this recipe today. Thank you.