
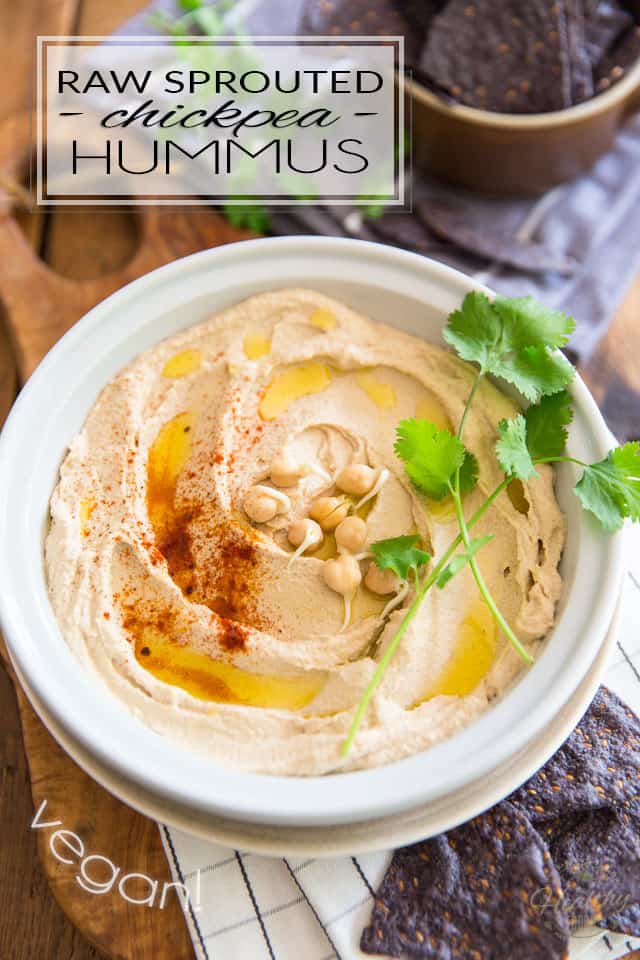
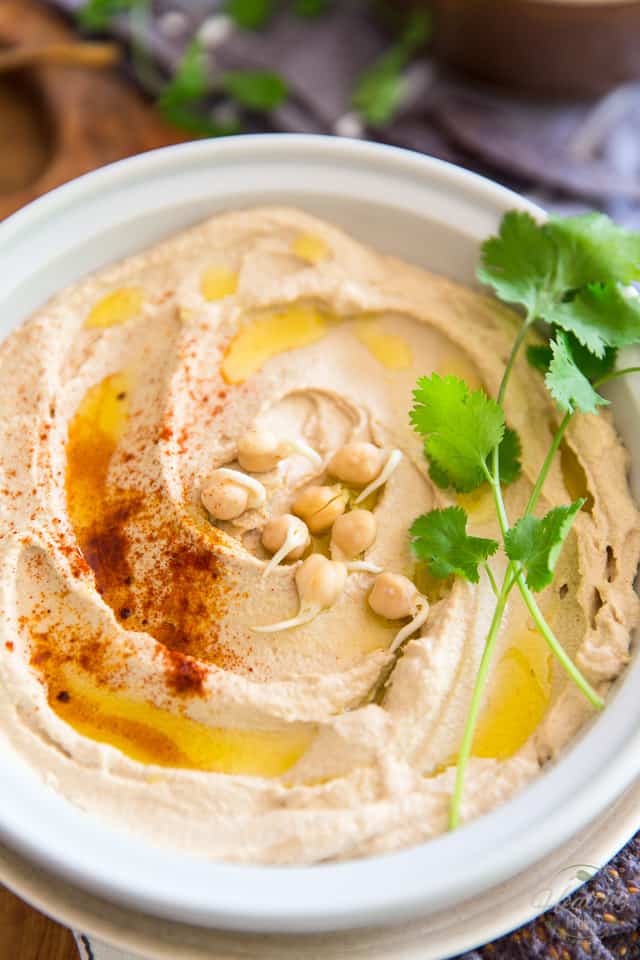
Raw Sprouted Chickpea Hummus

Because it uses raw, sprouted chickpeas as a base, this fluffy, creamy Raw Sprouted Chickpea Hummus is extremely nutritious – a veritable nutrition powerhouse – packed with all kinds of energy and healthful nutrients. Oh, and did I mention it’s insanely tasty, too? Yeah, oh yeah…
Using raw sprouted chickpeas to make hummus has many, many benefits. Not cooking the chickpeas after they have sprouted not only preserves all their nutritional value, but sprouting them actually magnifies their vitamin and mineral content, improves the quality of the carbs and protein they contain and neutralizes their anti-nutrients and enzyme inhibitors. This renders sprouted chickpeas very easy to digest with highly absorbable nutrients. Sprouts are also fairly low in calories, yet very filling because of their high fiber and water content.
Another undeniable advantage is that not having to cook the chickpeas before to use them makes the process of making hummus from scratch a total breeze! From start to finish, you’ll have delicious hummus on the table in well under 10 minutes. Well, that’s AFTER the peas have sprouted, that is… That sprouting process will take about 3 to 5 days, so it’s not a recipe you can decide to whip up a the last minute…
If you have never made your own sprouts, I strongly suggest that you start! Sprouting, like many other things in life, seems pretty intimidating until you actually try it.
You might be thinking: “Yeah, but I don’t really care for the flavor of raw chickpeas”. Trust me, I hear you! Raw chickpeas do happen to be a tad sharper than cooked, and they taste a bit grassy/earthy. Frankly, I’m not a fan myself… But while this flavor profile does translate to raw hummus, it also blends in really well and tones down quite a lot when mixed with the rest of the ingredients, to the point that it’s barely perceptible.
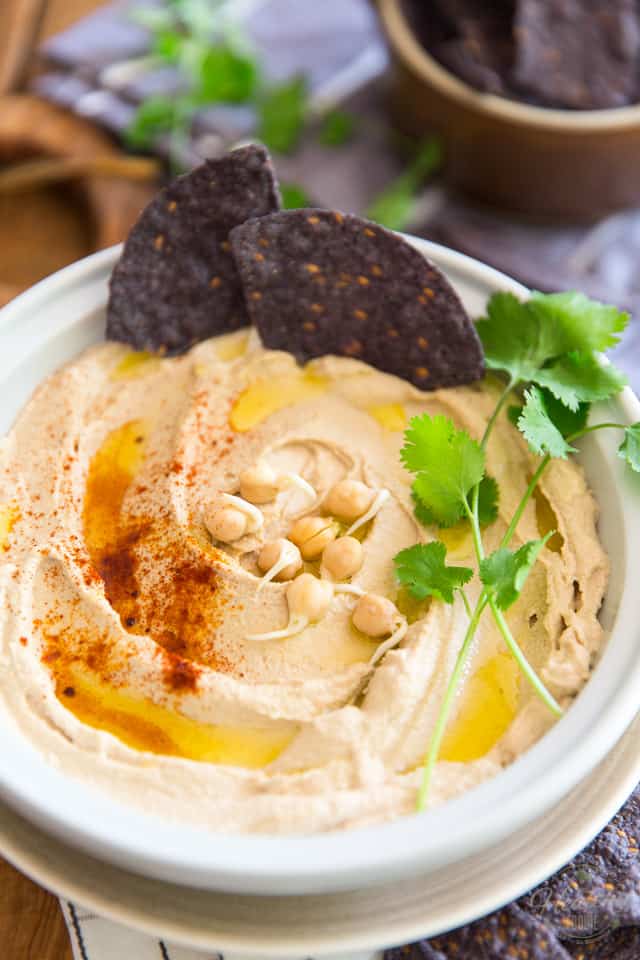
And yes, contrary to what one might expect, raw sprouted chickpeas actually do blend into a super creamy, fluffy hummus. In fact, I can almost guarantee that once you start making hummus with sprouted chickpeas, you’ll be hooked and won’t ever want to have it any other way.
Since the purpose of this post is not to show you how to actually sprout seeds, I’ll just quickly go over the steps that I’m taking to sprout my chickpeas. Me being me, though, I like to keep things stupid simple, so I’m really taking the easy, no-fuss, uncomplicated route. I’m sure that many sprouting experts would cringe at my methods! Honestly, if you want to learn all about the proper way to sprout seeds, I strongly suggest that you refer to this very thorough and super well made Guide to Soaking and Sprouting.
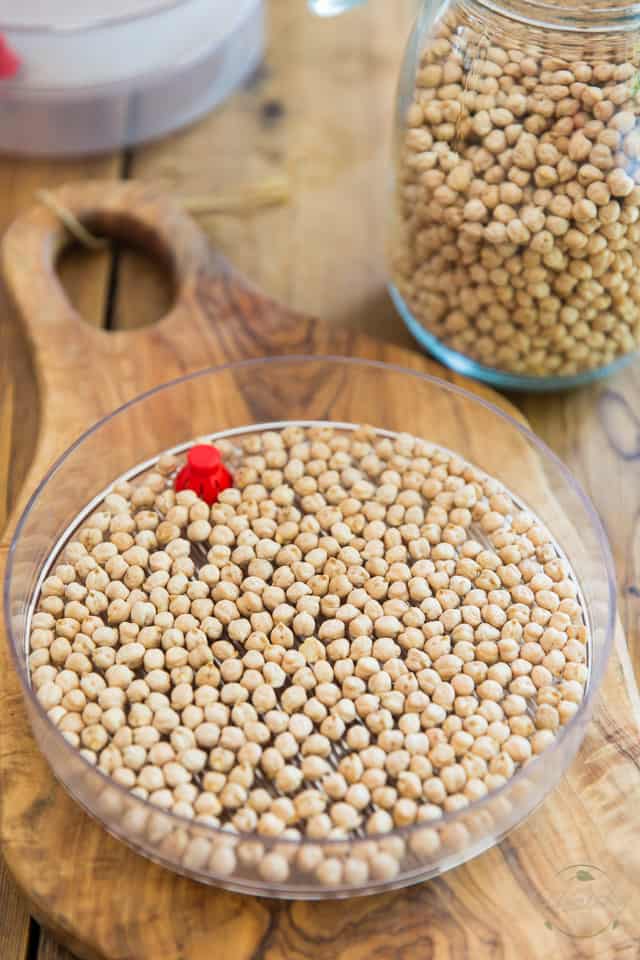
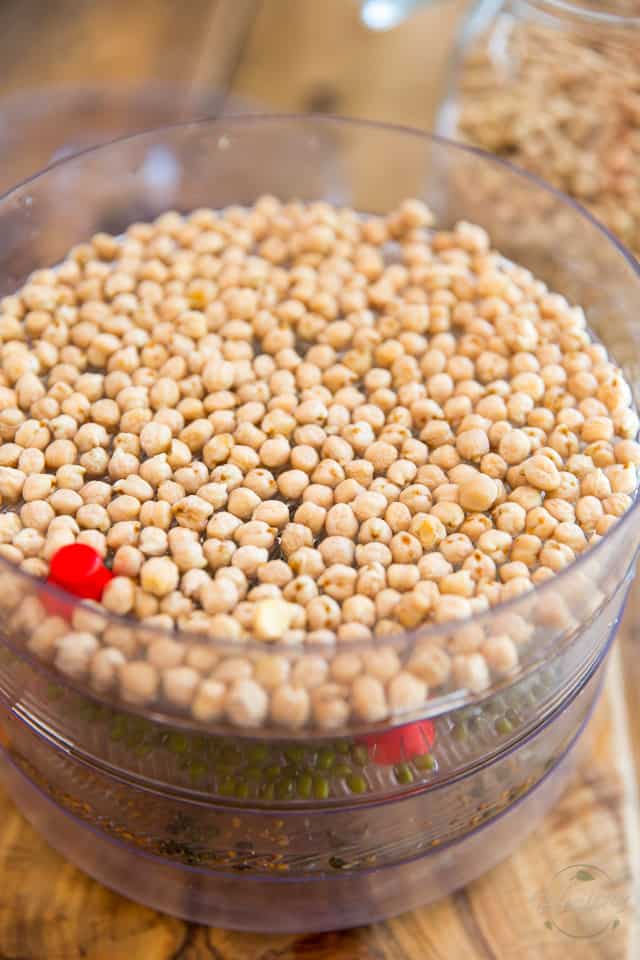
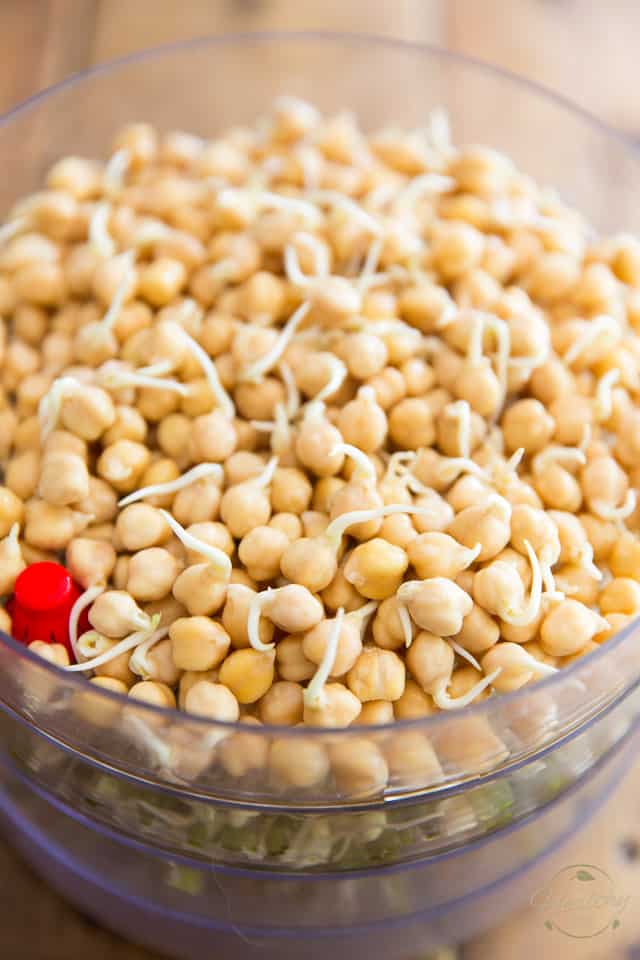
To sprout my seeds, I personally like to use one of those real nifty stackable sprouters They go really well, at least with the larger seeds, they do… I add my chickpeas directly into one of the trays, or 2 or all 3, depending on how much chickpeas I want to sprout. A single tray will hold about 3/4 cup of dried chickpeas, which yields around 2 cups of sprouted chickpeas; plenty enough to make a decent batch of hummus!
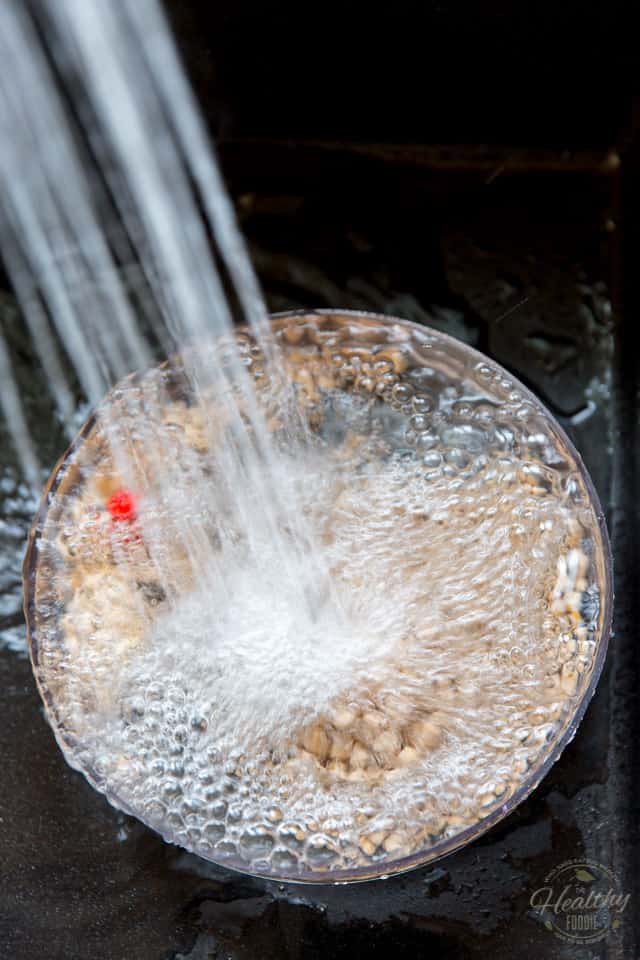
Next, I place the tray in the sink and rinse my chickpeas real thoroughly under cold running water for about 1 minute…
I then let the water drain completely – that’s what the little red button thingy is for: it lets the water trough while keeping the seeds in.
I then stack the tray on top of the other ones — which contained other seeds that had also just gotten the same rinsing treatment — and put the lid on. As simple as that. No, I don’t even bother soaking my seeds. Never, and no exception. I just rinse, drain, stack, put the lid on and forget about it until it’s time to rinse again. And yes, my seeds do sprout, every single time. Without fail.
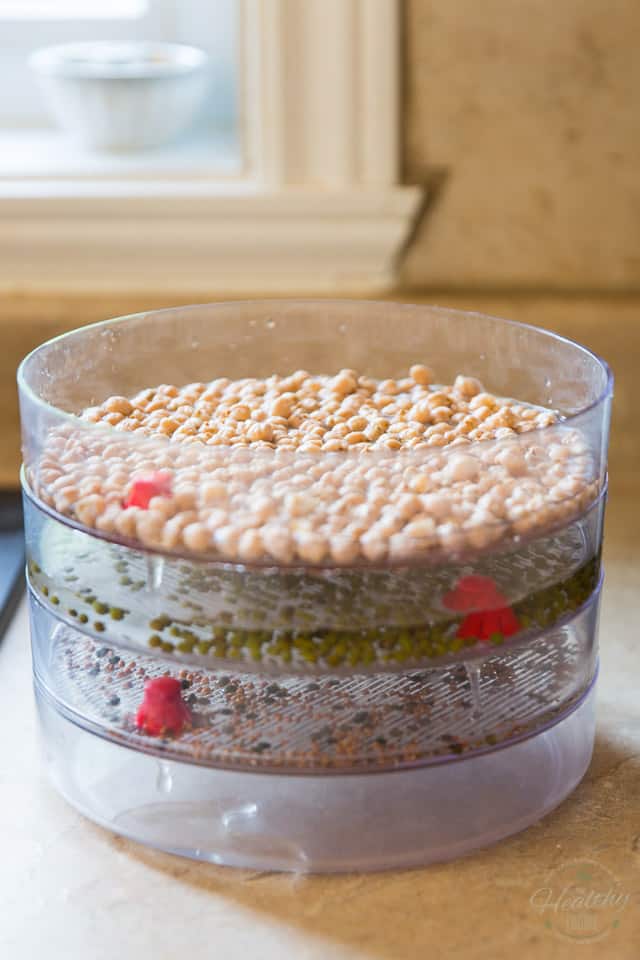
Now those sprouts will need to be rinsed twice a day; once in the morning and once again in the evening. It’s as easy as filling the top tray with cold water and putting the lid back on. Then, the water will drain through the other two trays via the red button thingies and collect in the drain pan at the bottom. You then empty that drain pan, put a little bit of fresh water in, just enough to cover the bottom and and forget about it until it’s time to rinse again.
With chickpeas, you’re going to have to repeat this process for 3 to 5 days, depending on how long you want those sprouts to be.
Day 1 – Not even 24 hours later… see how the chickpeas have plumped up? They practically doubled in size. This was after initial rinse, and evening rinse. No soaking.
Day 2 – About 48 hours in. The chickpeas have plumped up even more and tiny little sprouts are starting to appear…
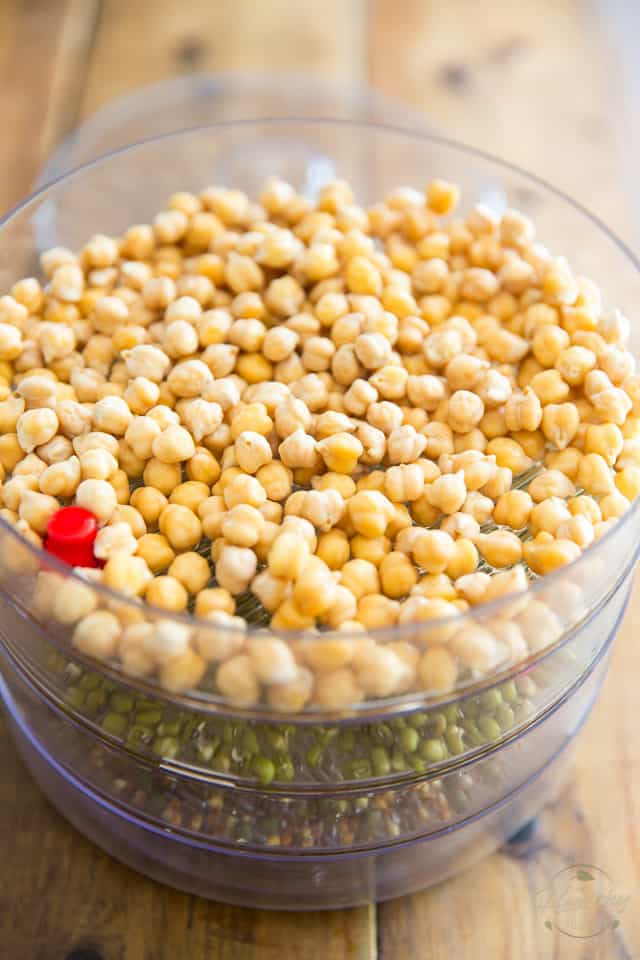
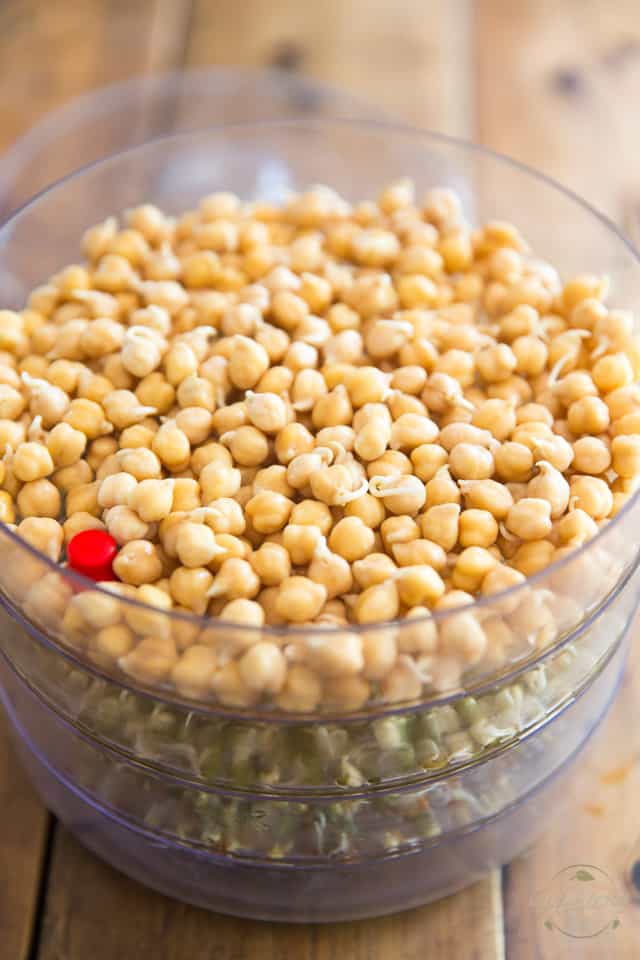
Day 3 – Those sprouts are already getting pretty long! I’m happy with this, but you can totally let your chickpeas sprout for another day or two, if you wanted to.
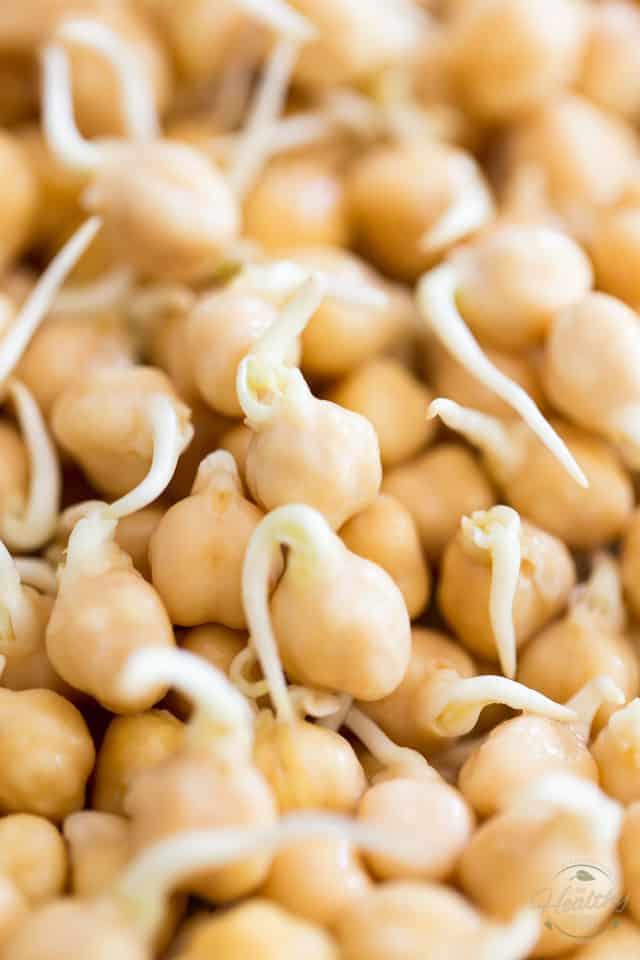
Notice how little leaves are already starting to form? Gotta love live food…
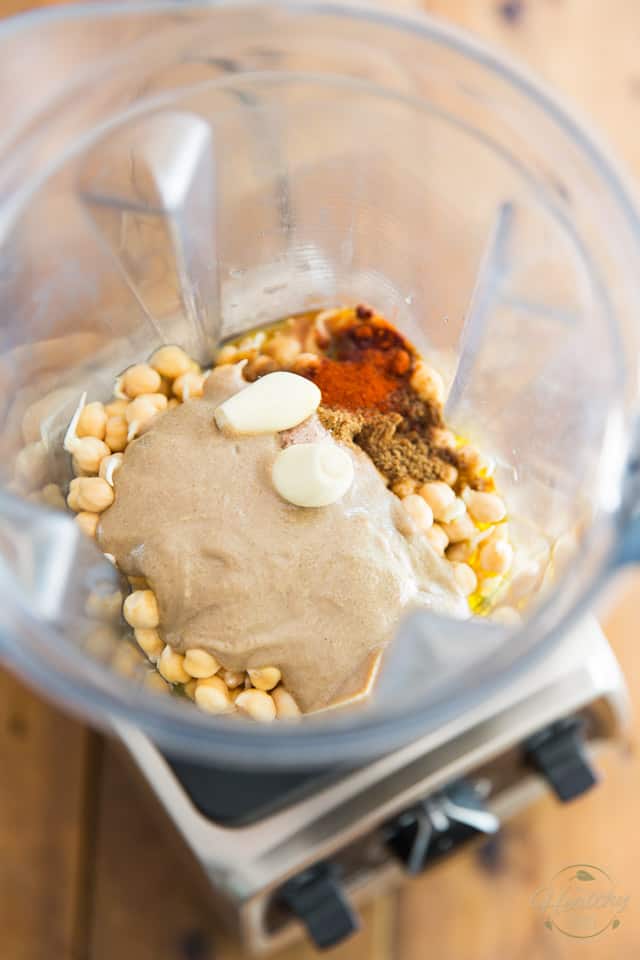
When your chickpeas are where you want them to be, give them a final rinse, drain them well, then place them in the container of a high speed blender or food processor, along with the tahini, lemon juice, olive oil, apple cider vinegar, garlic, salt, ground cumin and smoked paprika.
Note that if you use a food processor rather than a high-speed blender, your hummus won’t be as creamy and velvety.
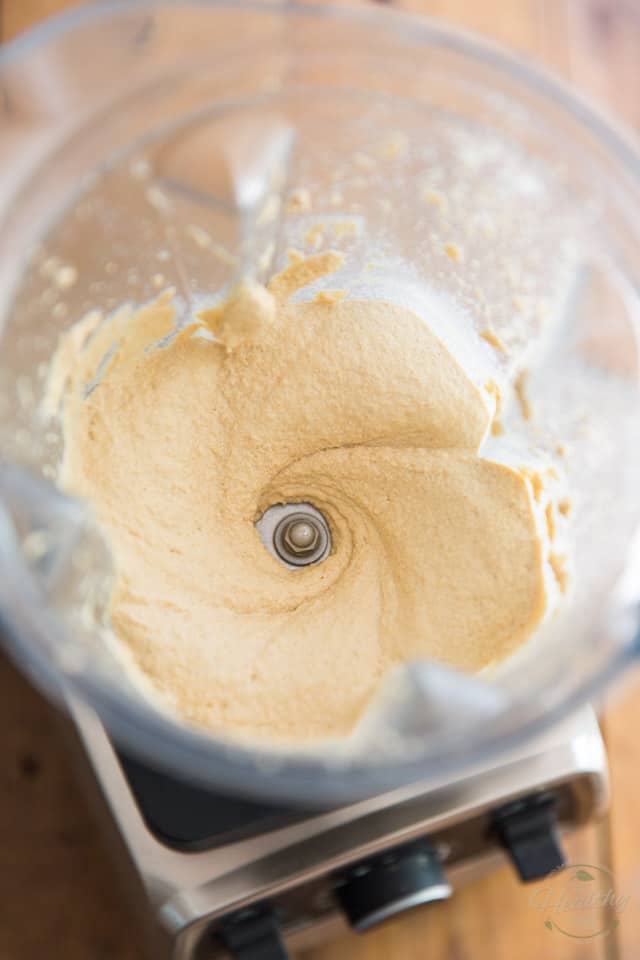
Process until reduced to a smooth, thick puree, using the tamper if necessary to push the ingredients into the blades and stop the motor to scrape the sides, as needed. If you find that your hummus is too thick, you can always add some water to it, a little bit at a time, until you get the desired texture.
At this point, you want your hummus to be a little bit thinner than the actual desired texture, as hummus tends to firm up after a little while. That holds especially true if you’re not planning on eating your hummus right away and will be refrigerating it for a bit.

Your hummus is now ready to be served, either with fresh crudités, tortillas, pita bread, or you can also use it in your favorite sandwich or recipe. Or, just plain grab a spoon and dig in!
Leftovers will keep in an airtight container for up to 5 days.
Raw Sprouted Chickpea Hummus
Ingredients
- 3/4 cups dried chickpeas
- 1/3 cup tahini
- 1/4 cup lemon juice
- 3 tbsp extra-virgin olive oil
- 2 tbsp apple cider vinegar
- 2 large garlic cloves
- 1/2 tsp salt , I use Himalayan salt
- 1 tsp ground cumin
- ¼ tsp. smoked paprika, optional
- Water, as and if necessary
Instructions
- Start by sprouting* the dried chickpeas; this will take about 3 to 5 days, depending on how long you want those sprouts to be.
- When your chickpeas are where you want them, give them a final rinse, drain then well, then place them in the container of a high speed blender or food processor, along with the tahini, lemon juice, olive oil, apple cider vinegar, garlic, salt, ground cumin and smoked paprika.
- Process until reduced to a smooth, thick puree, using the tamper if necessary to push the ingredients into the blades and stop the motor to scrape the sides, as needed.
- If you find that your hummus is too thick, you can always add water, a little bit at a time, until you get the desired texture. At this point, you want your hummus to be a little bit thinner than the actual desired texture, as hummus tends to firm up after a little while (especially if you don't eat it right away and refrigerate it).
- Serve immediately with fresh crudités, tortillas, pita bread, or use in your favorite sandwich or recipe. Or, just plain grab a spoon and dig in!
- Leftovers will keep in an airtight container for up to 5 days.
Notes
Nutrition
If you’ve tried this recipe, please take a minute to rate the recipe and let me know how things went for you in the comments below. It’s always such a pleasure to hear from you!
You can also FOLLOW ME on PINTEREST, FACEBOOK, INSTAGRAM and TWITTER for more delicious, healthy recipes!


16 Comments on “Raw Sprouted Chickpea Hummus”
Really look forward to making this!
Amazing!!!
I’ve made this twice now, and it’s utterly delicious!!
I’ve just made another batch but using sprouted red lentils. Works just as good too.
Thanks for the recipe.
Looks delicious! Can you recommend a good high-speed blender?
I swear by my Vitamix! Best investment I ever made…
Thanks so much! Which model do you have? I’m currently contemplating the 6500 or 750.
I have the Pro Series 750. Couldn’t be happier with it! 🙂
Hello,
I am planning to make this tonight. Please could you confirm if the recipe calls for 3 to 4 cups of chickpeas, or three quarters of a cup? Thank you x
It’s three quarters of a cup
Thanks for writing this article. I recently started a raw diet and I am trying to learn how to cook and eat food that’s sprouted. My first attempt was terrible. I think I may need to buy this device you mention in this article. I have a question, do I need to refrigerate during the sprouting process or is it okay to leave on the kitchen table. Also, is it normal for the chickpeas to cary an odor during the sprouting process? Thanks,
This is very good! It came out more like hummus moose and with a very fresh flavor. It didn’t taste like store-bought hummus. I like it better.
3/4 dried chickpeas is how much sprouted? I already sprouted 4 cups dry, so I have tons….oops. Thanks!
Around 2 cups, maybe? It’s not an exact science, but yeah, 2 cups should totally do the trick!
Can the raw hummus be frozen, without losing its nutrients ?
Which ingredient is making it last in the fridge for a few days?
I’m wondering, if I make it oil-free and no vinigre, if it’ll still be OK to keep for 3-5 days in the fridge..
This recipe is phenomenal .. i never write comments but i am so thrilled .. my kids and my man will finally eat hummus!! They love it