
Easy Baked Sweet Potatoes

I like to have Baked Sweet Potatoes in my fridge all the time: they are so easy to make and insanely convenient to have around… Once you start doing it too, you’ll never be able to do without!
Baked Sweet Potatoes are a thing that I pretty much have in my fridge all the time. How come I haven’t, to this day, shared my technique here with you is beyond me. I say technique, because this doesn’t really require a recipe. You won’t be measuring anything here. There’s simply no exact science behind baking sweet potatoes; not even an exact baking time.
The only things you truly need are sweet potatoes, aluminum foil, a roasting pan and an oven! But there’a s few rules and guidelines that I like to follow, still, and I’m about to share them with you…
Every week-end, I’ll bake a bunch of Sweet Potatoes, usually 3 or 4, to last me throughout the week. Funny thing is I’ll rarely even eat them fresh out of the oven. Not that I don’t like them that way because quite frankly, they are quite spectacular, topped with nothing but a little bit of ghee, a handful of fresh parsley and a pinch of salt and pepper.

Sometimes, I’ll let them cool completely and then use them as part of a recipe, such as these Sweet Potato Brownies, or these Sweet Potato Muffins, for instance.
But my ultimate favorite way of eating my baked sweet potatoes is to, once they have completely cooled, simply cut them into chunks and quickly pan fry them, along side a couple of eggs. This, I think, would be my favorite breakfast in the whole wide world. Sometimes, I’ll even throw a few pieces of leftover chicken in that pan. Talk about starting the day right.
Of course, you could very well have the pan-fried potatoes for lunch or dinner, if you wanted to! Trust me, they go good with just about anything. And they’re ready in mere minutes!
But, if you’re gonna have pan-fried sweet potatoes, you gotta bake the sweet potatoes first. So let’s do that now, shall we?
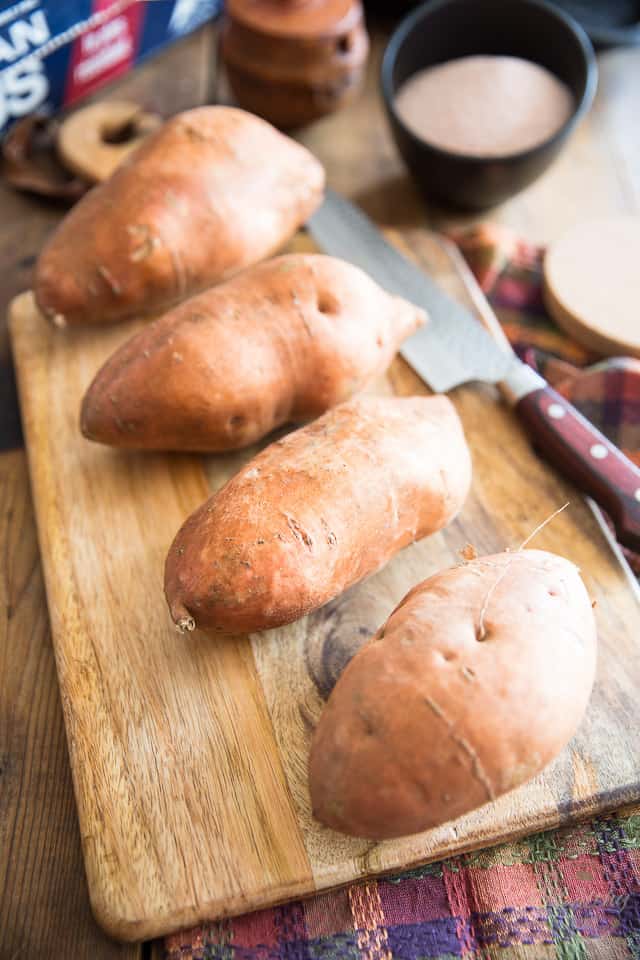
I find that baking the perfect Sweet Potato actually starts at the store. For this particular purpose, you’ll want to make sure that you select potatoes that are as evenly shaped as possible; go for potatoes that have a nicely round and elongated appearance. It’s also important that you choose tubers of very similar size, too, to insure that they all bake at the same time.
Like I said, I usually bake 3 to 4 at a time, but that’s not an actual rule; you could bake however many you wanted to… or however many fit in your pan!
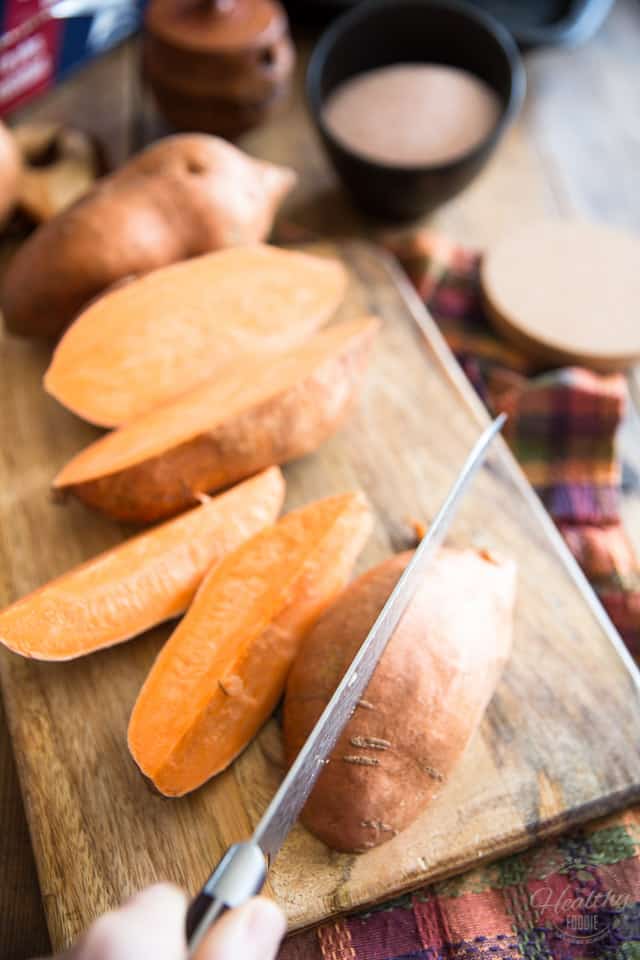
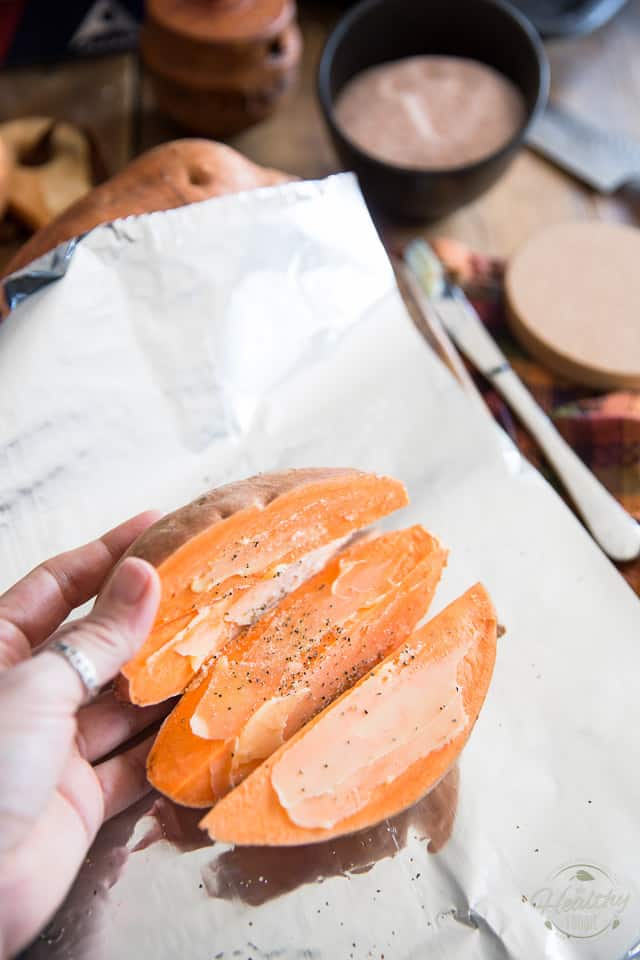
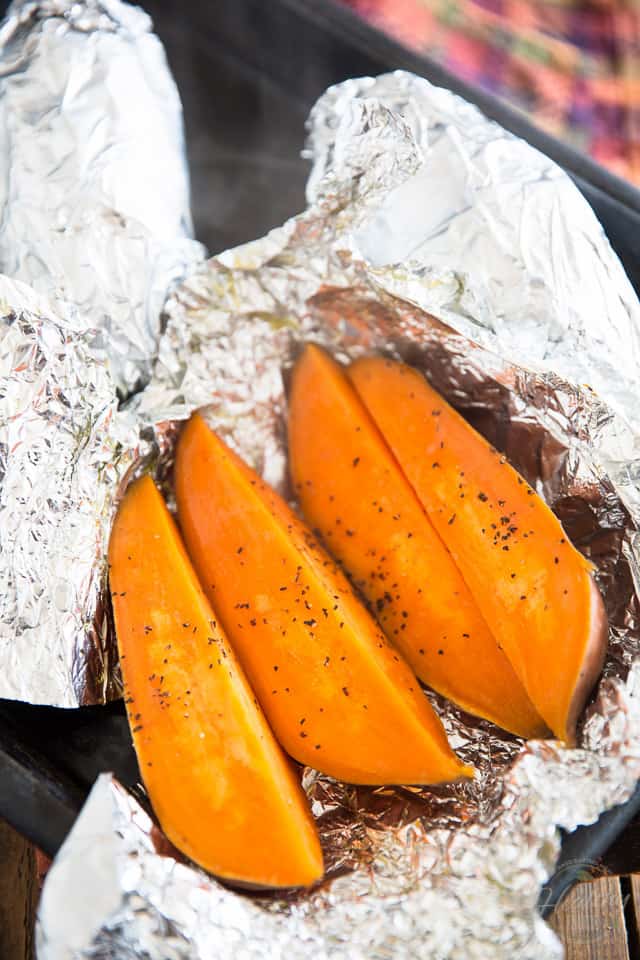
Preheat your oven to 400°F and then slice each potato lengthwise into 4 even quarters.
Raw sweet potatoes have a really firm flesh, so make sure that you place them flat side down when you slice ’em up. That’ll help prevent any potential accidents…
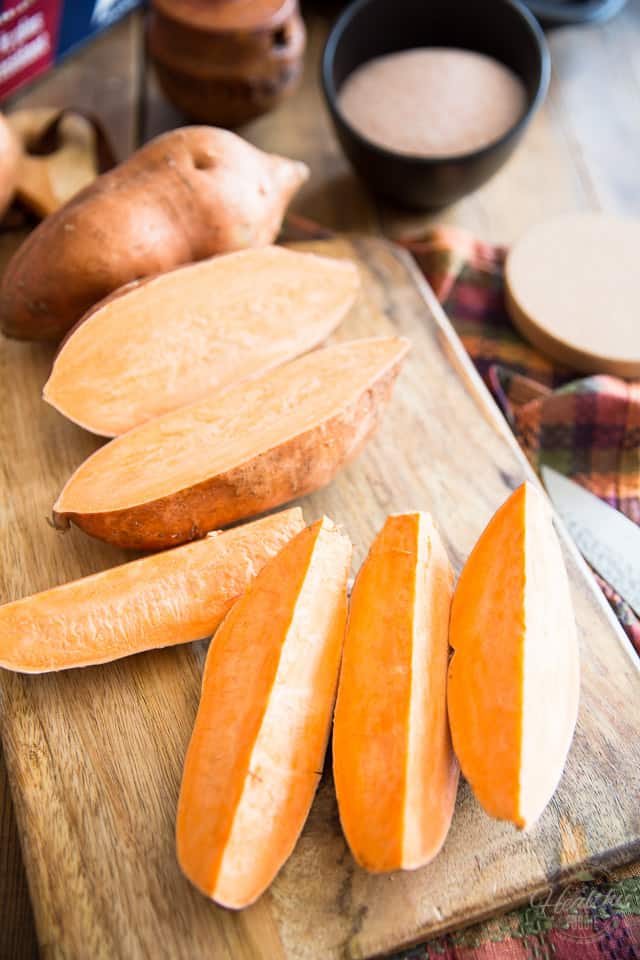
Try and keep your pieces “in order” so you can easily reconstruct your potato in a few minutes…
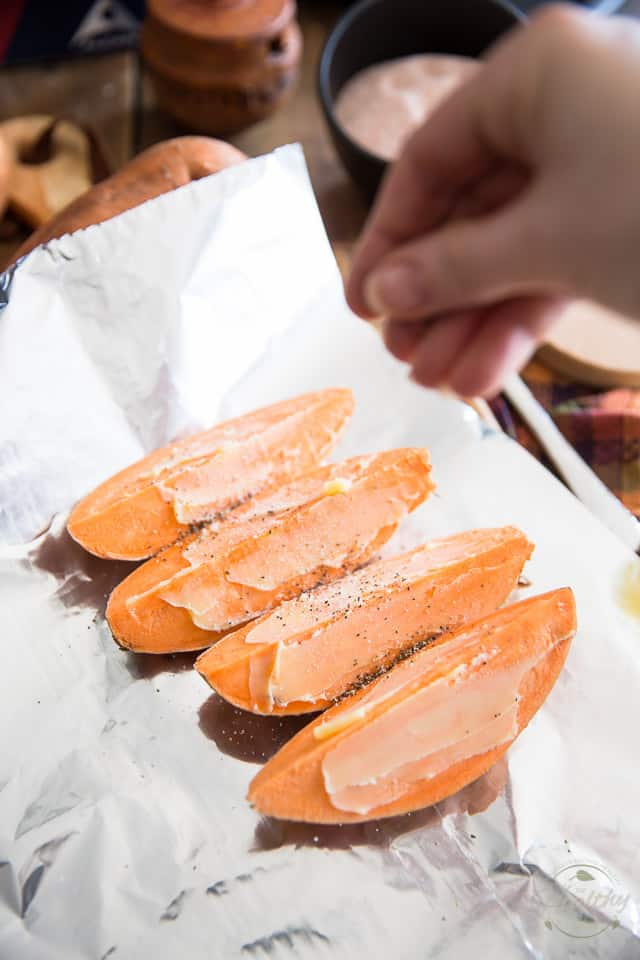
Place all 4 quarters on a large piece of aluminum foil and spread a very thin layer of ghee on both sides of each wedge. This will help the salt and pepper that you are about to sprinkle on them adhere to the potatoes. Not only that, but it will also confer a rich, buttery flavor to your baked potatoes.
You could also use avocado or extra-virgin olive oil if you preferred, but I find that it doesn’t do quite as good a job sticking to the sides of the potato wedges. Plus, I much prefer the flavor of ghee! But really, feel free to use whichever you like best.
You could also skip this step altogether, especially if you’re planning on using your baked sweet potatoes as a component in a recipe of some kind. However, know that a little bit of salt and pepper wouldn’t hurt at all in a muffin or brownie recipe. I’ve done it on more than one occasion and could never tell the difference…
Alright so now you want to reconstruct your potato and make it whole again. Put the potato wedges back together…
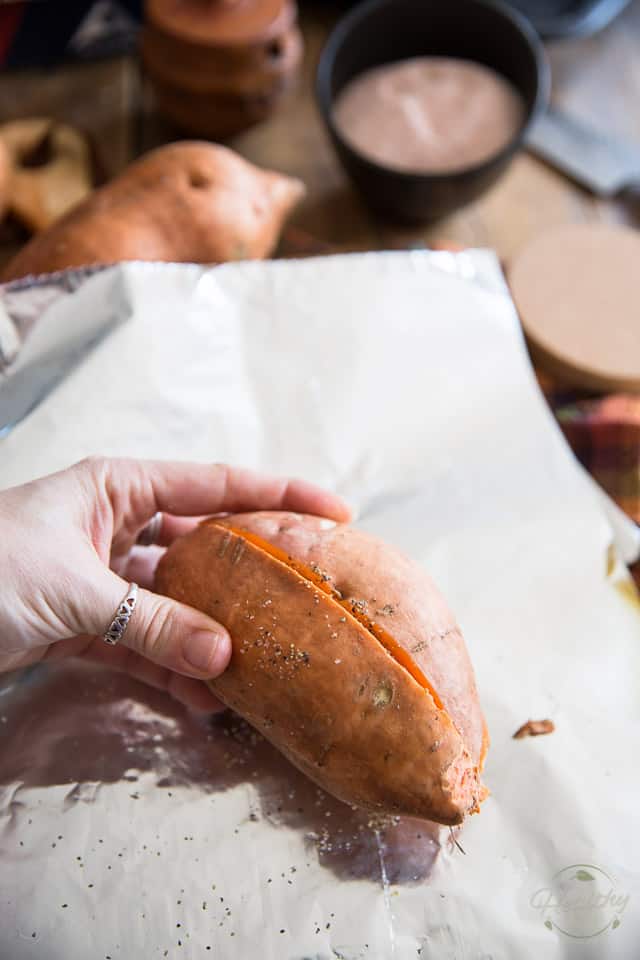
Try to reconstruct your potato as perfectly as possible.
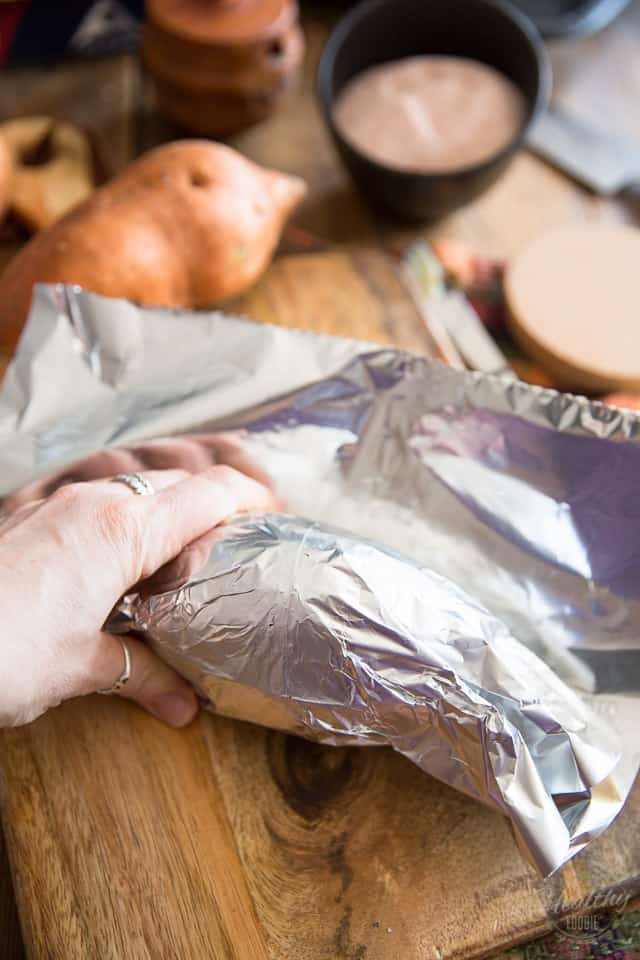
Wrap the potatoes tightly in aluminum foil; the tighter the better. Just be careful not to rip the foil!
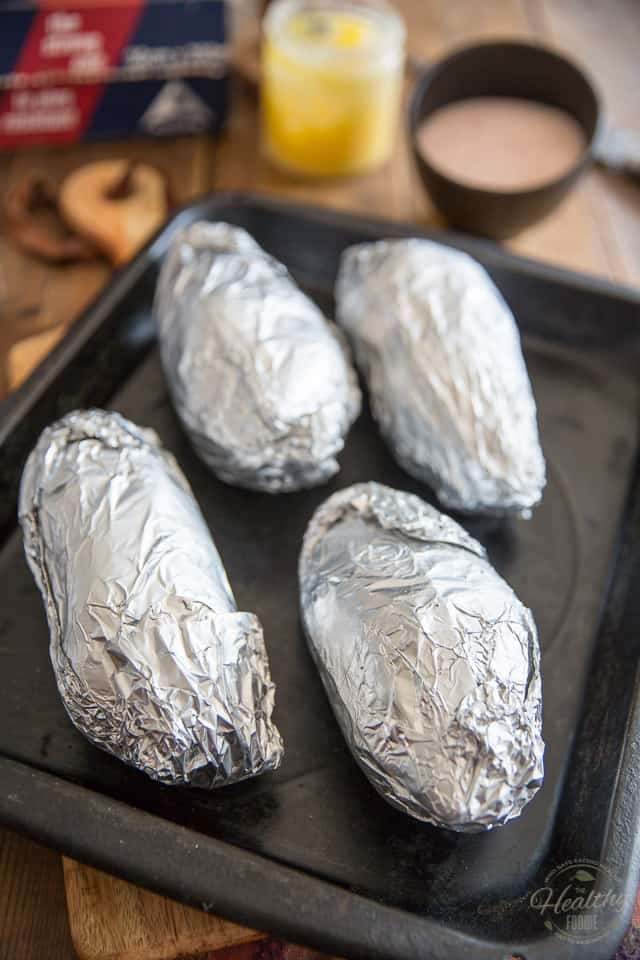
Finally, place the foil wrapped potatoes, seam side up, on a roasting pan, preferably a dark one.
The pan will take care of collecting any eventual juices that may drip from the potatoes as they bake while the dark color will help the tubers cook a little bit quicker
Speaking of which: how long do these babies need to bake for? It depends…
Depending on their size, your potatoes will take anywhere from 40 to 75 minutes to bake fully. To find out if they’re ready, simply give them a little squeeze with your fingers every 10 minutes or so, starting at the half-hour mark. When the potatoes feel soft between your fingers as you gently squish them, they’re ready.
Take them out of the oven and let them rest in the foil for about 5 minutes.

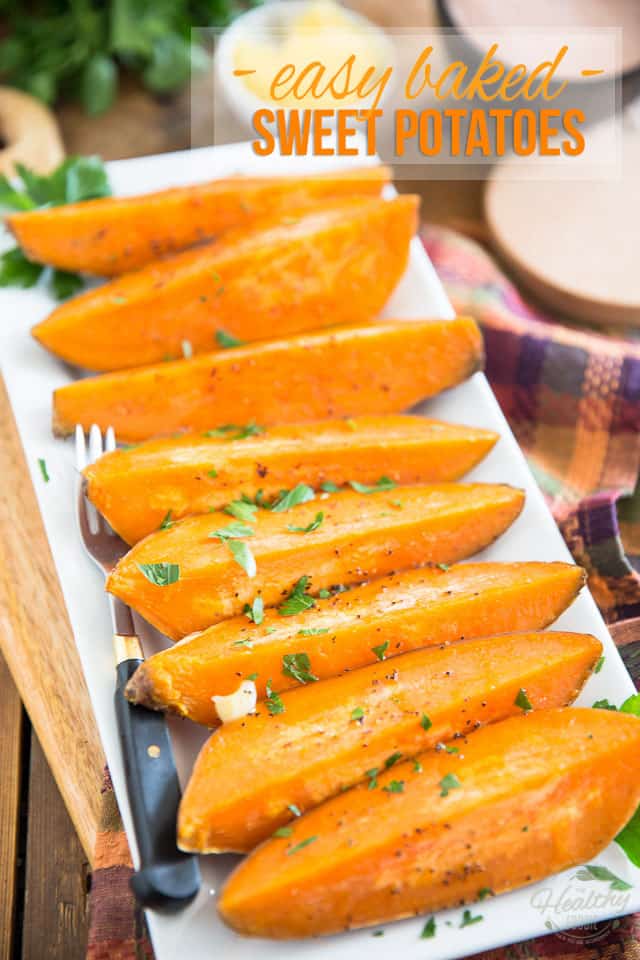
Then, if you wish to serve your baked sweet potatoes immediately, remove them from the foil — be careful, these babies are HOT! — and hit them with a little dab of ghee as well as a sprinkle of fresh parsley.
They don’t need anything more than that, trust me.
And if you want to save them for baking, or for pan frying, or to just plain eat at an ulterior time, let them coo completely in the foil and then transfer them to the refrigerator. Make sure to leave them in the pan, or put them in a plate of some kind, because they will release a little bit of what I like to call sticky potato caramel as they cool. That stuff looks yummy but is guaranteed to make a mess in your fridge if you don’t contain it somehow!
Trust me on that one: leave the tubers in the foil AND in the pan or put a plate under them.

Oh, and FYI, if you didn’t care much for the peel and preferred to take it off, you could do that super easily after the potatoes are baked… all you need to do is gently pull on it and it’ll come right off.
And there you have it! I hope that I have inspired you to bake and eat sweet potatoes more often, cuz really, adding them to your regular diet couldn’t be easier.
And they are such a GREAT source of carbohydrates. One of my faves, for sure!

Easy Baked Sweet Potatoes
Ingredients
- Sweet Potatoes, medium / large, evenly sized and shaped
- Ghee, (or avocado oil or extra-virgin olive oil, to taste)
- Salt and pepper, to taste
Optional garnish
- Additional ghee
- Chopped parsley
Instructions
- Start with potatoes that are as evenly shaped as possible, with a nicely round and elongated appearance. It's also important that you choose tubers of similar size, too, to insure that they all bake at the same time.
- Preheat your oven to 400°F
- Slice each potato lengthwise into 4 even quarters.
- Place all 4 quarters on a large piece of aluminum foil and spread a thin layer of ghee on both sides of each quarter, then sprinkle with salt and pepper. You could also use avocado or extra-virgin olive oil if you preferred.
- Put the pieces back together, trying to reconstruct your potato as perfectly as possible, then wrap it tightly in aluminum foil. Repeat with the remaining potatoes.
- Place the foil wrapped potatoes, seam side up, on a roasting pan, preferably a dark one. The pan will take care of collecting any eventual juices that may drip from the potatoes as they bake while the dark color will help the tubers cook a little bit faster.
- Place the potatoes in the oven and bake until they feel soft when gently squeezed with your fingers, which will take anywhere from 40 to 75 minutes, depending on the size of your potatoes.
- Take the baked potatoes out of the oven and let them rest in the foil for about 5 minutes.
- If you wish to serve your baked sweet potatoes immediately, carefully remove them from the foil and garnish them with a little dab of ghee as well as a sprinkle of fresh parsley.
- If you want to save them for an ulterior time, let them cool completely in the foil and then transfer them to the refrigerator where they will keep for up to a week; make sure to leave them in the pan or place a plate under them to collect any eventual leakage.
Nutrition
If you’ve tried this recipe, please take a minute to rate the recipe and let me know how things went for you in the comments below. It’s always such a pleasure to hear from you!
You can also FOLLOW ME on PINTEREST, FACEBOOK, INSTAGRAM and TWITTER for more delicious, healthy recipes!


13 Comments on “Easy Baked Sweet Potatoes”
Yummy! I cannot wait to try this. Sweet potatoes could be a complete meal, in my opinion. I have not quartered them and reconstructed them before. Thank you for that amazing tip! I am going to buy some sweet potatoes at the grocery store today and try this recipe. Happy baking and eating, Sonia!
Right back at you, Erin. And I hope the quartering / reconstructing thing turns out to be just as big a revelation to you as it has been to me! 🙂
I have always baked mine whole. Never though to cut them. I guess because they are sort of hard to cut raw. My husband loves them with cinnamon and brown sugar on them.
My mother could make the best sweet potato pie I have ever had.
Ooooooh cinnamon and brown sugar. Sounds so yummy!! I might indulge and sprinkle one of my potatoes with this lovely combo next time I whip up a batch…
Hey Sonia,
It looks delicious, actually my sister love sweet potatoes, but she never thought of cutting them, so thanks sonia for your recipe, will try it out on Sunday.
I hope they turn out perfect for you, Jelina! 🙂
Really a unique potato recipe. Thanks for sharing. I will surely try.
So- I’ve never had ghee. I bought a few sweet potatoes the other day and I googled a recipe today and stumbled upon yours. I went to the store and invested in some ghee after reading up on it some and wondering why I had never bought (or made) it before. Ok, I waited the 5 minutes like you recommended to try it……… and, I think I’m in love. I can’t wait for the husband and kids to get home. This is SO GOOD!!!
Thank you,
Jamie
Haha! So very happy to hear, Jamie. Hope you have a few leftovers in the fridge that you’ll get to cut into chunks and pan fry later… I’m telling you, these things are so good you’ll want to marry them! 😉
Just finished making. I used coconut oil in lieu of butter, olive oil, etc. GREAT recipe. The cutting to quarters is the magic. Seasoned with Himalayan salt, and pepper and baked for 75 minutes. So tender and sweet.
Thanks for the kind words and great review, Kevin! Glad to hear the recipe was to your liking! 🙂
I’ll be trying this for a crowd of 40. I’d like to bake in advance and reheat day of meal. Maybe make one potato into two servings so if I do that I would separate wedges rewrap them in foil. How do you reheat them? I thought of putting them in a crock pot it roaster and allowing them to reheat that way. Any suggestion on how long that might take to reheat to be ready for the meal? Has anyone tried this or suggestions for the advance preparation? Thanks again. I love cutting them in advance. Excellent idea 💡 Jan
I would simply prep them and wrap them in foil in advance, then bake fresh the day of, instead of reheating. Or just bake them halfway ahead of time and finish baking the day of?