Easy Homemade Vegan Butter
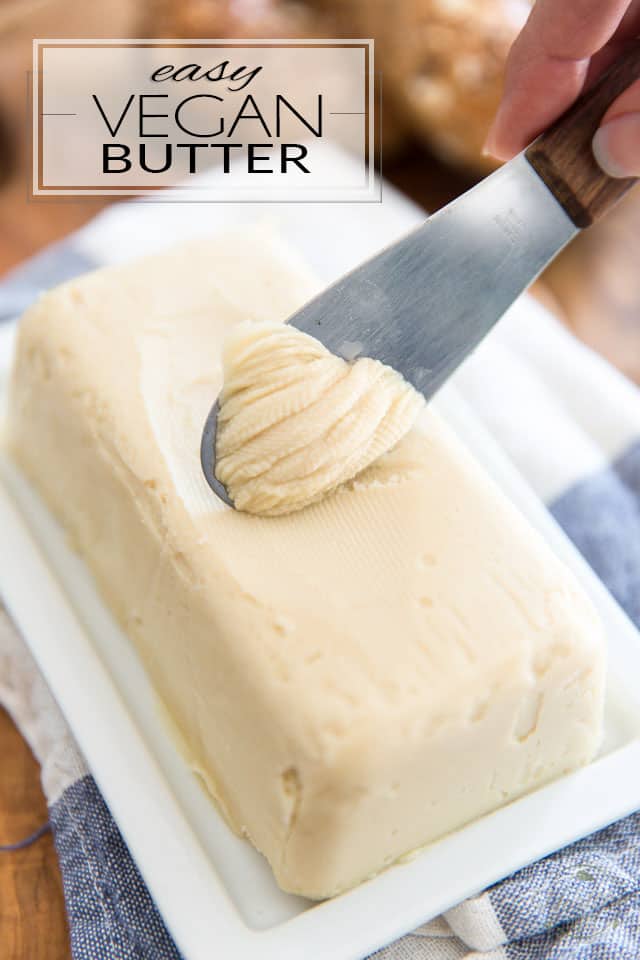
This Easy Homemade Vegan Butter is crazy smooth and creamy, rich and buttery and most importantly, it spreads and melts just like the “real” deal. You will love it on toasts, baked goods, potatoes, sauteed veggies… just about anywhere you would normally use regular butter!
I’ve never been one to use butter much. Well, not when cooking, anyway. I find that butter is way too fragile and delicate to be used as a cooking fat: it burns way too easily. In baking, butter can be replaced pretty easily, so going without it really isn’t a problem. But ON baked goods, though… nothing comes quite close to a little bit of butter slowly melting on a hot muffin, bagel, toast, or on top of a pile of pancakes.
On occasions, I also really enjoy it on sauteed or steamed veggies, especially on potatoes… So well yeah, sometimes, I do miss butter. So I’ve looked at some of the store-bought vegan butters out there, but never could bring myself to buying any after examining the list of ingredients and then the price tag. Whoa. This stuff is unbelievably expensive!
So I decided to make my own. Homemade vegan butter is so much better for my health and so much more affordable. Plus, it’s super quick and easy to make, too!
Now of course, it doesn’t taste exactly like regular butter — it tastes pretty damn good, though, let me tell you! — and while it has a very similar texture, spreads and melts just like the “real deal”, it’s also more delicate, so it absolutely needs to be kept in the fridge. However, it is a lot more spreadable than regular butter right out of the fridge, making it easier to use.
Just as with regular butter, it’s best that you avoid cooking with it at high temperatures, as it would burn very easily. And since it is just as delicate as the coconut oil that it contains, it will melt at fairly low temperatures so it really wouldn’t be your best option for making buttercream.
Other than that, you can totally go ahead and use it just as you would regular butter!
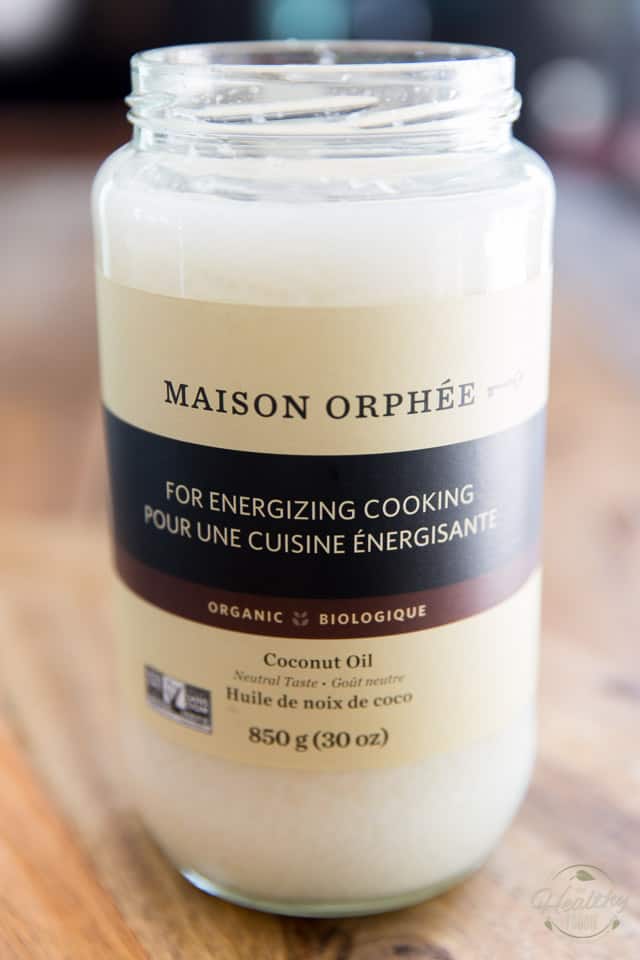
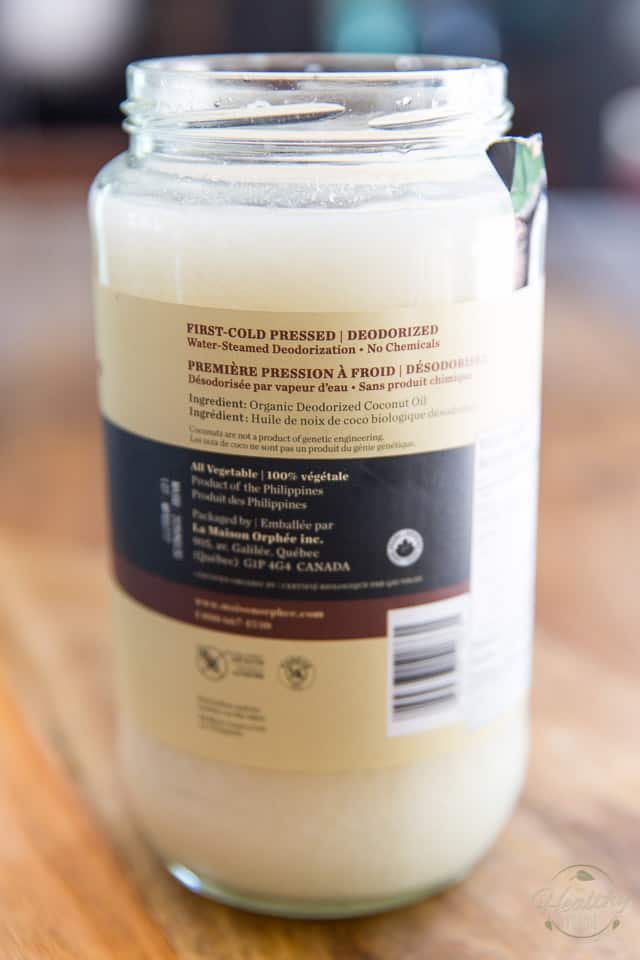
First things first, if you’re gonna make vegan butter, it is absolutely imperative that you use deodorized coconut oil (often also referred to as refined coconut oil) otherwise your finished product will totally smell and taste like coconut.
I mean really, coconut does taste really awesome, but not here, not this time. Trust me. Do yourself a favor and get the deodorized stuff.
Not only that, but if at all possible, try and get your hands on a deodorized coconut oil that is organic and deodorized using a natural water steam process; NOT chemicals! That’s just SO much better for your health…
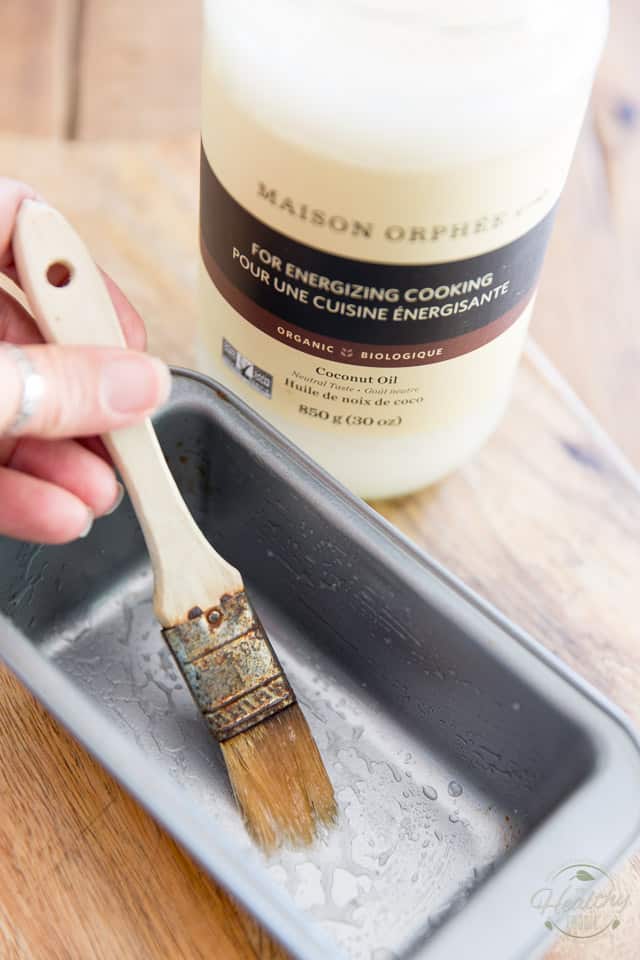
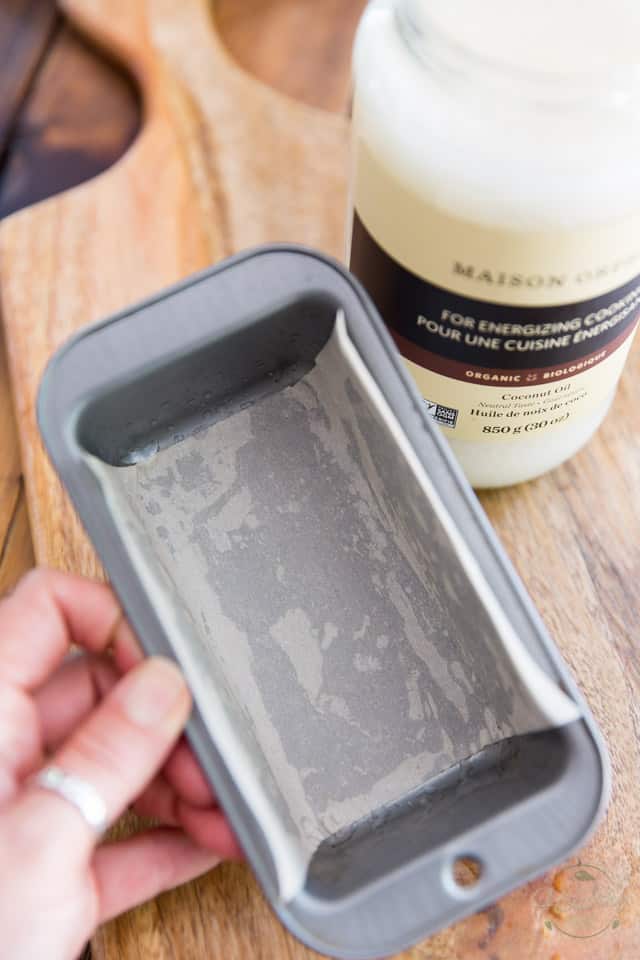
If you’re like me and love your butter dish so much you want to use it every chance you get, then you will need to “mold” your butter to the right shape. So grab a 3″ x 5.75″ mini loaf pan — it’s the perfect size to make a full “pound” of butter — and brush it with a little bit of that deodorized coconut oil.
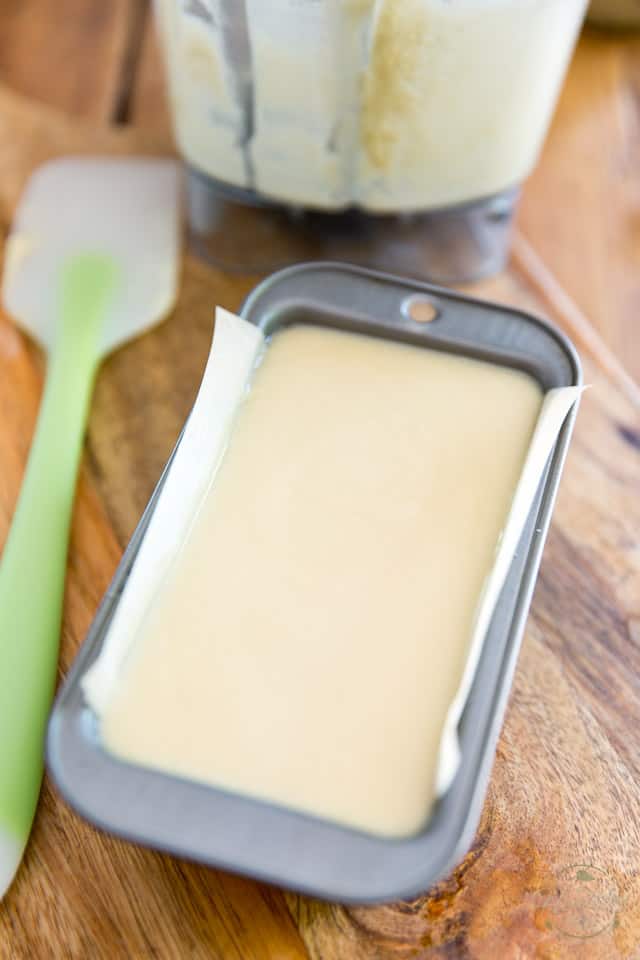
Then, line the bottom and longer sides of the pan with a piece of parchment paper that’s long enough to go about 1/2 an inch over the edge on each side.
If you’re not a butter dish aficionado and aren’t going to bother unmolding your butter, you can totally skip this step… You could even choose to go with a different container, providing that it can hold at least 2 cups of liquid, or even divide your butter amongst several smaller containers, like cute little ramequins, for instance, or better yet, glass storage containers with fitting lids.
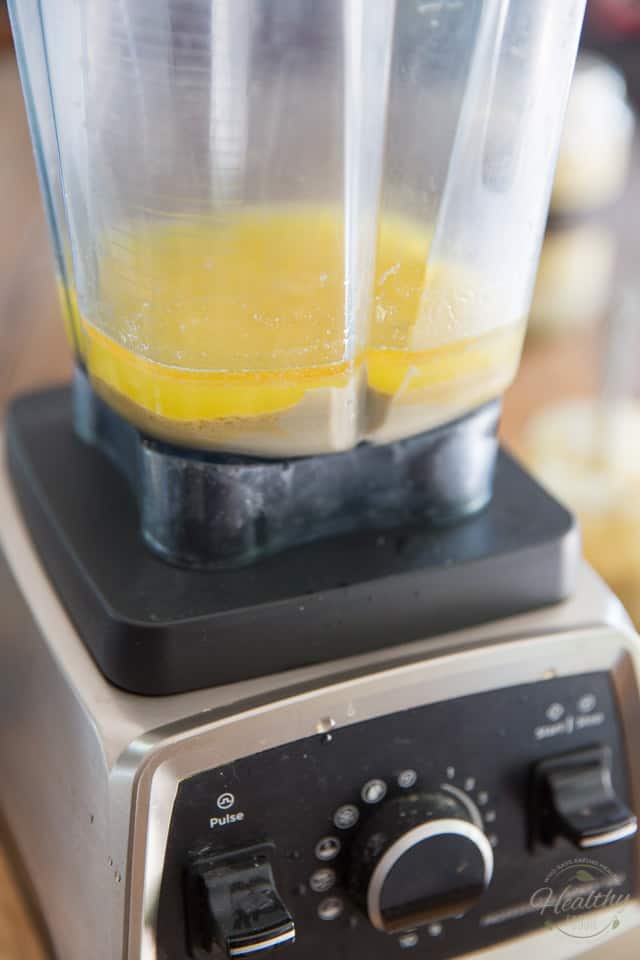
Alright. Now that you have decided on a container, place the cashew butter, (I like to make my own, but it’s perfectly fine to use store-bought cashew butter) water, avocado oil, nutritional yeast, apple cider vinegar and salt in the blender.
I used my trusty high-speed blender as usual but you could probably get away with using a regular blender for this; I’m guessing that it would be plenty strong and would make the butter just as creamy.
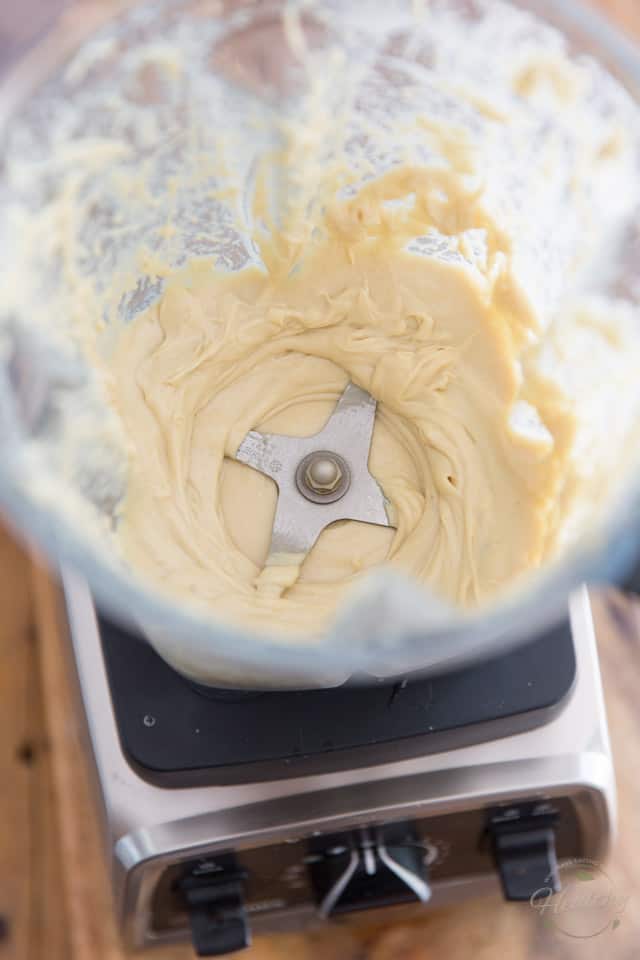
Blend everything on high speed until the mixture is completely smooth and free of any grainy bits. Stop to scrape the sides if and as necessary.
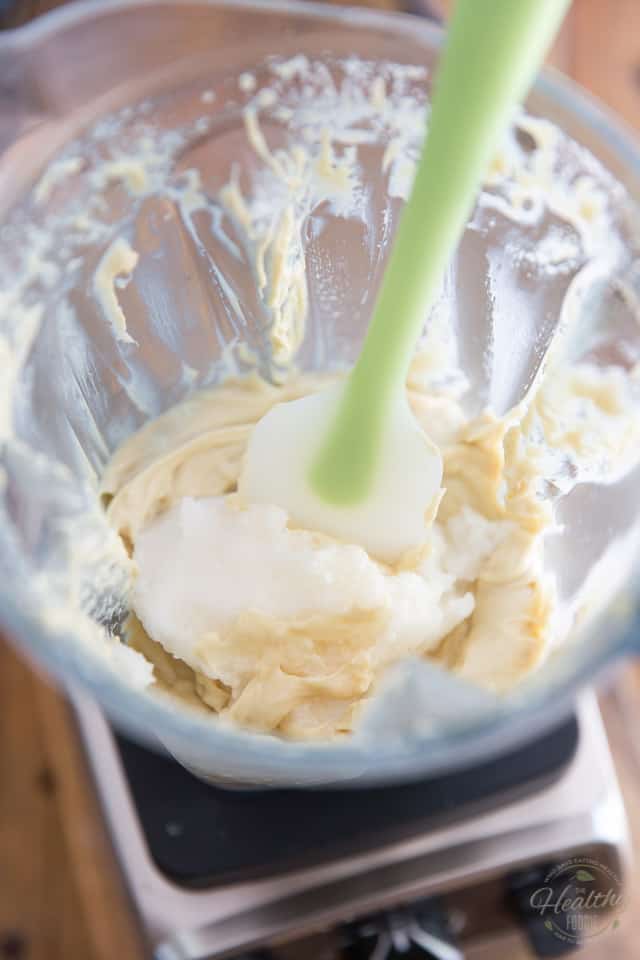
Now add the deodorized coconut oil — no need to melt it first, coconut oil is so delicate that the heat from the blending action alone will take care of that — and resume blending on high-speed until the coconut oil is completely melted and well incorporated, and the mixture is once again super smooth and free of any lumps.
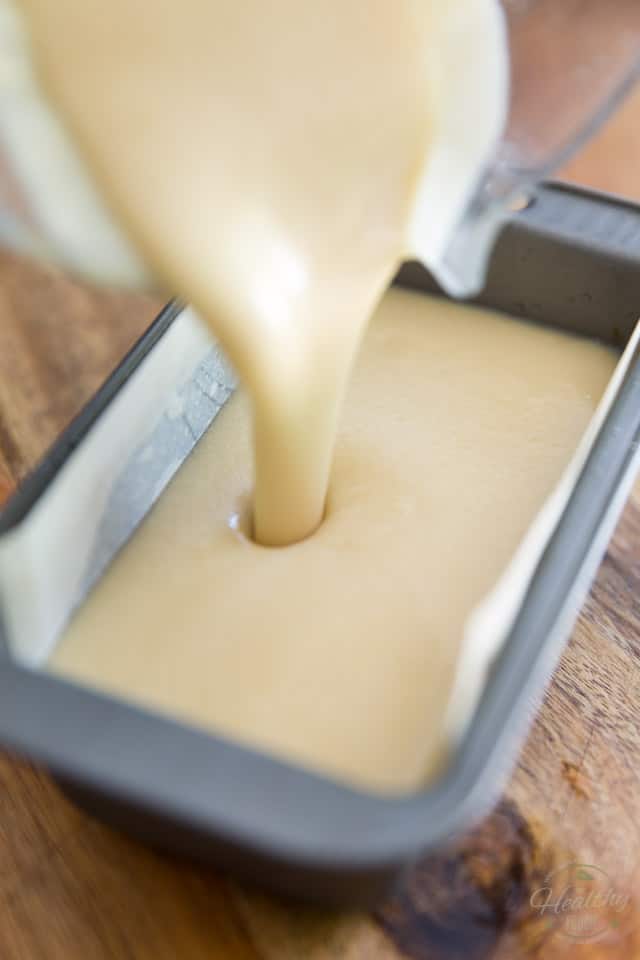
Pour the liquid butter into the prepared mini loaf pan (or whichever container you chose to use) and place it in the fridge until the butter is completely set, about 4 to 6 hours.
See how this mini loaf pan is the exact perfect size? I love it!
Once your butter is fully set, remove it from the pan by pulling on the parchment paper (you might have to warm the pan slightly to help release the paper) and then place it into your favorite butter dish.
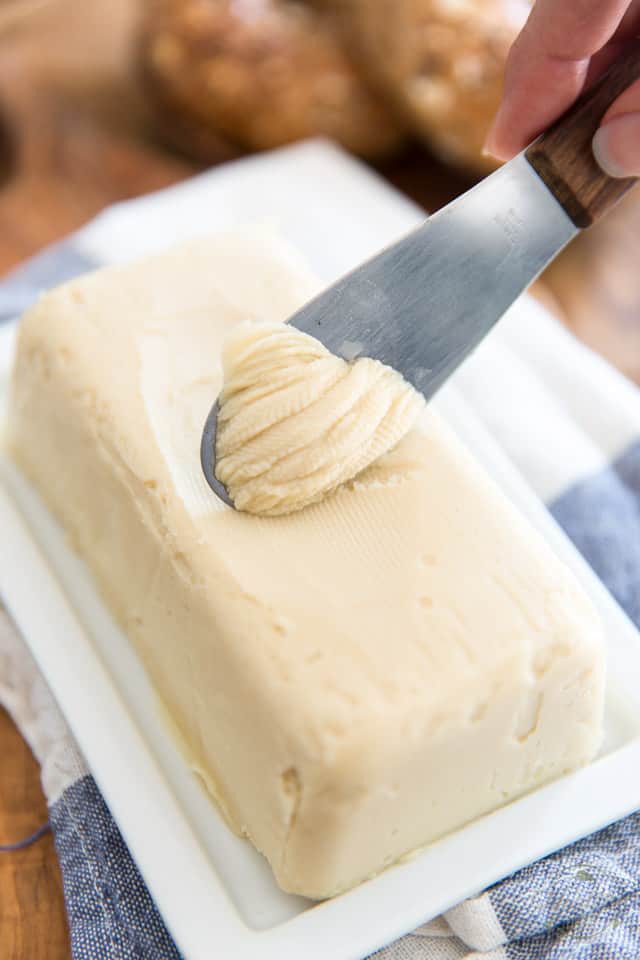
Store the finished butter in the refrigerator for up to a few weeks. It will have a firm but still slightly soft, spreadable consistency right out of the fridge. If you want it to be even softer, more spreadable, leave it at room temperature for a few minutes before using. How long you should leave it out for really depends on the ambient temperature that day…
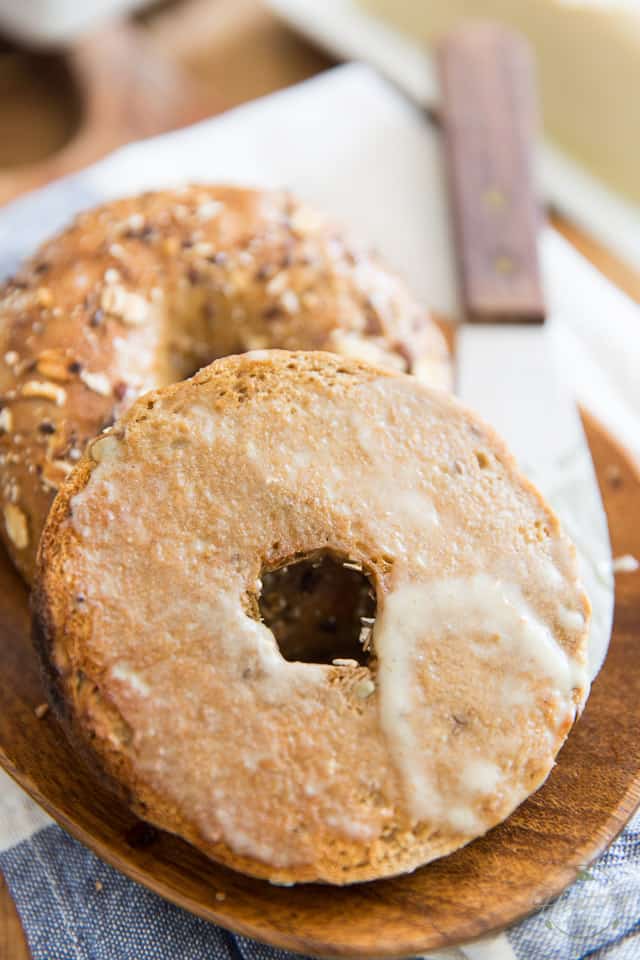
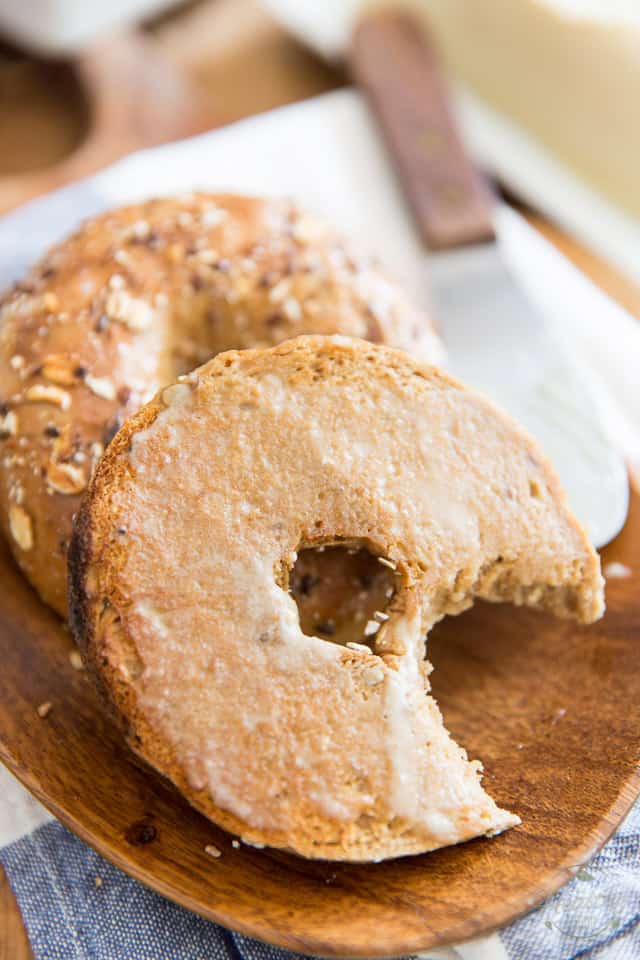
See how beautifully this thing spreads, right out of the fridge? So smooooooth, so creamy…
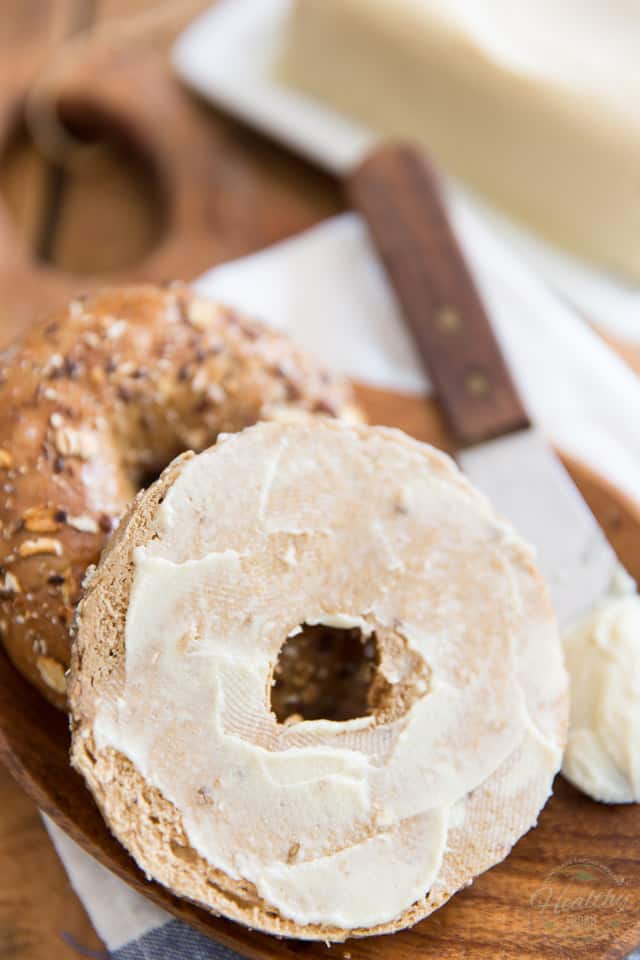
And how perfectly it melts on a toasted bagel? Oh yum, I wish you could smell that!
That’s it, I can’t resist any longer… I’m diggin’ right in !
Easy Homemade Vegan Butter
Ingredients
- 2/3 cup creamy raw cashew butter, *
- 1/2 cup water
- 1/4 cup avocado oil, or other neutral tasting oil
- 1 tbsp nutritional yeast
- 1 tsp apple cider vinegar
- 1/2 tsp salt
- 1 cup deodorized coconut oil
Instructions
- Grease a 3" x 5.75" mini loaf pan with coconut oil and then line the bottom and longer sides with parchment paper, leaving a bit of an overhang on both sides. Set aside.**
- Place the cashew butter, water, avocado oil, nutritional yeast, apple cider vinegar and salt in the container of a blender and blend on high speed until completely smooth and free of any grainy bits. Stop to scrape the sides if and as necessary.
- Add the deodorized coconut oil and resume blending on high-speed until the coconut oil is completely melted and well incorporated, and the mixture is once again super smooth and free of any lumps.
- Pour into the prepared mini loaf pan and place it in the fridge until the butter is completely set, about 4 to 6 hours.
- Once set, you can remove the butter from the pan by pulling on the parchment paper (you might have to warm the pan up slightly to help release the papeand then place it into your butter dish.
- Store the finished butter in the refrigerator for up to a few weeks.***
Notes
Nutrition
If you’ve tried this recipe, please take a minute to rate the recipe and let me know how things went for you in the comments below. It’s always such a pleasure to hear from you!
You can also FOLLOW ME on PINTEREST, FACEBOOK, INSTAGRAM and TWITTER for more delicious, healthy recipes!







4 Comments on “Easy Homemade Vegan Butter”
Can you bake with the butter or will it not work the same?
You can totally use it to bake, just keep in mind that it’s a bit more delicate than regular butter and melts at much lower temperatures…
This has been my go to vegan butter recipe for years! It’s dangerously good.
Hello! The flavor is delicious! But the butter got sour while I was making it, and did’t integrate, what could I have done not right?