Maple Walnut and Sharp Cheddar Apple Pie
I almost didn’t share this recipe based on the simple premise that I’m very picky when it comes to eating pie: I like my pies to really hold their shape when they hit my plate, you see, like this beautiful Pecan Pie, for instance. Or even this Raisin Pie.
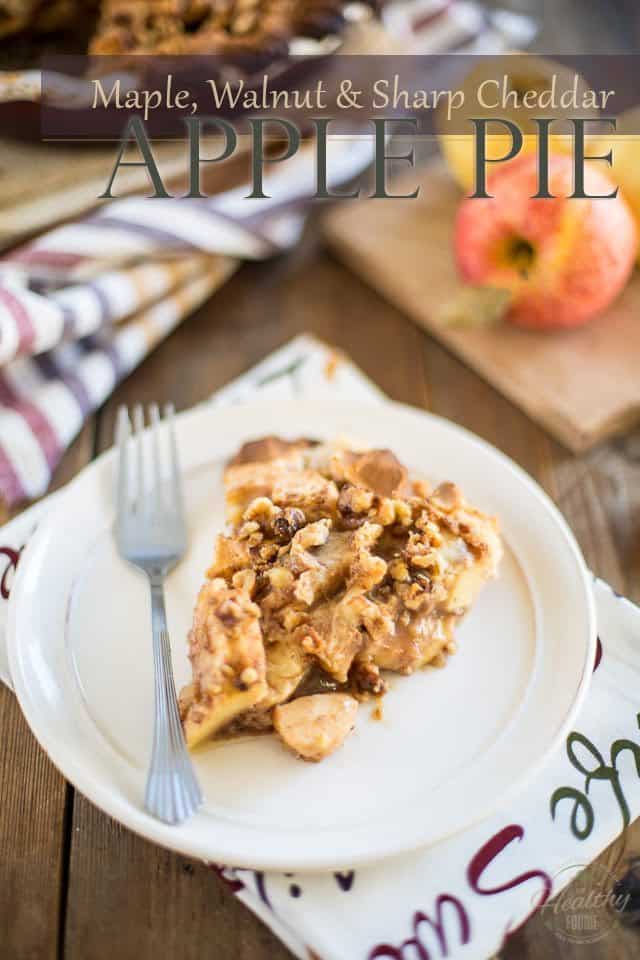
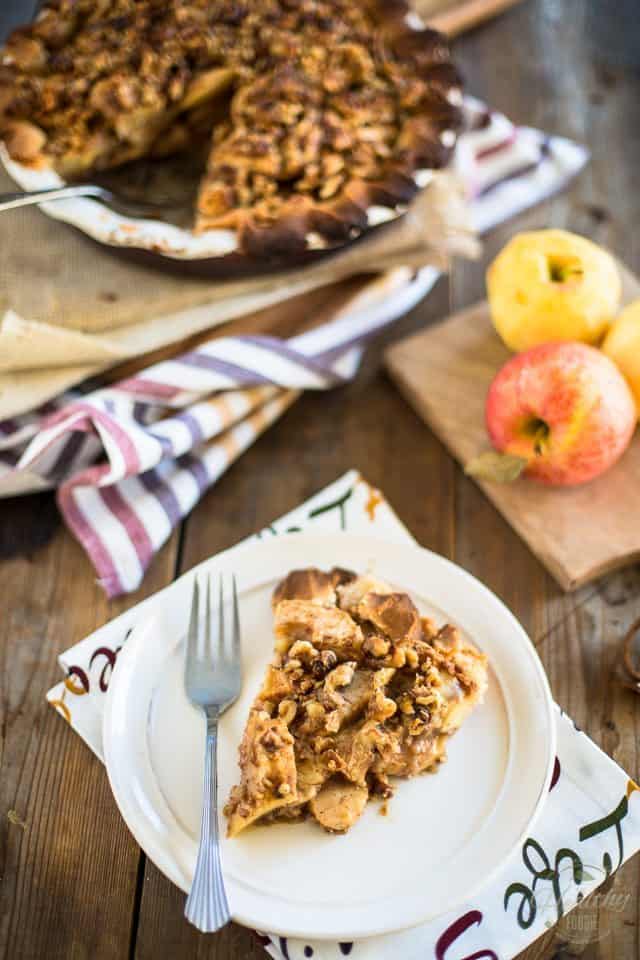
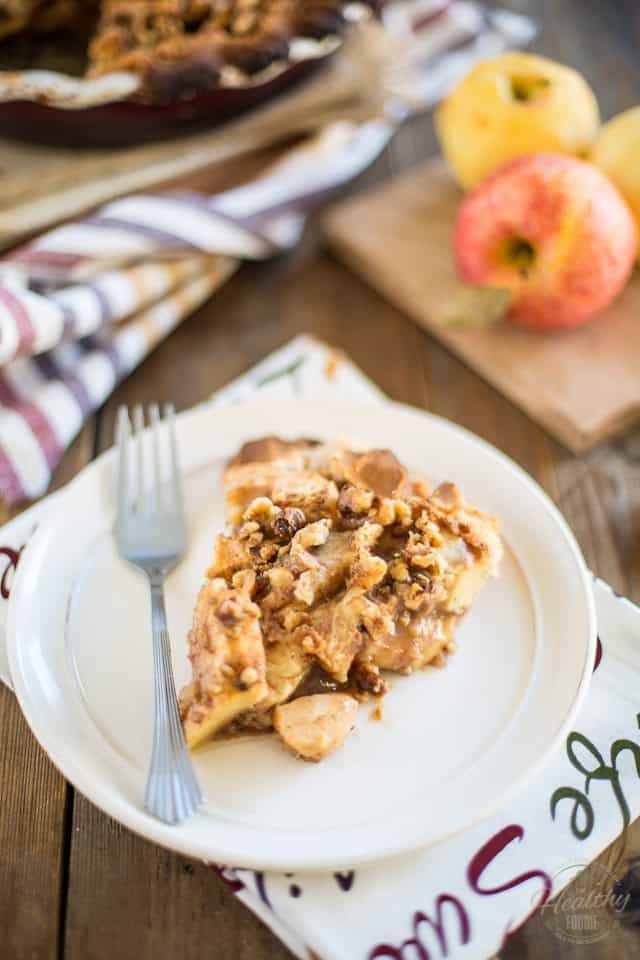
But some pies, well, they tend to crumble into a big mess when you try and slice them up…
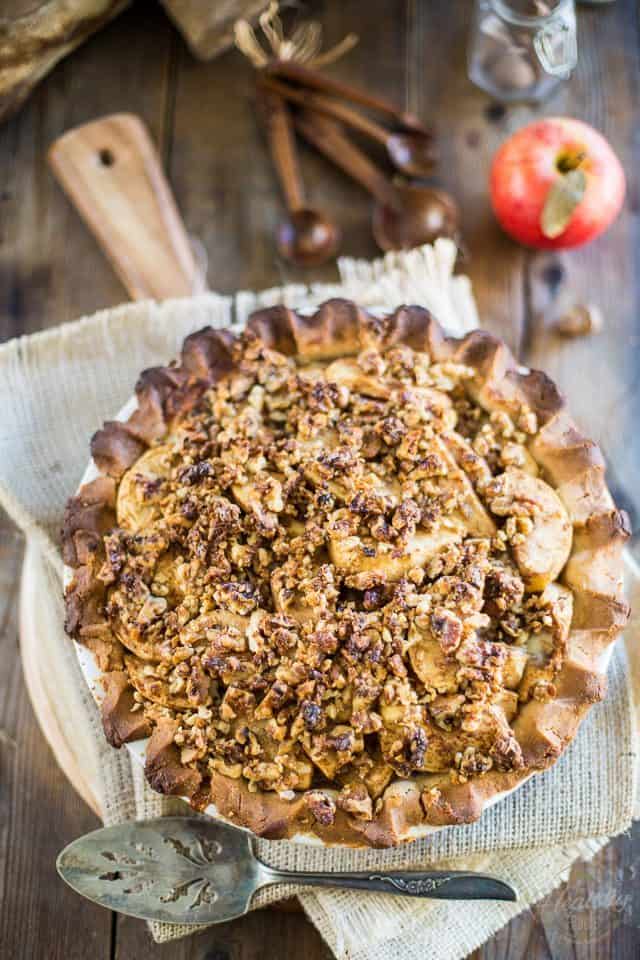
This Maple, Walnut and Sharp Cheddar Apple Pie falls kind of halfway between the neat, perfectly triangular slice that I like so much and a broken-down messy pile of goodness that looks more like a crumble than an actual slice of pie. For me, that alone was reason enough to not really want to repeat the experience.
But then I changed my mind and decided that this dessert tasted way too darn good to let the recipe forever go into oblivion.
After all, this unusual combination of cheese, apples and maple is one that I am particularly fond of, and one that I think more people need to know about! I personally got my first taste when I was a young teenager. During one of our cooking classes, our Home Economics teacher had us make French crêpes which we then stuffed with sliced apples, mozzarella and sharp cheddar cheese before returning them to the pan until the cheeses melted and started oozing from the crêpes. We then removed those to a plate and covered them in pure maple syrup. I remember not even wanting to taste them because I thought it was too weird, but since I’d worked so hard to make the darn dish, I figured I’d at least have a bite. Well, let me tell you, this is one of the best things I’ve eaten in my entire life. To this day, I still dream about them sometimes, and get inspired to come up with recipes that call for the same unusual combination, such as this Apple Pie…
Need I tell you I’d polished up my entire plate, that day?
Now, if you’ve never tried this particular flavor combo, go for it: you’re in for a serious treat. If you HAVE tried it though, then you know exactly what I’m talking about, and you too, will most likely forgive this pie for being a bit of a rebel and not staying neatly in place after it’s hit your plate…
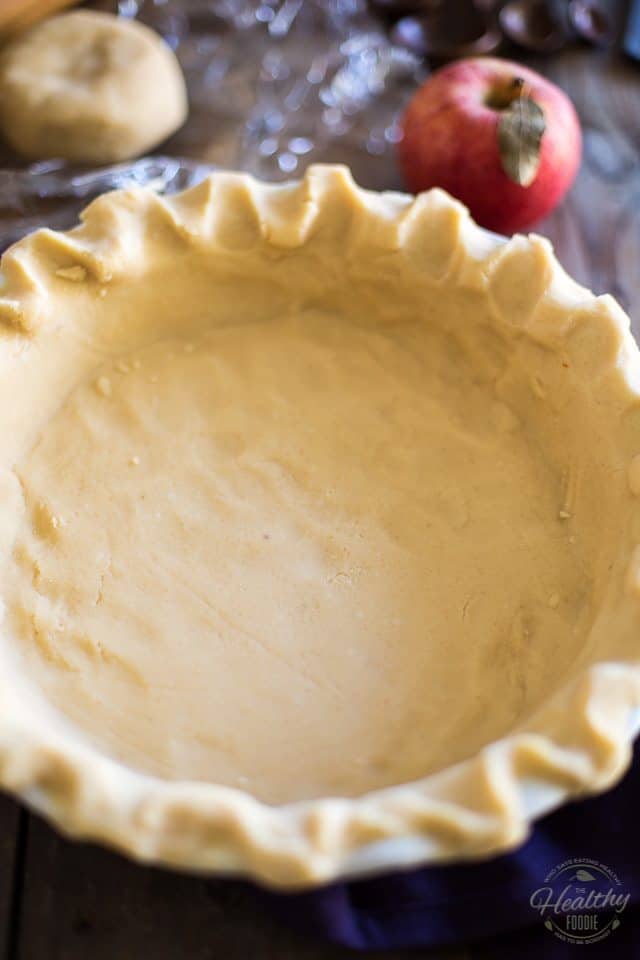
First, if you’re gonna make pie, you need to make pie crust. About one third or my Paleo Pie Crust Recipe will do the trick.
So make the pie crust and then grease a 9″ deep dish pie plate with ghee and line it with the bottom pastry. Place that in the refrigerator to rest while you work on the rest of the ingredients.
Of course, you could skip the whole bottom pastry thing and simply make a crumble, since this pie doesn’t really hold its shape anyway… but then you’d be missing out on the flaky crust!
Still, I think it would be delicious… so it’s your choice, really: crust, or no crust.
Now that you’ve made the crust (or not), preheat the oven to 375°F and make sure you have a rack positioned at the bottom of the oven.
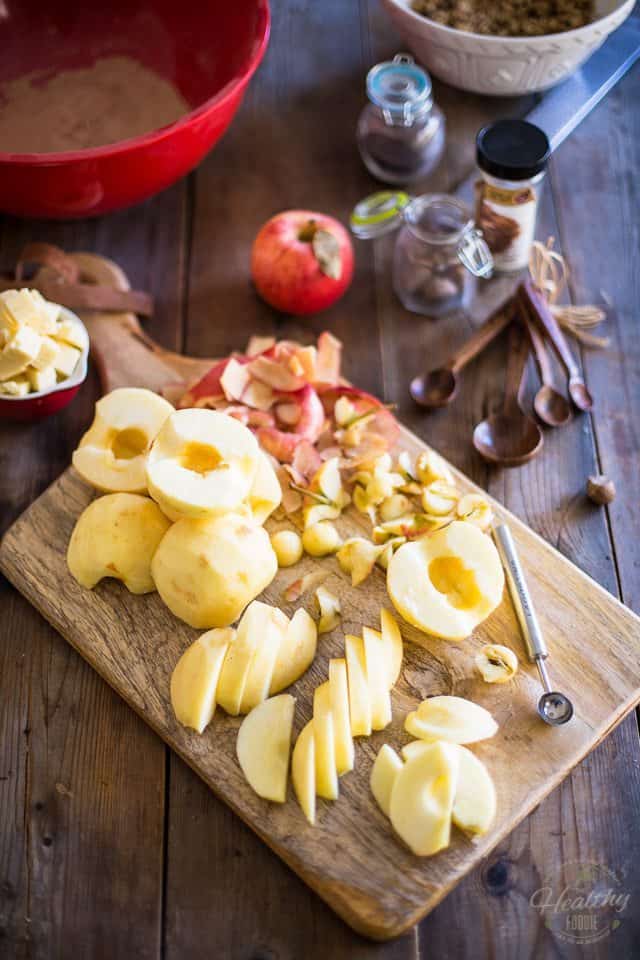
Slice your apples and cube your cheese…
Then make the crumble. Now THIS you really don’t want to pass up!
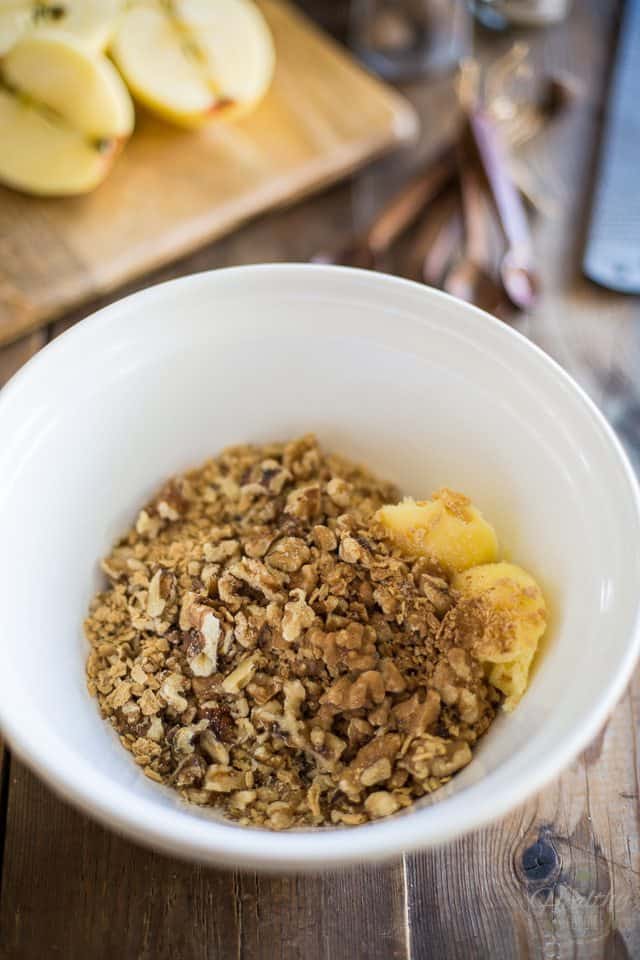
Put some chopped walnuts, maple sugar flakes, ghee and spices in a mixing bowl.
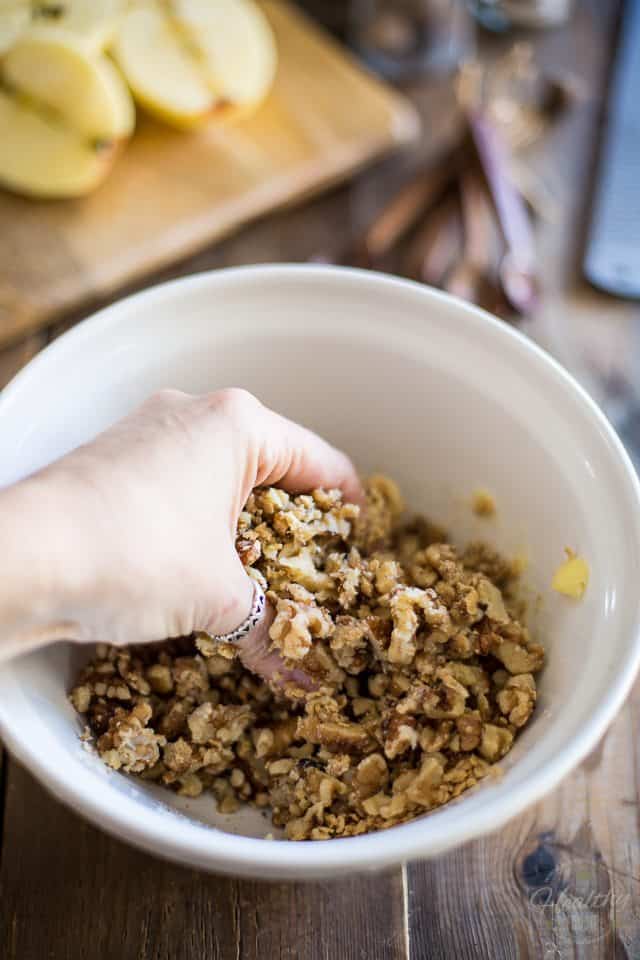
Now mix all those ingredients with your fingers until very well combined.
You might be tempted to use a spoon, especially if, like me, you’re not a fan of having your hands dirty, but trust me, your fingers will do a much better job at combining the ingredients and getting those nuts well coated with the ghee.
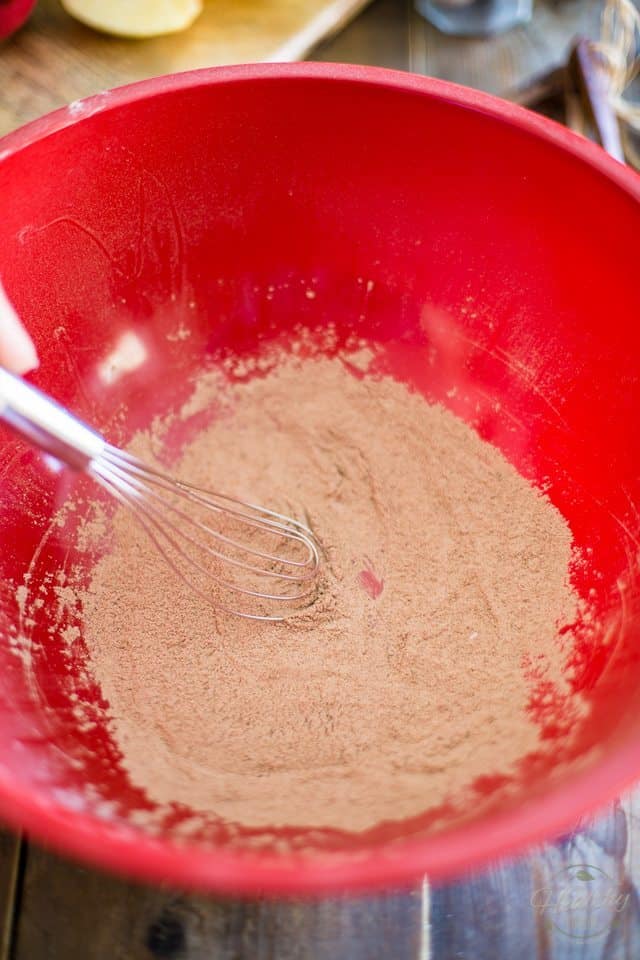
In a large mixing bowl, mix tapioca starch, ground cinnamon, nutmeg, salt and vanilla powder together.
Make sure all the ingredients are very well combined.
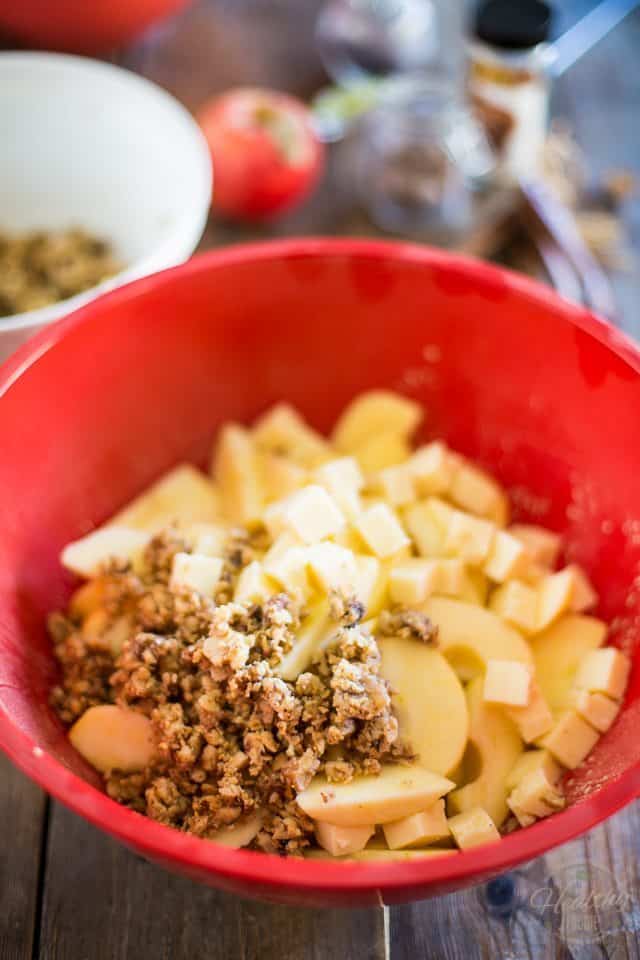
Add the sliced apples, cubed cheese and about 1/3 of the crumble to that bowl…
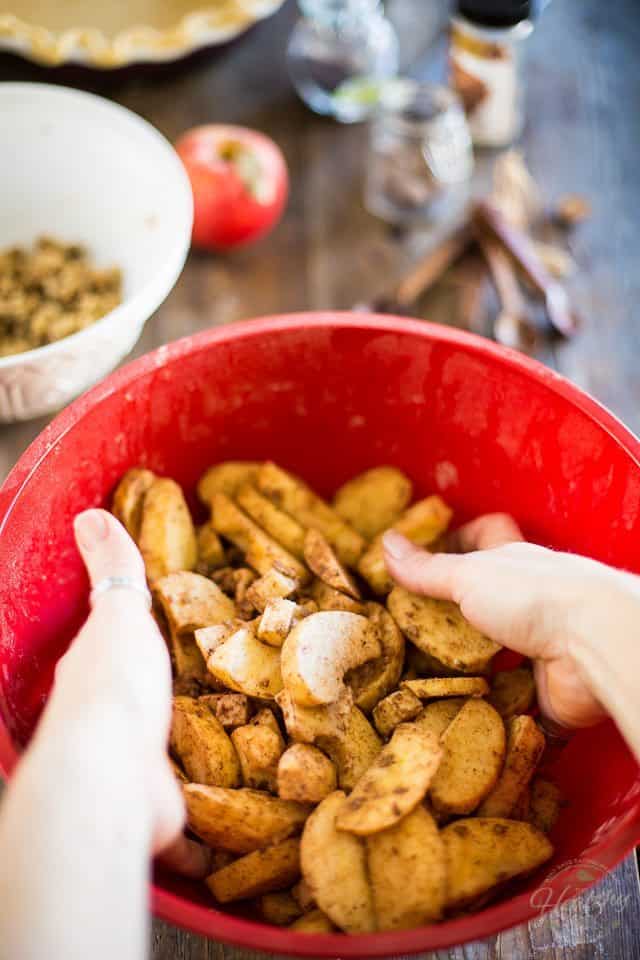
…and then toss with your hands until all the pieces are evenly coated with the starch / cinnamon mixture; transfer to the reserved pie crust and arrange nicely.
Yes, unfortunately, here too, your hands will do a much better job at ensuring that all the pieces get nicely coated. There’s no escaping getting your hands dirty I’m afraid…
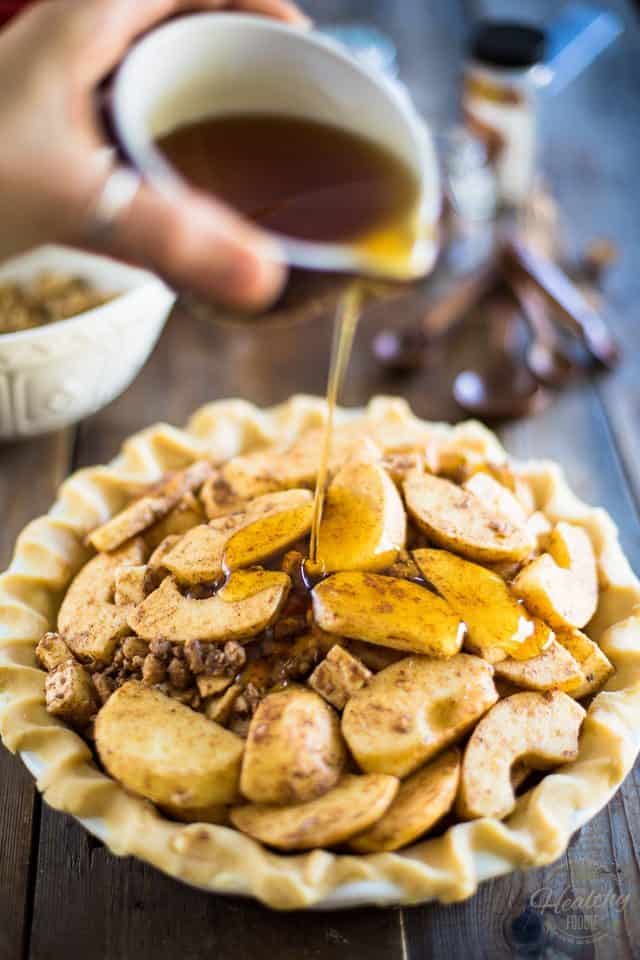
Once you are satisfied with the way your apples and cheese look, cover them in maple syrup…
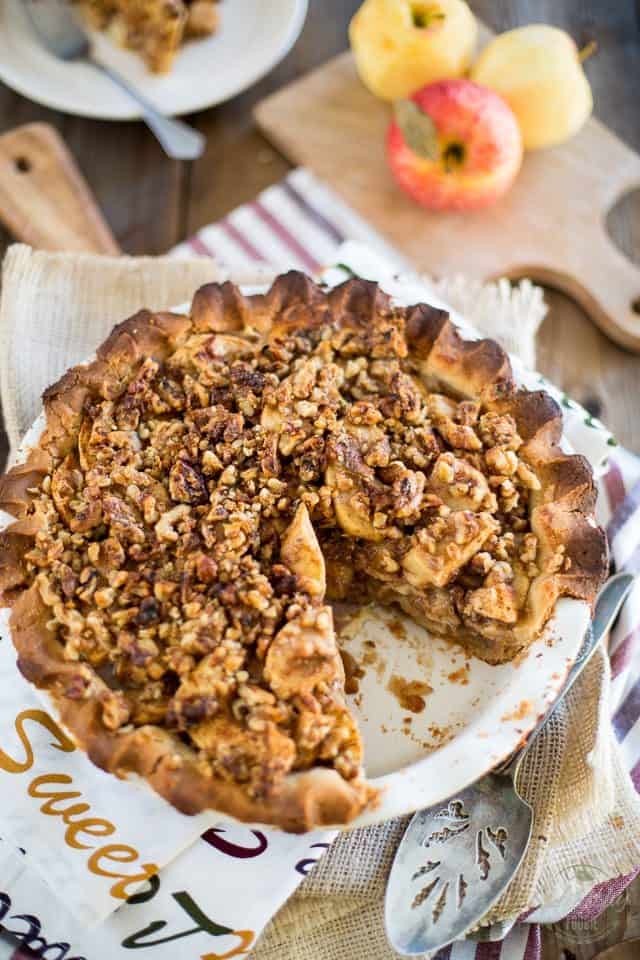
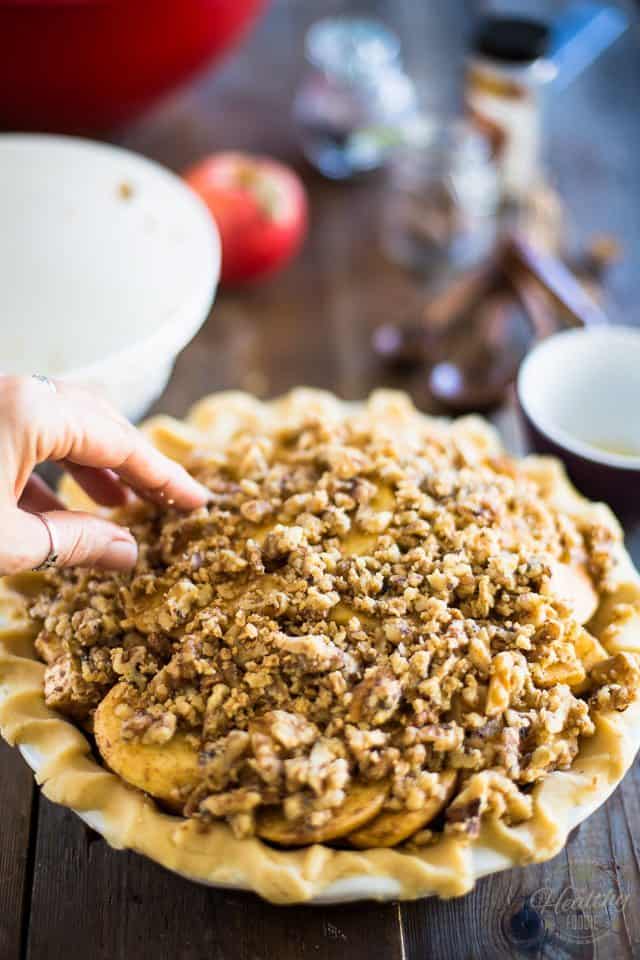
…and then distribute the remaining crumble across the top of the pie.
Place the pie on the bottom rack of the oven and bake for about 30 minutes or until the crust and crumble are nice and golden.
Kill the heat, leave the door ajar and let the pie sit in the oven for another 10 minutes.
Remove your pie from the oven and allow it to cool for at least an hour before serving. Unless you don’t mind eating your pie in a seriously disintegrated form and burning your tongue while you’re at it…
Of course, because of the cheese that’s in it, this pie is best served warm, but it’s also delicious cold (and tends to hold its shape much better in that state, too!)
Again, here, the decision is yours… so tell me, what will it be?
Maple Walnut and Sharp Cheddar Apple Pie
Ingredients
- 1 paleo pie crust shell, (about 1/3 the pie crust recipe)
--
- 6 medium red apples (gala, red delicious) , peeled and thickly sliced
- 1 cup sharp cheddar, cut into small cubes
- 2 tbsp tapioca starch
- 1 tsp ground cinnamon
- 1/4 tsp freshly grated nutmeg
- 1/4 tsp Himalayan salt
- 1/4 tsp vanilla powder
---
- 1 cup pure maple syrup
Crumble
- 1-1/2 cup walnuts, chopped
- 1/4 cup pure maple sugar flakes
- 2 tbsp ghee
- Pinch ground cinnamon and salt
Instructions
- Preheat the oven to 375F and make sure you have a rack positioned at the bottom of the oven.
- Grease a 9" deep dish pie plate with ghee and line with bottom pastry. Place in the refrigerator while you work on the rest of the ingredients.
- Make the crumble: mix all the ingredients with your fingers until very well combined; set aside
- In a large mixing bowl, mix tapioca starch, ground cinnamon, nutmeg, salt and vanilla powder; add the sliced apples, cubed cheese and about 1/3 of the crumble to the bowl mixture and then toss with your hands until all the pieces are evenly coated with the starch / cinnamon mixture, then transfer to the reserved pie crust and arrange nicely.
- Pour the maple syrup over the apples and then arrange the remaining crumble over the top of the pie.
- Place the pie on the bottom rack of the oven and bake for about 30 minutes or until the crust and crumble are nice and golden.
- Kill the heat, leave the door ajar and let the pie sit in the oven for another 10 minutes.
- Remove the pie from the oven and allow it to cool for at least an hour before serving.
- Serve warm or cold.
Nutrition
If you’ve tried this recipe, please take a minute to rate the recipe and let me know how things went for you in the comments below. It’s always such a pleasure to hear from you!
You can also FOLLOW ME on PINTEREST, FACEBOOK, INSTAGRAM and TWITTER for more delicious, healthy recipes!








One Comment on “Maple Walnut and Sharp Cheddar Apple Pie”
This sounds delicious. Have just finished making apple pies and walnut pies for organization auctions but will keep this in mind for baking soon.