
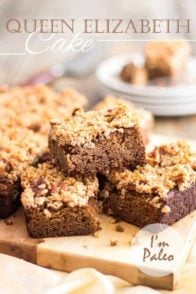
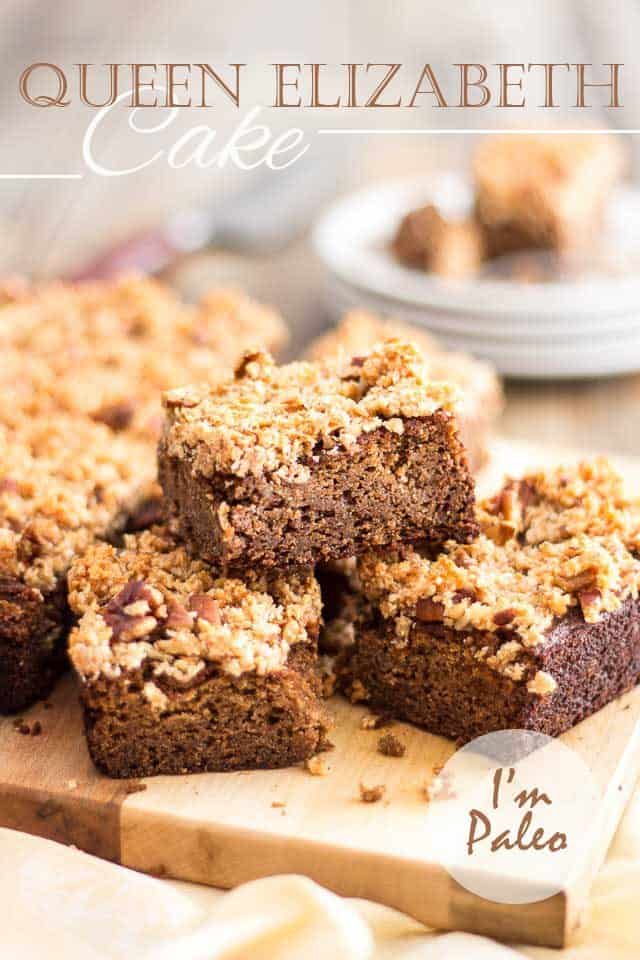
Queen Elizabeth Cake
 Well, it looks like I’m giving you yet another dessert recipe today. Yes, again. I know, I don’t usually share that many… Better enjoy it while it lasts, though, because while a lot of people out there (including you, perhaps?) are on the final day of their Whole30 challenge, I’ll be entering mine starting tomorrow.
I guess seeing so many people take the challenge in January truly inspired me, so I recently committed to giving it a shot myself. I’ll be starting on February 1st and will keep at it all the way through April 1st. Yeah, I know… that’s 2 months. But my body and mind greatly need it.
Even after that Whole30 is over, though, I kind of get the feeling that sweet treats and desserts will be happening less and less in this household…
As much as I love baking, and as much as the pastry chef in me is begging me to let it come up with all kinds of new creations, I find the more involved I get with the paleo lifestyle, the less I feel like eating sweets, treats and other paleofied classic dishes. More often than not, when I make desserts, I end up giving them away or throwing them in the freezer after I’ve had a taste. I think there are more baked goods and treats in there than there is meat now. Nah, kidding, it’s not THAT bad, but I still do have a lot in there. Way too much! So I gotta give it a break.
This cake, though… this cake. It never got to see the color of my freezer!
You see, shortly before her daughter was born, my daughter asked me if I thought I could make a paleo version of a Queen Elizabeth Cake. Funny thing is it had been on my list for the longest time, but I never really got around to actually making one. Her asking me just gave me the push that I needed to make it happen.
Honestly, I’m so happy I did. I couldn’t believe how delicious it turned out. The cake itself is just sweet enough, has a perfect moist, yet dense but delicate texture to it. It feels and tastes so good in your mouth, you would never guess that this is grain, gluten and refined sugar free!
And that topping. OH, that topping. It’s sweet, it’s crunchy, it’s sticky and chewy… it’s… it’s… totally gonna have your tongue do back flips in your mouth. So much so, it may even become tangled.
Hey, I’m not kidding. Consider yourselves warned. Don’t you come blame me if that happens to you!

Before you do anything, preheat your oven to 350°F and grease a 9” square baking pan with ghee or coconut oil and then line it with parchment paper, leaving a bit of an overhang on either side of the pan for easy unmolding.
Now let’s start working on the actual cake!
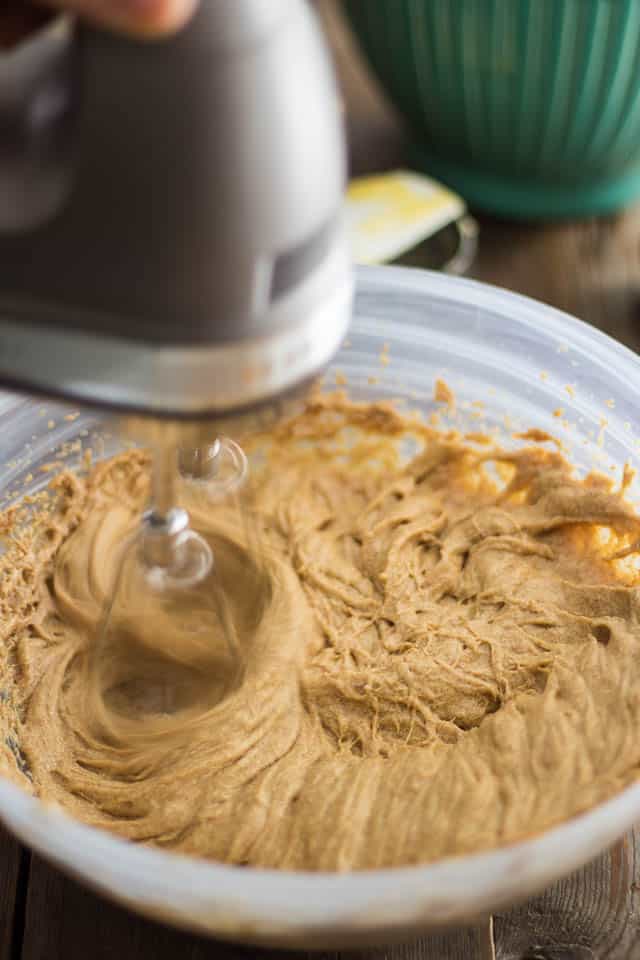
Take out a large mixing bowl and throw in the ghee and date paste. Mix on high speed with a hand mixer (or use your stand mixer if you have one) until well combined and creamy.
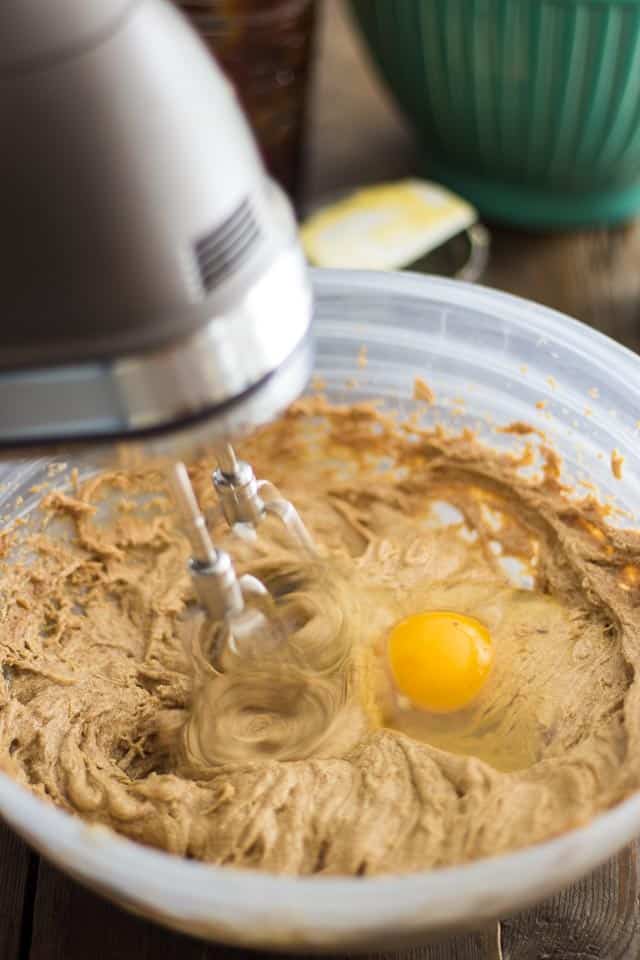
Add the eggs, one at a time, making sure to beat until fully incorporated between each addition…
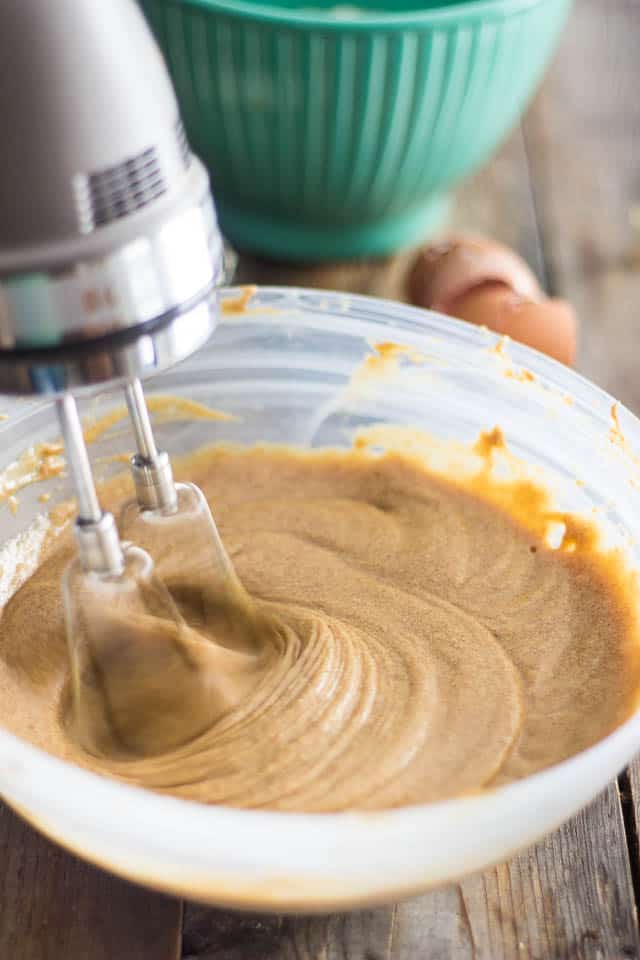
…until the mixture becomes real light and fluffy.
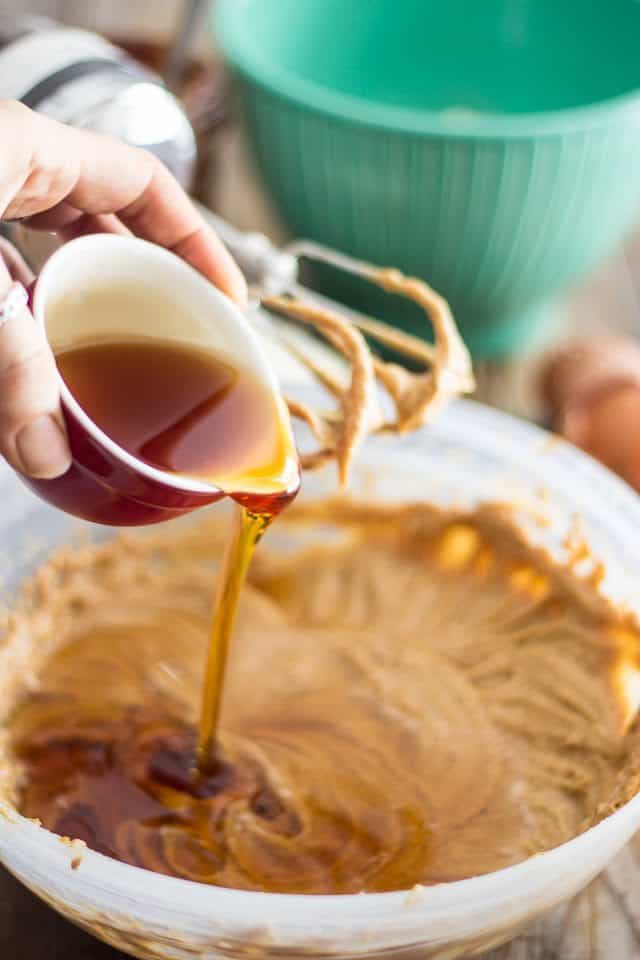
Now add rum if using (if not, add warm water instead), maple syrup and vanilla extract.
About the rum, I know it’s not exactly paleo, but then again, cake isn’t really paleo either. At least as a concept, it isn’t. And the rum does SO much for the cake, if you’re gonna indulge, you might as well go all the way. So I say go ahead and throw in that splash of booze.
Resume beating on medium speed until all the ingredients are well combined and set that bowl of goodness aside.
Time to work on the dry ingredients!
In a separate bowl, mix the dry ingredients together with a whisk until perfectly well combined.
Although it’s not absolutely necessary, I strongly recommend that you sift the dry ingredients after they’ve been mixed together. Not only will this insure that you catch any potential lumps and unwanted debris, but it will also help in distributing the ingredients evenly and play a big role in making your cake lighter and fluffier.
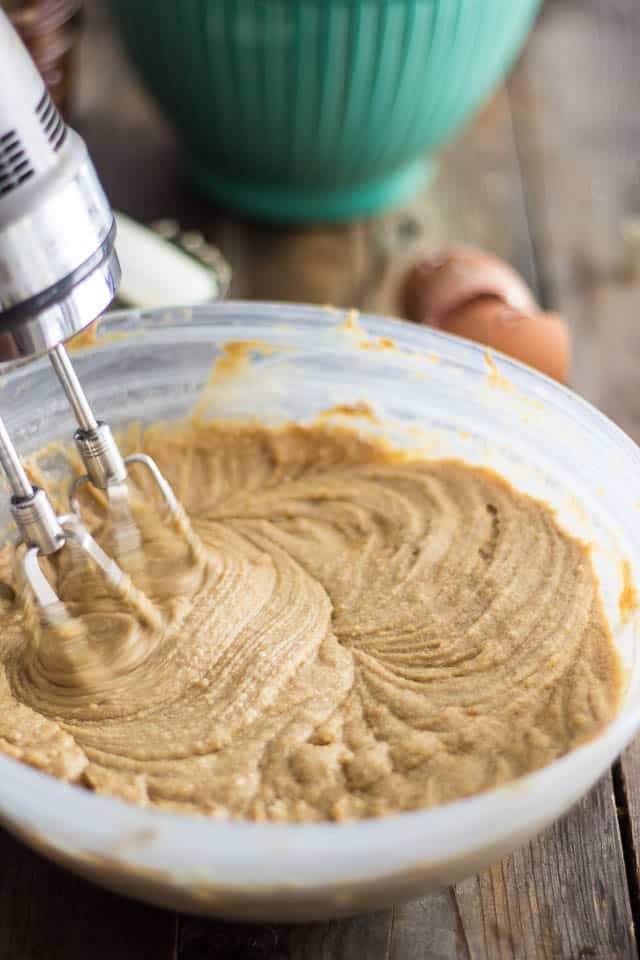
Alright, so now that your dry ingredients have been well mixed, add them to your reserved bowl of goodness and beat on low speed until just incorporated, no more.
You could also do that last step by hand, using a rubber spatula, if you preferred.
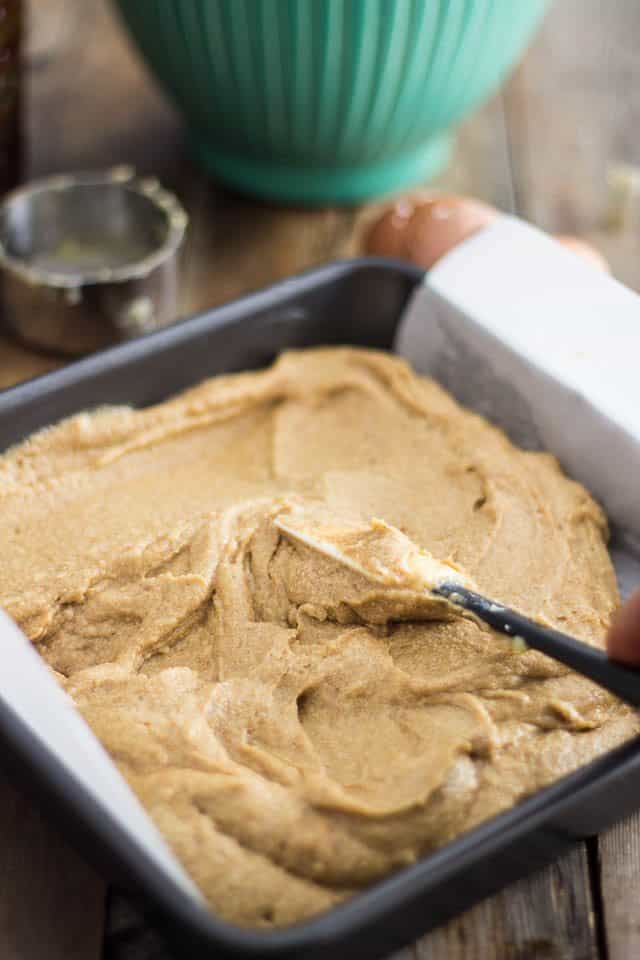
Pour that gorgeous cake batter into the prepared pan and spread it all the way to the sides, as evenly as possible.
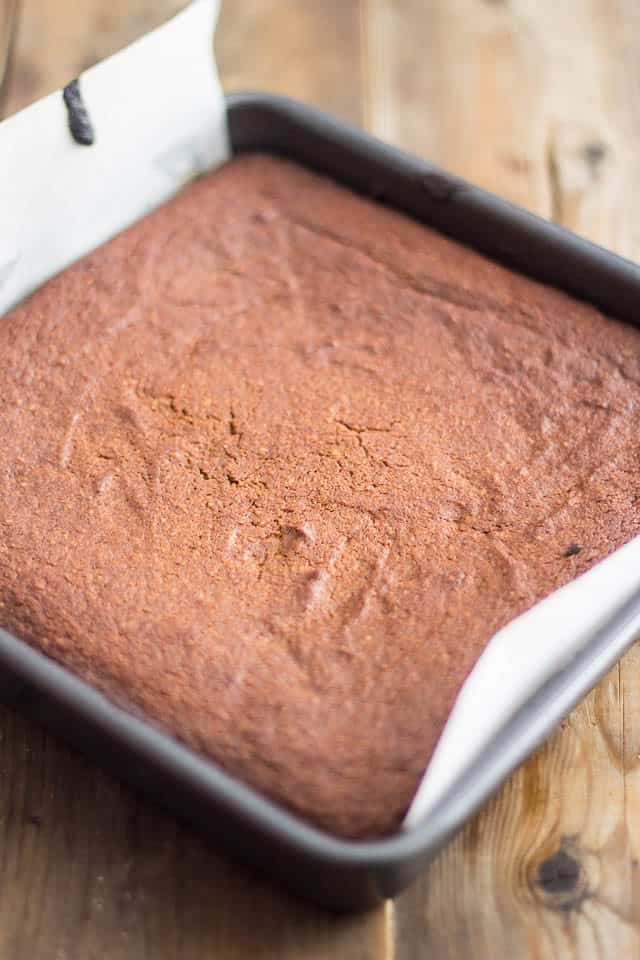
Bake in the oven for 35 minutes, until it looks like this.
Oh maaaan, does that cake look good or what?
But wait… we’re not done. We need to add that delicious topping to it. In fact, you gotta start working on that topping before those 35 minutes are over…
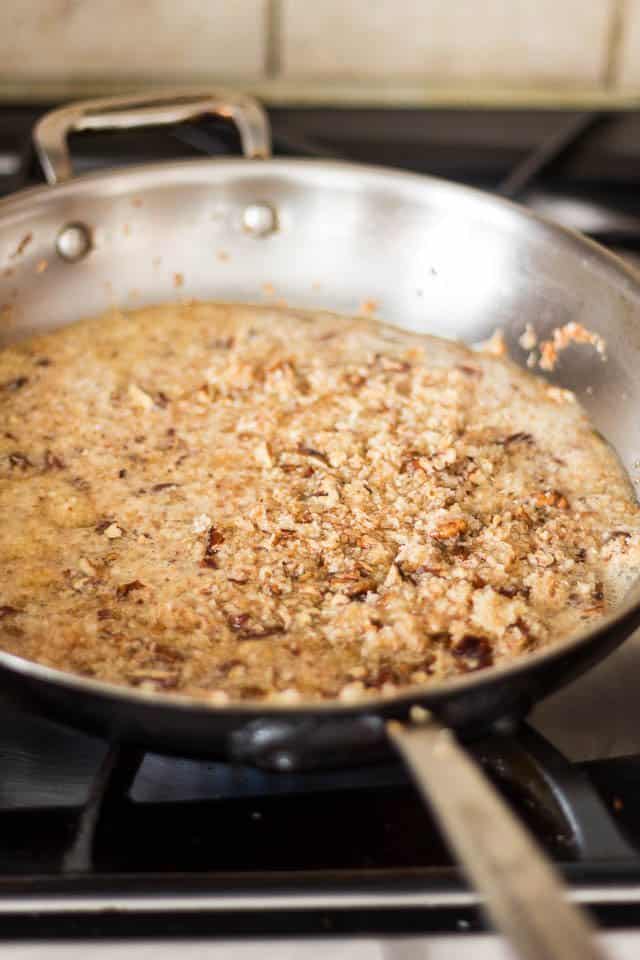
About 5 to 10 minutes before your cake is done, add some coconut, pecans, ghee, maple syrup and honey to a large skillet set over medium heat.
Bring that to a simmer, stirring constantly, until the ghee and honey are fully melted and all the ingredients are well combined. Continue cooking for about a minute and then kill the heat.
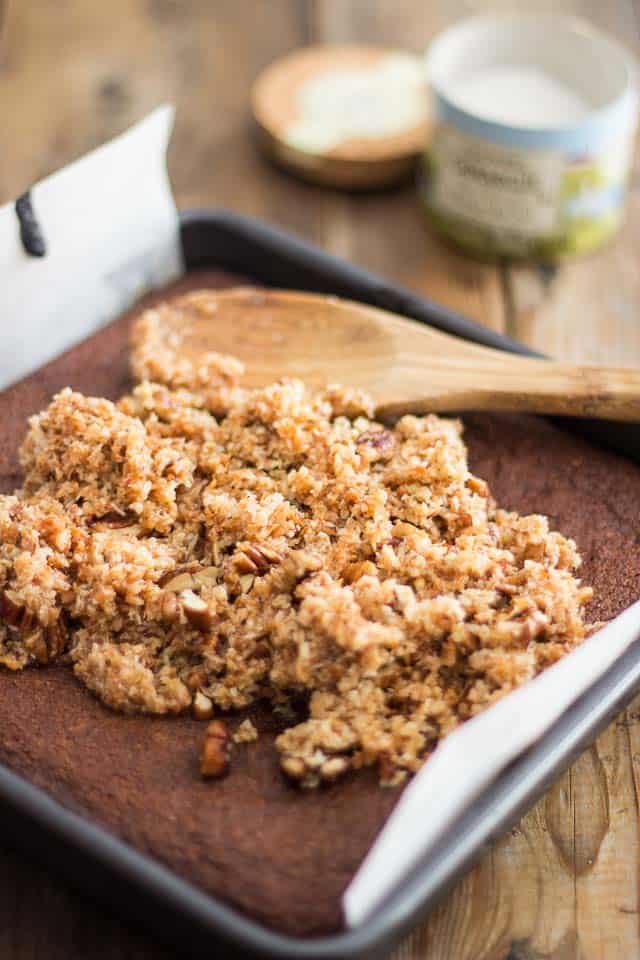
Remove the cake from the oven, pour the coconut mixture over the cake and spread delicately all the way to the edge.
Put the cake back in the oven for another 5-6 minutes, until that coconut pecan topping turns a beautiful shade of golden brown.
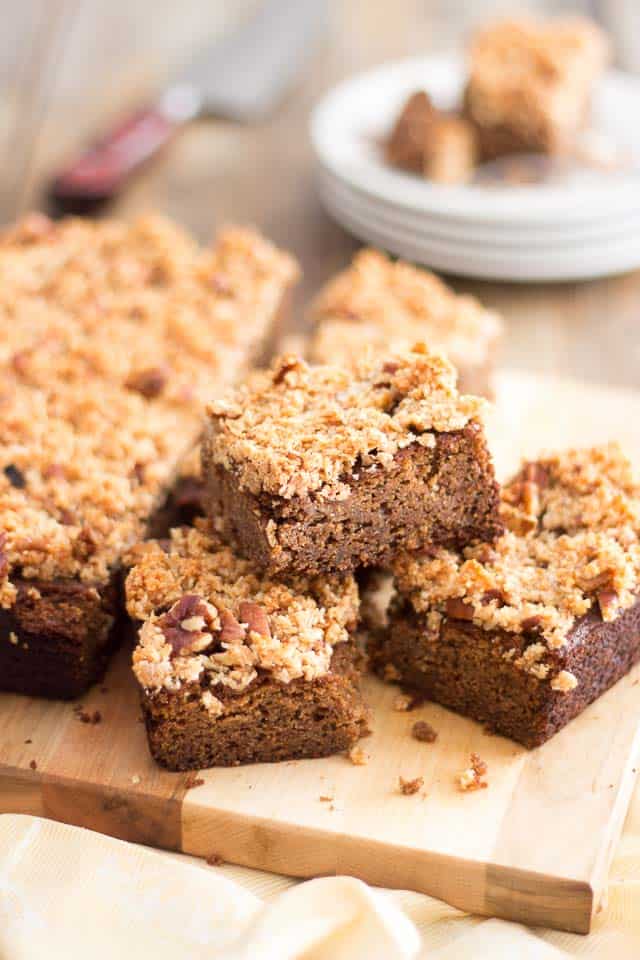
Now for the toughest part: remove the cake from the oven and let it cool completely on a cooling rack before cutting it into squares.
You can do it… it’ll only take a couple of hours.
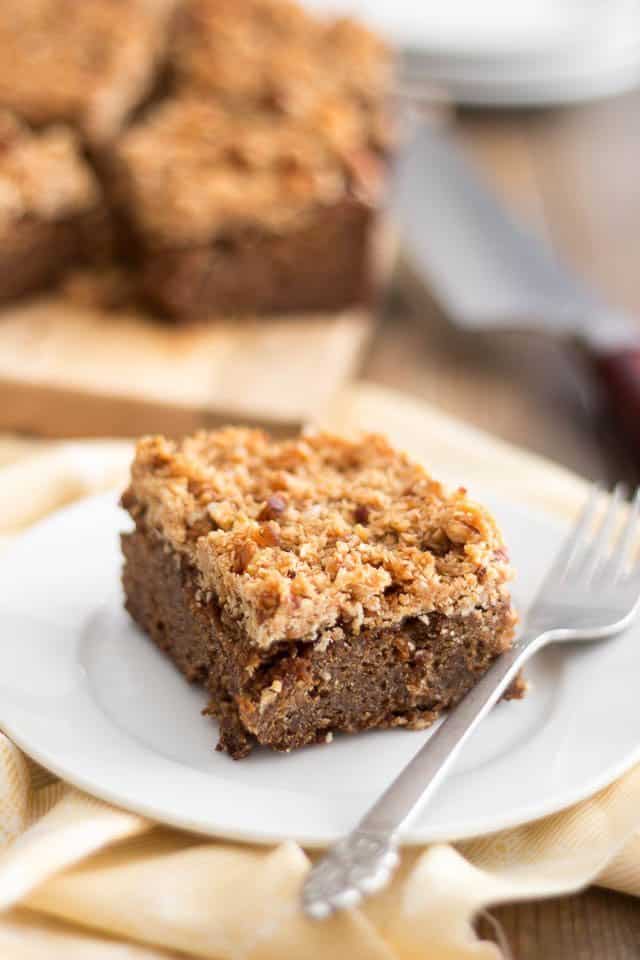
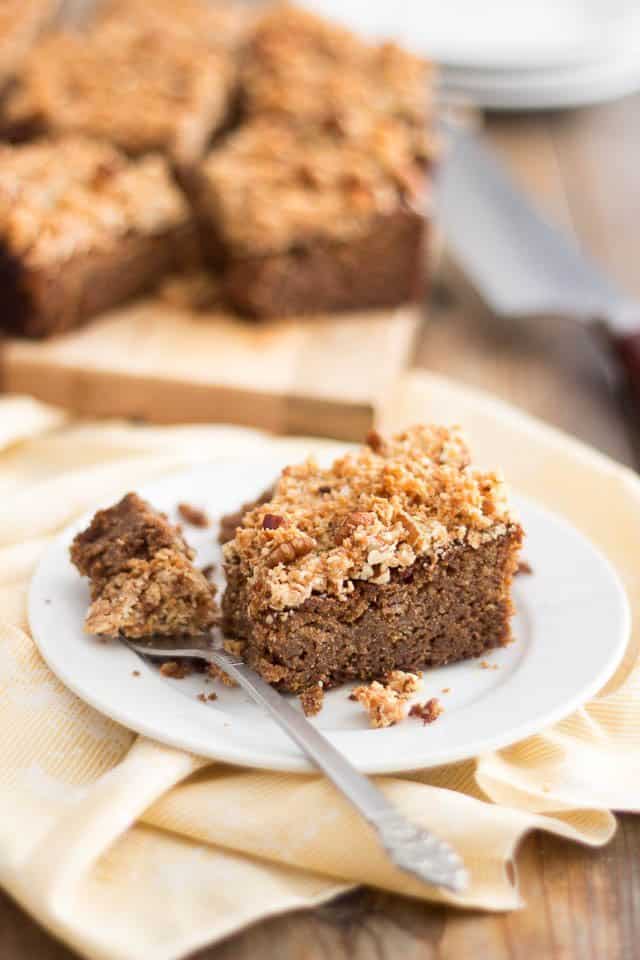
Finally, time to treat yourself to a piece. The plate and fork are totally optional, though.
This cake is even better when enjoyed with your fingers!
Queen Elizabeth Cake
Ingredients
The Cake
Wet Ingredients
- 1 cup date paste
- 1/2 cup ghee
- 3 large eggs
- 1/2 cup pure maple syrup
- 1/4 cup good rum, or warm water
- 1 tsp pure vanilla extract
Dry Ingredients
- 1 cup almond flour
- 1/4 cup coconut flour
- 1/4 cup tapioca flour
- 1½ tsp baking soda
- 1/2 tsp cream of tartar
- 1/2 tsp Himalayan salt
Garnish
- 1 cup finely shredded unsweetened coconut
- 1/2 cup raw pecans, chopped
- 1/3 cup ghee
- 1/4 cup pure maple syrup
- 1/4 cup raw honey
Instructions
- Preheat your oven to 350°F; Grease a 9” square baking pan with ghee or coconut oil and line with parchment paper leaving a bit of an overhang on either side for easy unmolding.
- Add date paste and ghee to a large mixing bowl and mix on high speed with a hand mixer (you could also use your stand mixer if you have one) until well combined and creamy.
- Add eggs one at a time, beating well between each addition, until the mixture is light and fluffy. Add rum (or water), maple syrup and vanilla extract and resume beating on medium speed until well combined. Set aside.
- In a separate bowl, mix the dry ingredients together with a whisk until perfectly well combined. Although not absolutely necessary, I strongly recommend sifting the dry ingredients together. Not only will this insure that you catch any potential lumps and debris, but it will also help in distributing the ingredients evenly and make your cake lighter and fluffier.
- Add the dry ingredients to the wet ingredients and mix on low speed until just incorporated, no more.
- Pour the cake batter into the prepared pan and spread all the way to the sides as evenly as possible.
- Bake in the oven for 35 minutes.
- When the cake is almost done, add the coconut, pecans, ghee, maple syrup and honey to a large skillet set over medium heat. Bring to a simmer, stirring constantly, then continue cooking for about a minute and kill the heat.
- Remove the cake from the oven, pour the coconut mixture over the cake, spread delicately and put the cake back in the oven for another 5-6 minutes, until the coconut garnish turns golden.
- Remove the cake from the oven and let cool completely on a cooling rack.
- Cut into 12 to 16 squares.
Nutrition
If you’ve tried this recipe, please take a minute to rate the recipe and let me know how things went for you in the comments below. It’s always such a pleasure to hear from you!
You can also FOLLOW ME on PINTEREST, FACEBOOK, INSTAGRAM and TWITTER for more delicious, healthy recipes!


5 Comments on “Queen Elizabeth Cake”
Great recipe, I will try this on my own.
Sonia,
Loved the cake! I used the topping ingredients to make ‘granola’ the other day. So tasty! Mixed it up in a bowl, added the melted butter etc and baked it in the oven on a cookie sheet. Yummy.
Oh, yummy indeed! What a brilliant idea. Will have to give it a try!
I do not do well with tapioca flour. Could it be replaced by cassava flour?
I shouldn’t be a problem, Nathalie!