Homemade Almond Milk
Guess what you guys? I’ve got another Vitamix recipe for you today! Are you at all surprised? I thought not…
Hey, I get the feeling that I’ll be playing with this new toy A LOT, so you know, it is to be expected that a few of my experiments will make it on here!
One of the things that I got really inspired to try again is making some delicious Homemade Almond Milk. It had been an eternity since I’d last made a batch in my good ole faithful [but much less powerful] KitchenAid blender.
Let me tell you, the milk that you get out of a Vitamix is like 2 million times better! It’s SO rich and thick and creamy. Plus, it takes so very little time to make. If you’re not taking pictures, 5 minutes tops, you’re done!
I get the feeling that I’ll be making all kinds of delicious nut milks again now, especially since I also got one of those super cool nut milk bags. WOW! If you don’t have one of those yet and make a lot of nut milk, or squeeze water out of things a lot (like cauliflower, you know) trust me, this is totally worth investing in.
Just wait ’til you see it in action later…
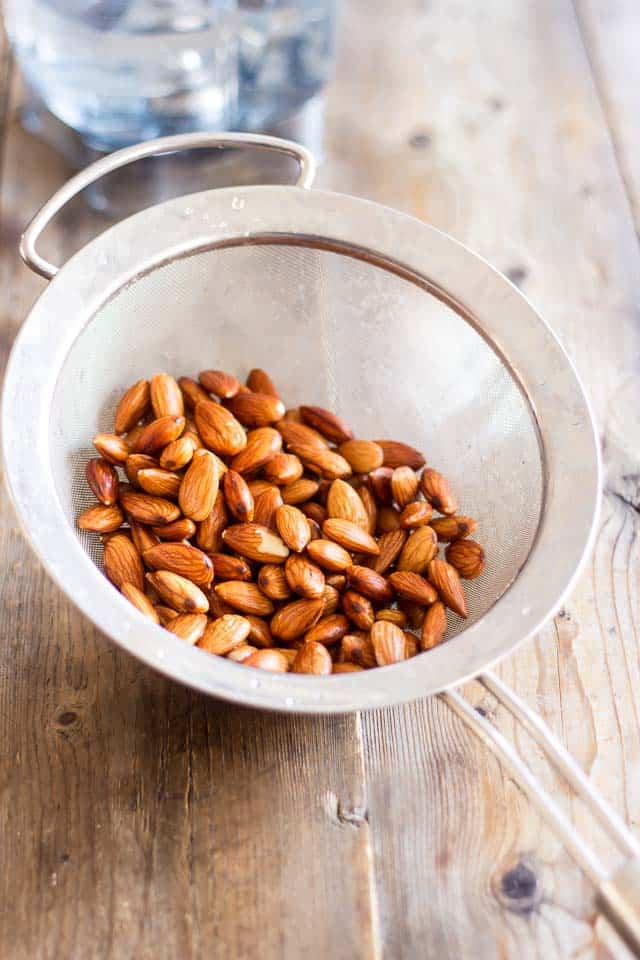
So to make the milk, you first need a cup of almonds that have been soaking since the previous night.
Soaking the nuts isn’t mandatory, but I’m all for doing it whenever I can to help rid them of their phytic acid. Sometimes, though, I have to admit that I am a tad lazy: I hate soaking nuts if I’m going to have to dehydrate them again after, like when making nut butters, for instance…
But in this case, we’re gonna be throwing the nuts in a whole bunch of water, so no need to bother dehydrating them… that means a nice long soak was in order in this household.
Simply cover the nuts in cold water and place them in the refrigerator to soak for at least 12 hours or up to 48 hours, then rinse them really well under cold running water.
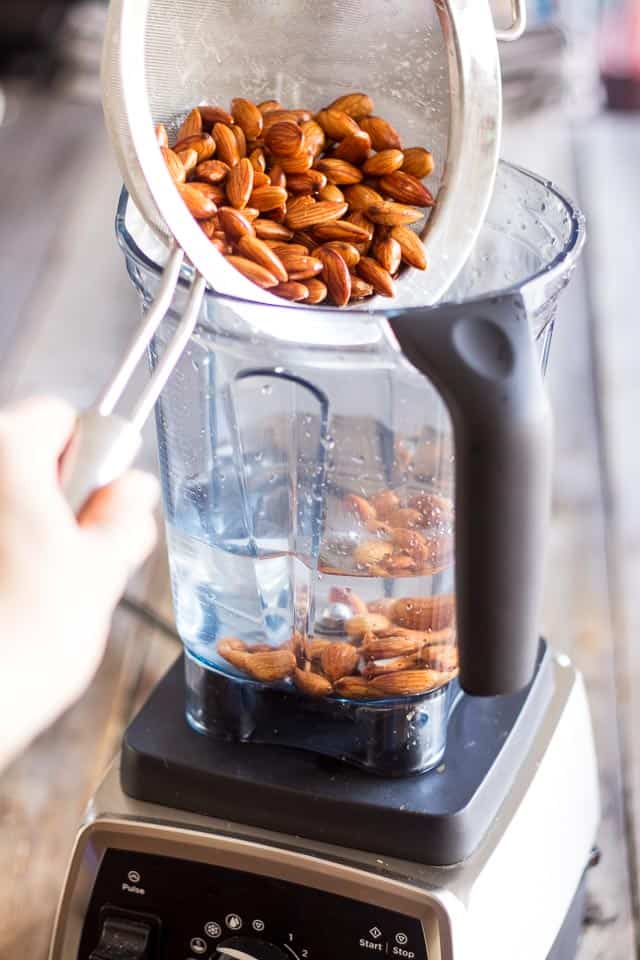
Add 3 cups of water to the container of your high speed blender and then throw in the cup of almonds.
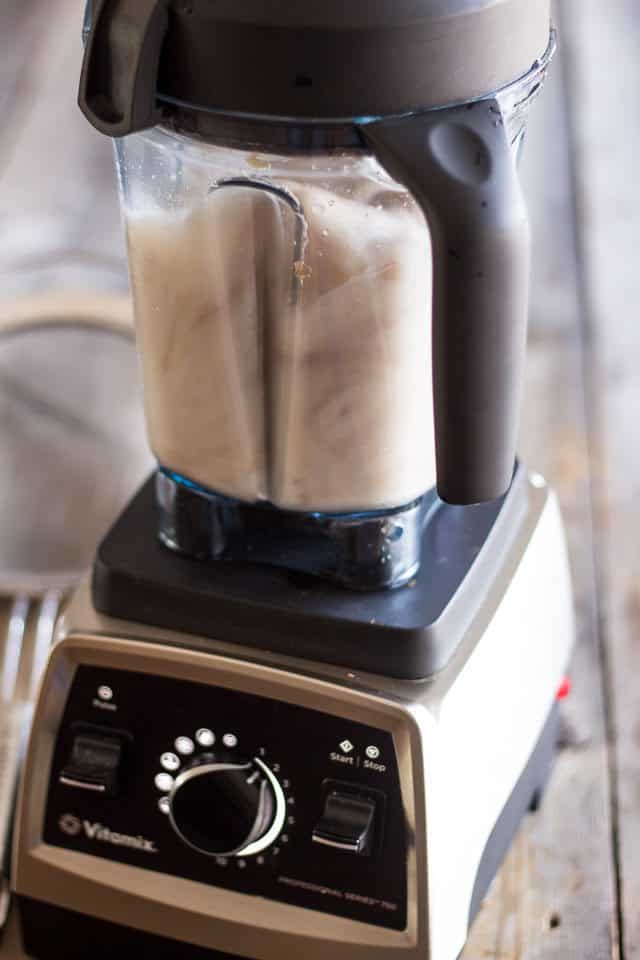
Start the motor on low speed and then slowly increase all the way up to the highest setting. Let the water and almonds spin for 2 full minutes and then stop the motor.
Technically, you could drink your almond milk as is… some people actually really like it straight out of the blender.
As you can see, though, it’s really thick at this stage and still contains a lot of almond pulp. Very fine almond pulp, I’ll admit, but pulp still. Personally, I’m not a fan…
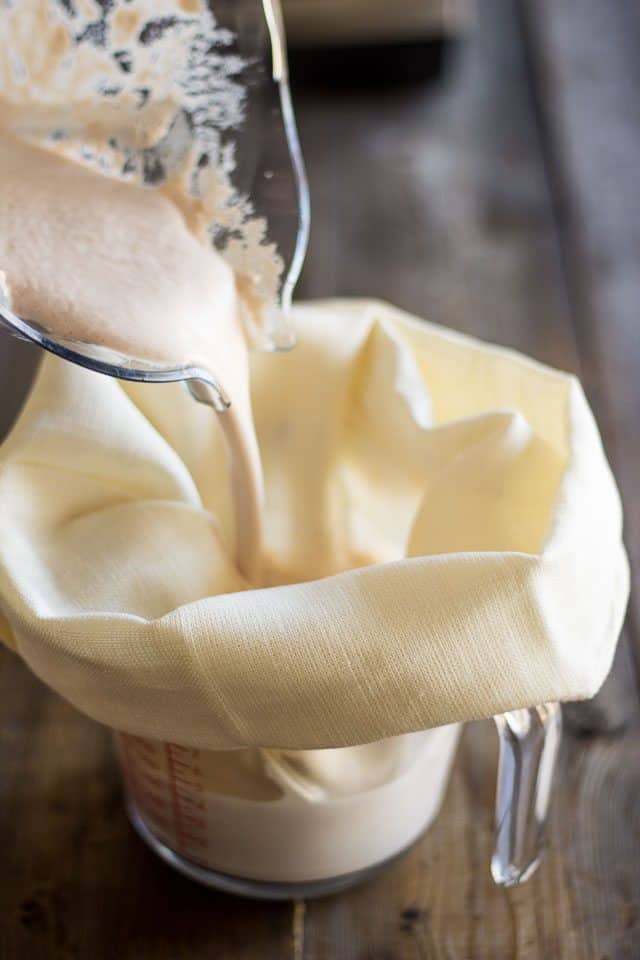
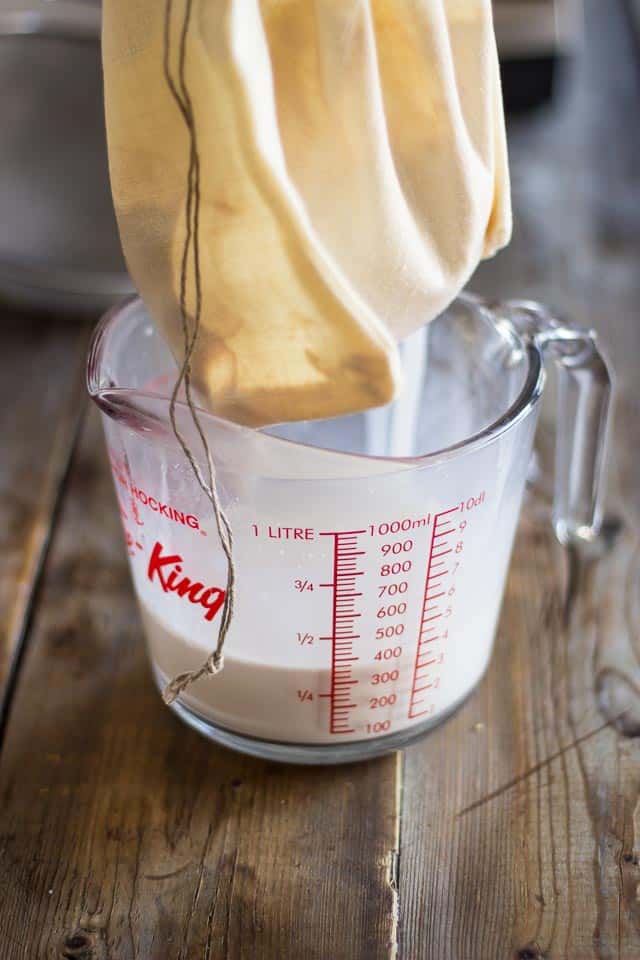
To get rid of that pulp, you’ll want to strain your milk through a fine mesh sieve lined with cheese cloth, or better yet, just pour it right into a nut milk bag which you will have placed over a large pitcher or measuring cup.
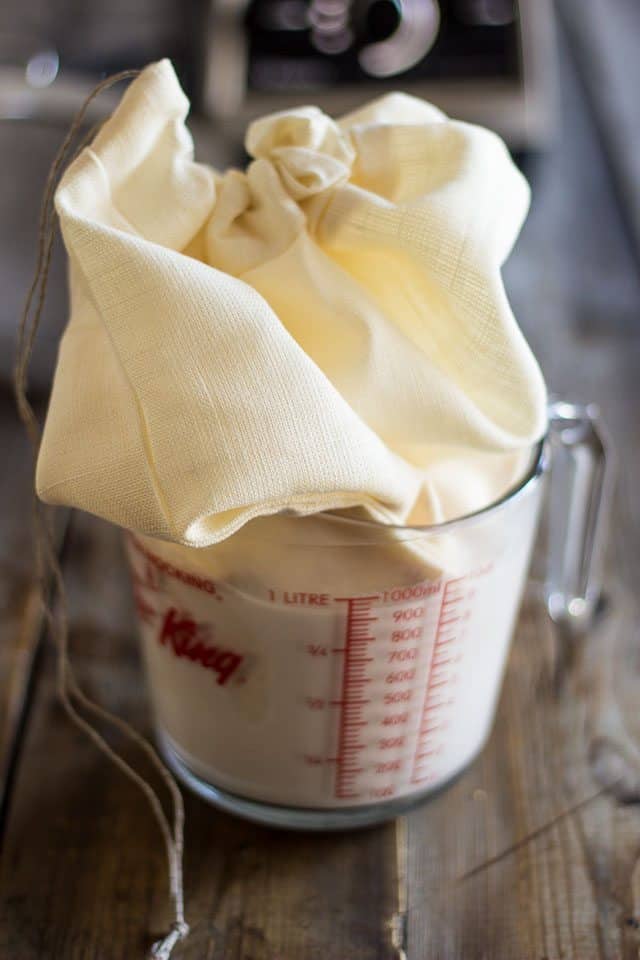
If you’re using the nut milk bag, simply close it up once all the milk has been poured in…
Then slowly lift it up…
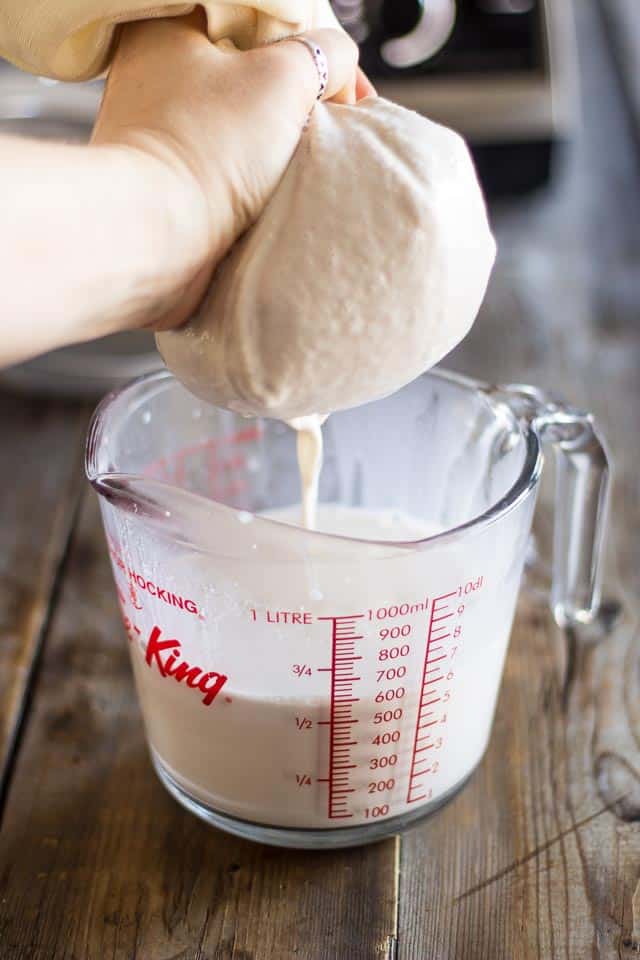
And give it a good squeeze. Really. A GOOD SQUEEZE. As in get as much moisture out of there as you possibly can.
Nut milk bags are very sturdy and let nearly zero particles slip through, so don’t be afraid to really wring it!
Give it all you’ve got!
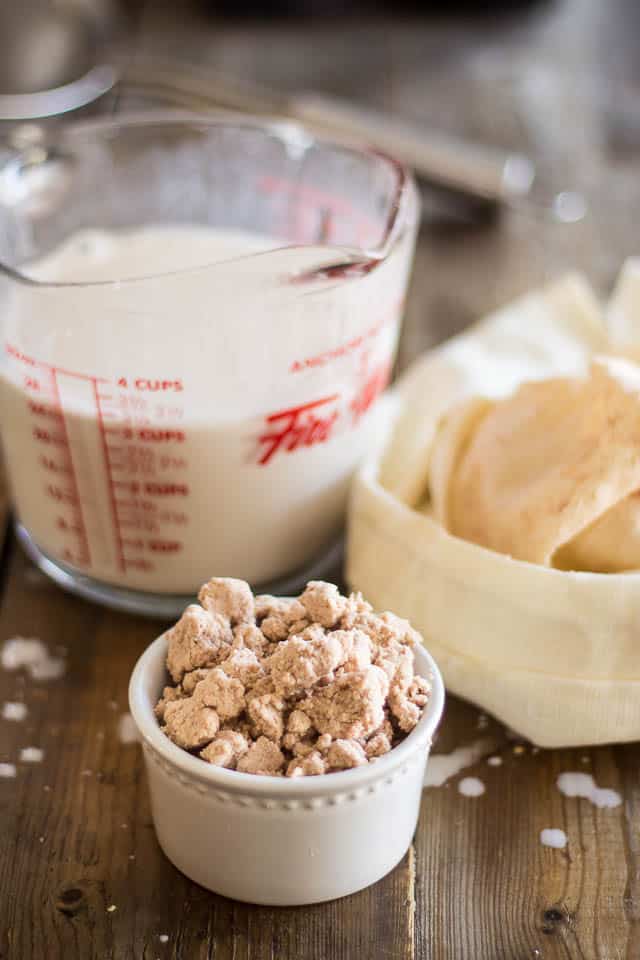
What you’re looking at here is all the pulp that got left behind: I was surprised by how very little there actually was.
Now if you wanted to, you could most probably dehydrate this pulp and make it into flour, or use it as is in soups and smoothies…
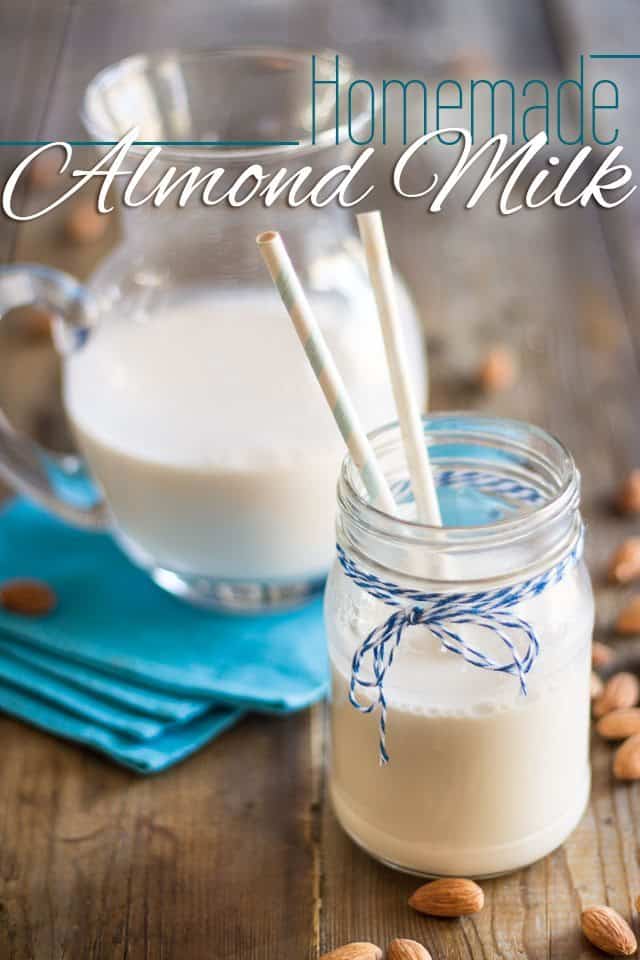
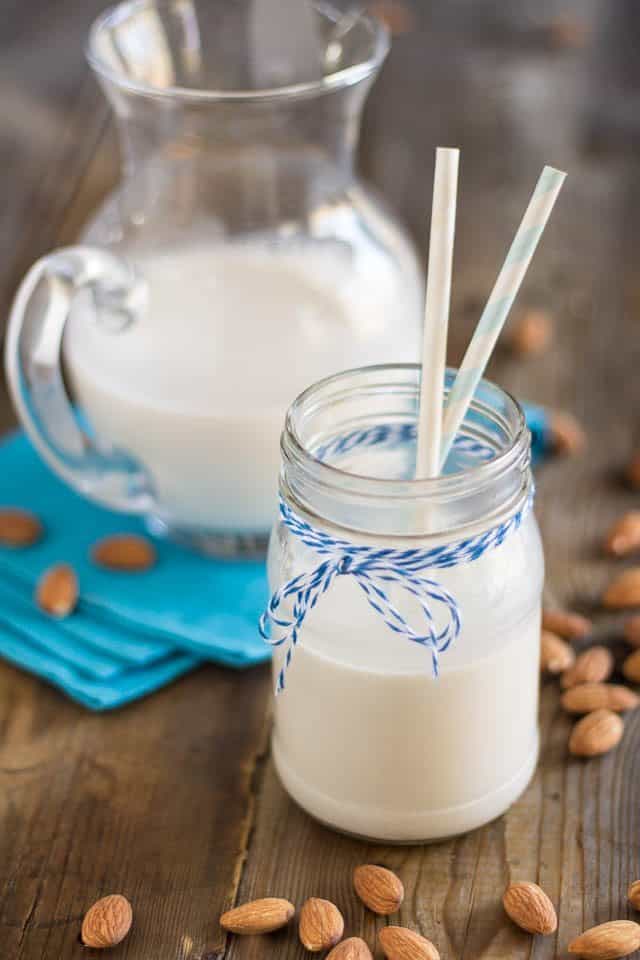
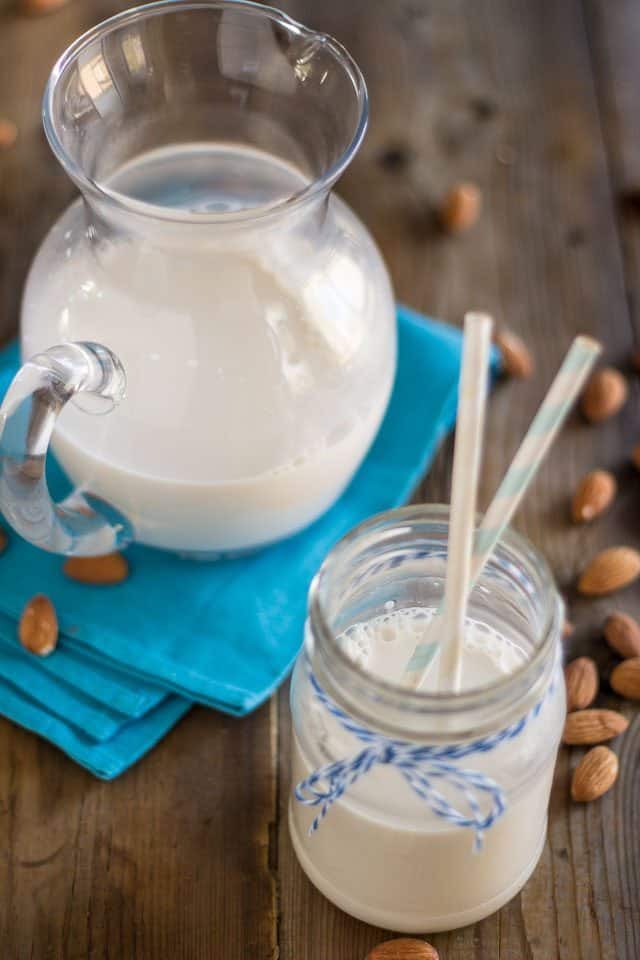
But more importantly, you’re now ready to enjoy your beautiful Homemade Almond Milk, although I find it always tastes better after it’s had a chance to chill for a couple of hours…
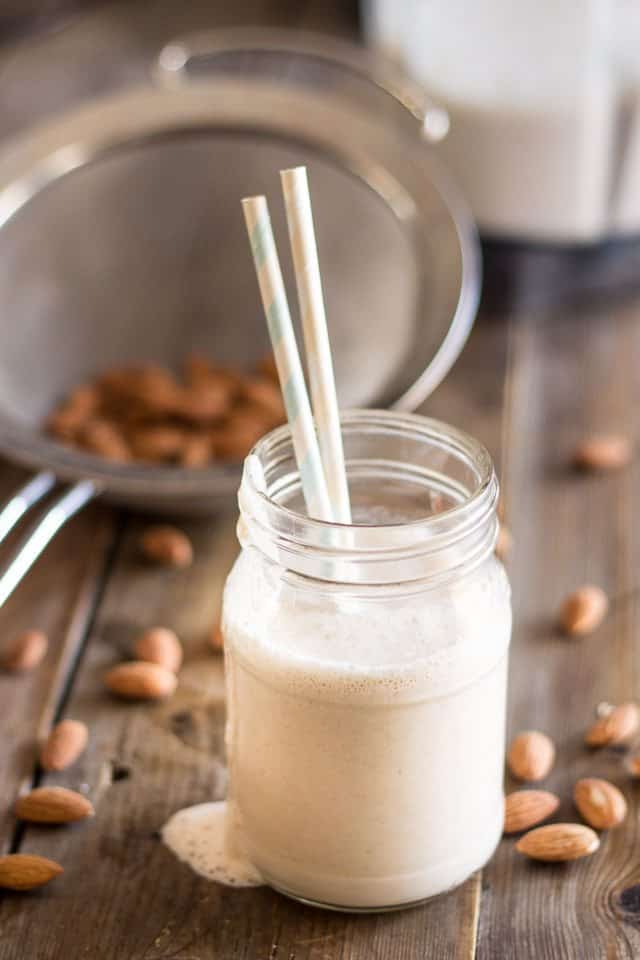
Can you get a sense of how thick and creamy this milk is?
Unbelievable… you know you want some!
Homemade Almond Milk
Ingredients
- 1 cup raw almonds, soaked overnight*
- 4 cups water
Instructions
- Rinse the almonds really well under cold running water and add them to the container of your high speed blender, along with the 3 cups of water.
- Secure the lid and start the motor on low speed and then slowly increase all the way up to the highest setting. Blend the water and almonds for 2 full minutes.
- You could drink the milk as is, but it still contains a lot of pulp at this stage. For a creamier, smoother milk, strain it through a fine mesh sieve lined with cheesecloth, or better yet, just pour it right into a nut milk bag which you will have placed over a large pitcher or measuring cup.
- Squeeze the bag until no more liquid comes out.
- Store your milk in the refrigerator in an airtight container for up to 3 days.
Notes
Nutrition
If you’ve tried this recipe, please take a minute to rate the recipe and let me know how things went for you in the comments below. It’s always such a pleasure to hear from you!
You can also FOLLOW ME on PINTEREST, FACEBOOK, INSTAGRAM and TWITTER for more delicious, healthy recipes!





15 Comments on “Homemade Almond Milk”
This looks extremely good!
Ahhhh….wish I had a Vitamix!
Nut milk, nut butter, various coconut products….
Currently I don’t even have a processor or a blender since my old one broke down.
Waiting longingly for Kenwood to have a christmas sale so I could get that stand mixer with all the attachments (blender, processor…) that I’ve been eyeing since last year!
AH! But I waited YEARS before I finally took the plunge and got one. I don’t regret it one bit. Whoa, what a machine! If you’re on the market for a new blender or food processor, it might be a good opportunity to invest in one!
I love my Vitamix. I use it to make cashew milk…no need to strain cashews…I’m lazy that way.
Oooooh, gotta try that! Do you use raw or roasted cashews?
Mostly raw because I use the cashew milk in coffee or tea, so I’m looking for more of a cream like taste.
Thanks Holly… I’ll definitely have to give that a try (and now I’m thinking that coffee + roasted nut milk has to = yum!) 😀
Wow – what a fantastic and thick milk!!! Your photography captures that luscious milk so well!! I so cannot wait to try this – thanks so much!
Thank you so much Shashi! I hope you like the milk as much as you do my photography… 🙂
Aw yeah! I have a Vitamix, and making nut milks and butters is by far my favorite thing to do with it. But…there are a LOT of things to do with it. I have the slightly older model…maybe someday I’ll upgrade to the new one you have! But seriously, with a lifetime warranty I doubt that will happen anytime soon! The Vitamix is a BEAST. Definitely worth the investment!
And I totally agree with you, Chelsea. Never owned one before, but this 750 sure is THE BOMB! I never thought that I’d be using it as much as I do. I thought for sure that it would get stored in the cupboard, like my other small appliances. NO WAY! That one stays on the counter, for it’s getting used pretty much every day… no use putting it away! 🙂
Have you ever made milk out of your nut butters? No straining required, and the milk is creamier. And with the variety of nut butters you make, you could have quite the treat.
YIKES! I’m not sure I would dare, Beth… watering down my precious treats would be sacrilege to me. But I have to admit that they could make for very tasty and refreshing drinks. Maybe I oughta try and come up with a few great nut milk flavors, entirely from scratch!
Don’t think of it as “watering down,” think of it as another way to enjoy the goodness. 🙂
First thing I’m making when I get my Vitamix!
You’ll love it! 🙂