The Healthiest Vegan Date Squares
Free of gluten and added sugar, these Vegan Date Squares are just as good, if not better, than the real thing! Super moist and deliciously tasty, they’re the perfect replica of your typical soft, sweet and crunchy date square.
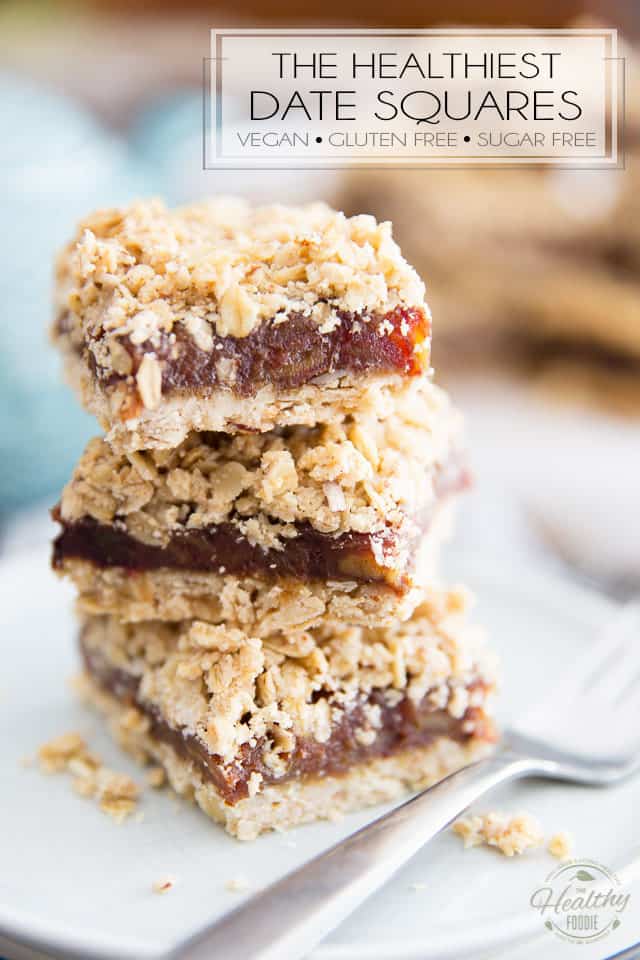
Date Squares are another Holiday staple in this household… I think it’s mainly due to the fact that they happen to be one of my son’s favorite treats. He doesn’t have much of a sweet tooth but these, he has a very hard time resisting! And the mother in me likes to make sure that there will be at least one treat on the dessert on the table that will appeal to him!
As such, I think that this would be the one recipe for which I have created the most versions throughout the years. Honestly, though, I think that this one is the healthiest I’ve ever come up with! These guys contain no animal products whatsoever – of course – no gluten and not a grain of added sugar. Still, they are deliciously sweet and will tantalize your taste buds with all kinds of not-so-subtle hints of orange and coconut, as well as a decadently rich and buttery flavor. Their texture is melt-in-your-mouth soft and creamy, yet they are pleasantly crunchy and slightly crumbly, just like any good Date Square should be… The dream!
And one of the best things about Date Squares is that they are super quick and easy to make and won’t have you dirtying up the entire kitchen, either. I get the feeling I’ll be making those often… not just for the Holidays!
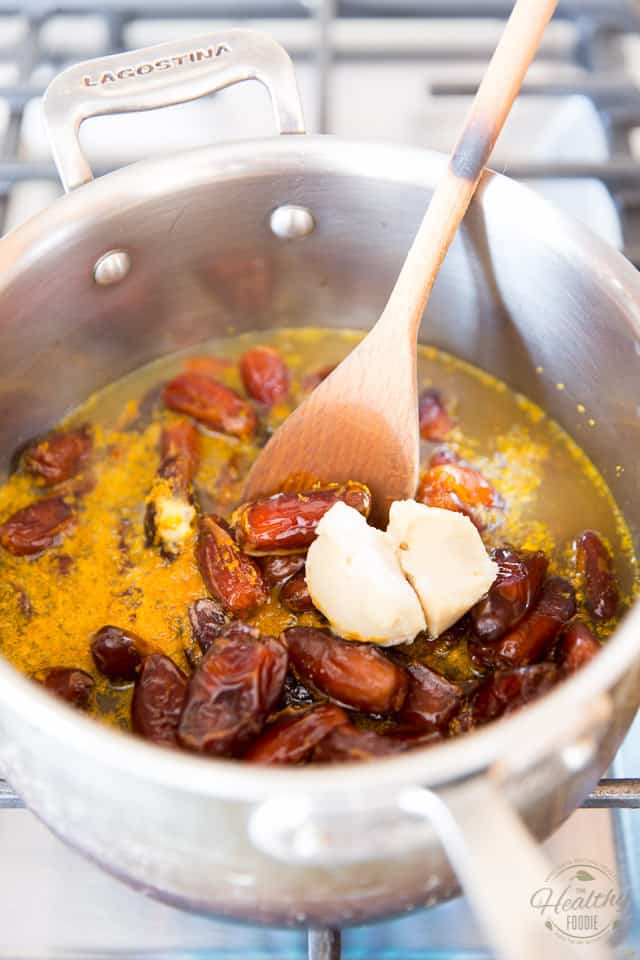
Combine all the ingredients for the date mixture in a medium saucepan and cook, stirring frequently over medium-low heat for about 5 minutes, smashing the dates with your spoon as you go, until the liquid has completely evaporated and you’re left with a creamy, smooth and heavenly fragrant date mixture.
I chose to use Deglet Noor dates, but any variety of dates will do; just be sure that your dates are pitted! Also, there is no need to chop the dates before adding them to the pan, but doing so would save you from having to smash them as they cook. So ultimately, the choice is yours: chop first, or smash during cooking!
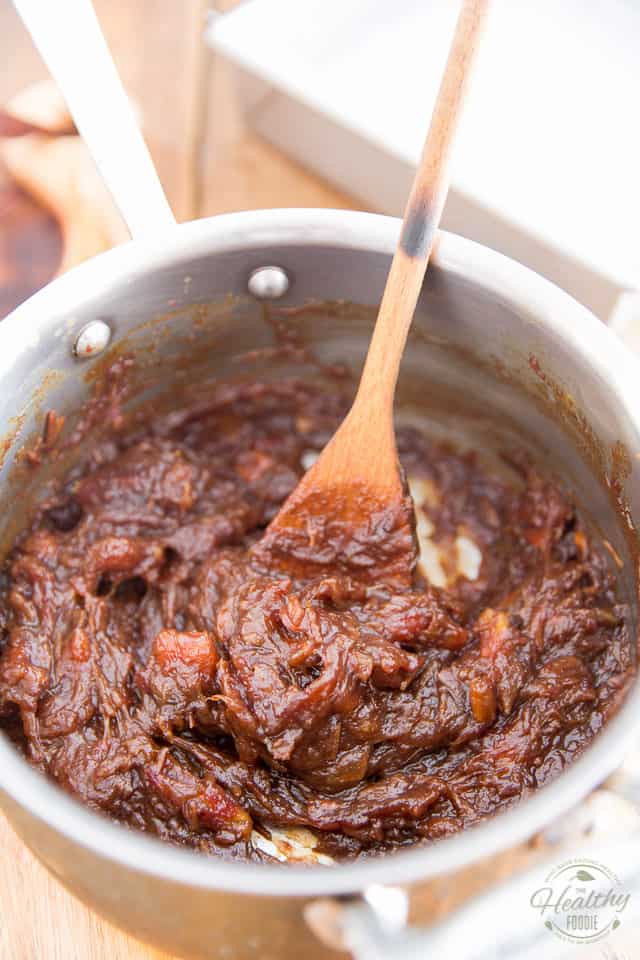
Once your date mixture has reached the desired consistency, set it aside to cool. Now would be a good time to preheat your oven to 350°F and grease a 9″ square baking pan with coconut oil, then line it with parchment paper, leaving a bit of an overhang on 2 sides. The paper overhang will make it so much easier to lift the bars out of the pan when the time comes!
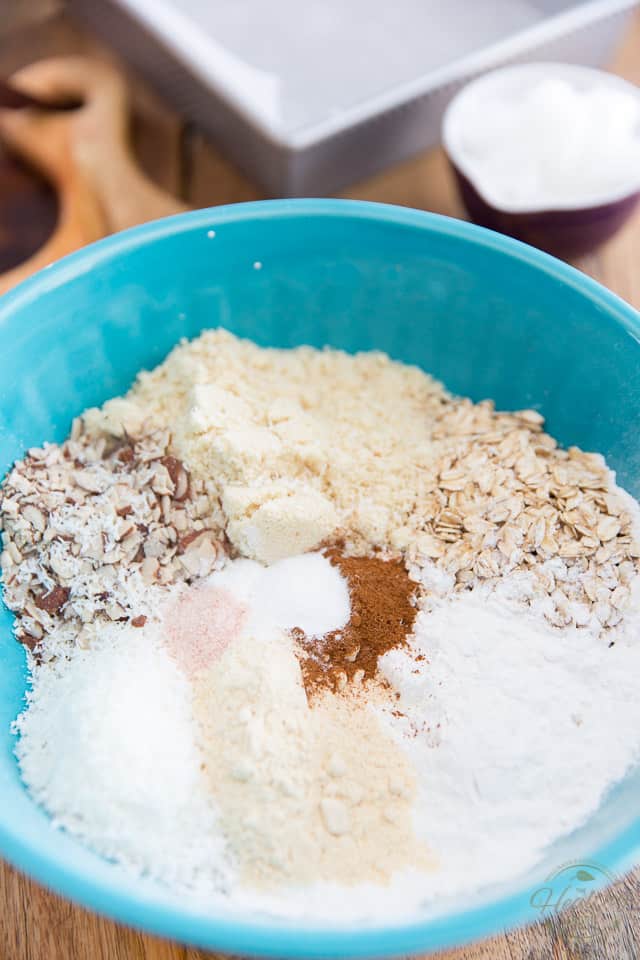
In a large mixing bowl, combine the rolled oats, almond flour, sliced almonds, shredded coconut, tapioca flour, coconut flour, cinnamon, baking soda, salt and cream of tartar. Mix well with a large whisk until all the ingredients are super well combined.
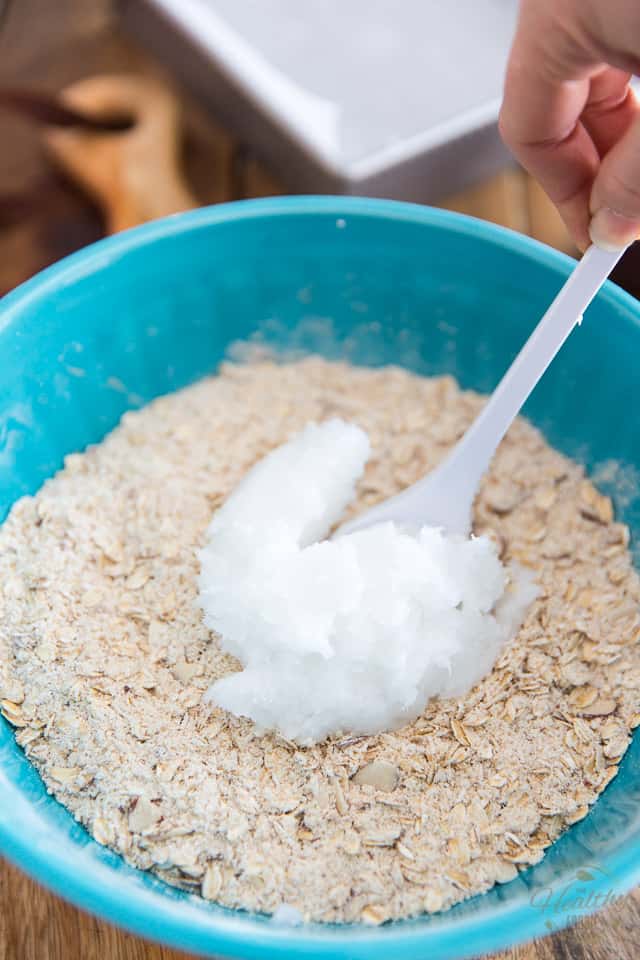
Add the coconut oil and mix well, either with a large spoon or with the tip of your fingers. Honestly, if you don’t mind getting your hands a little dirty, your fingers will do a much better job. You’ll need to work quickly, though, as to not melt that coconut oil…
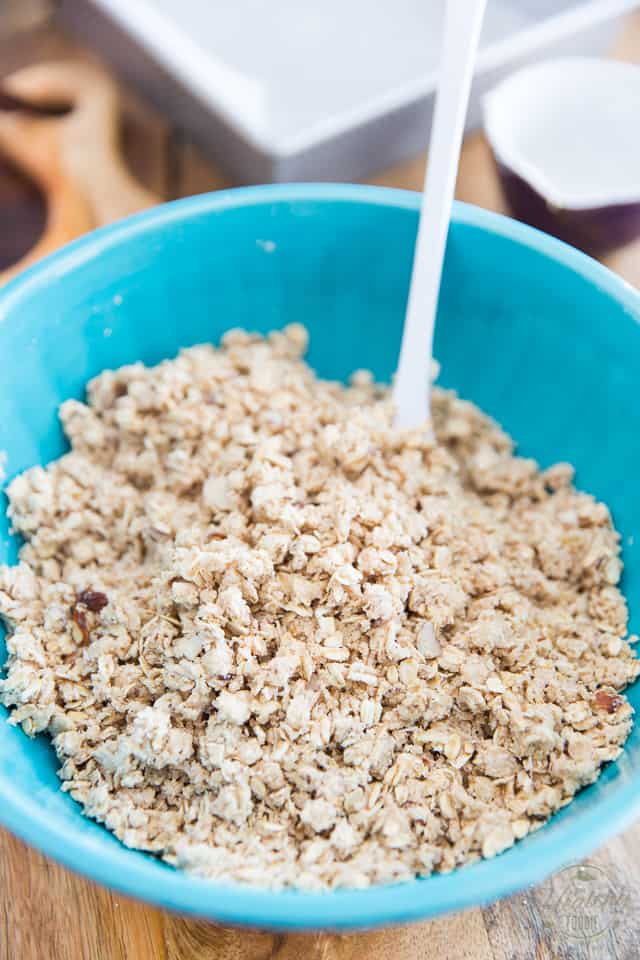
Mix he ingredients until the oil is well distributed and the mixture resembles coarse sand.
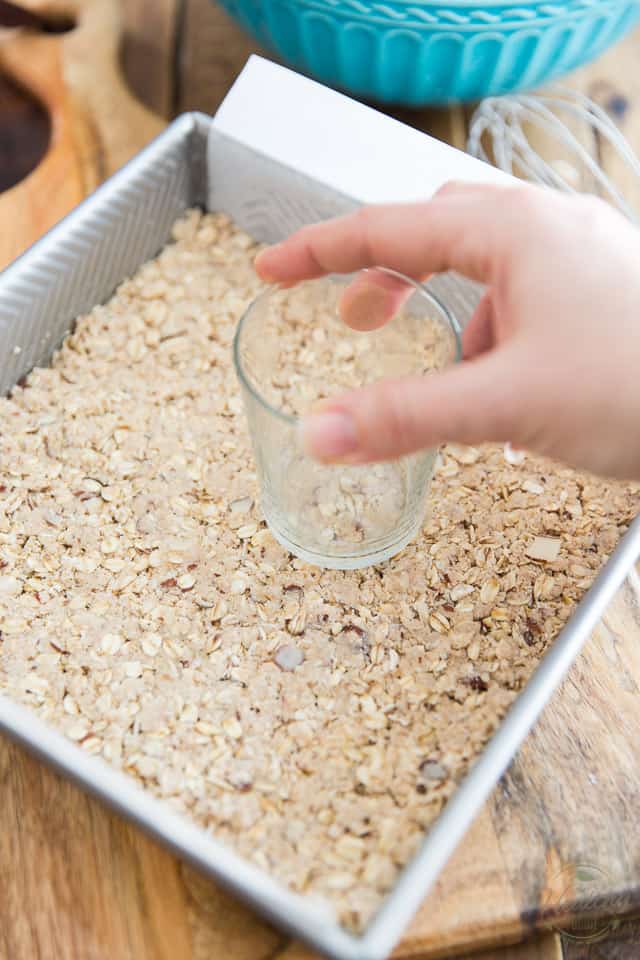
Transfer about 2/3 of this mixture to the prepared pan and press it firmly into an even crust, using your fingertips or a flat bottomed glass.
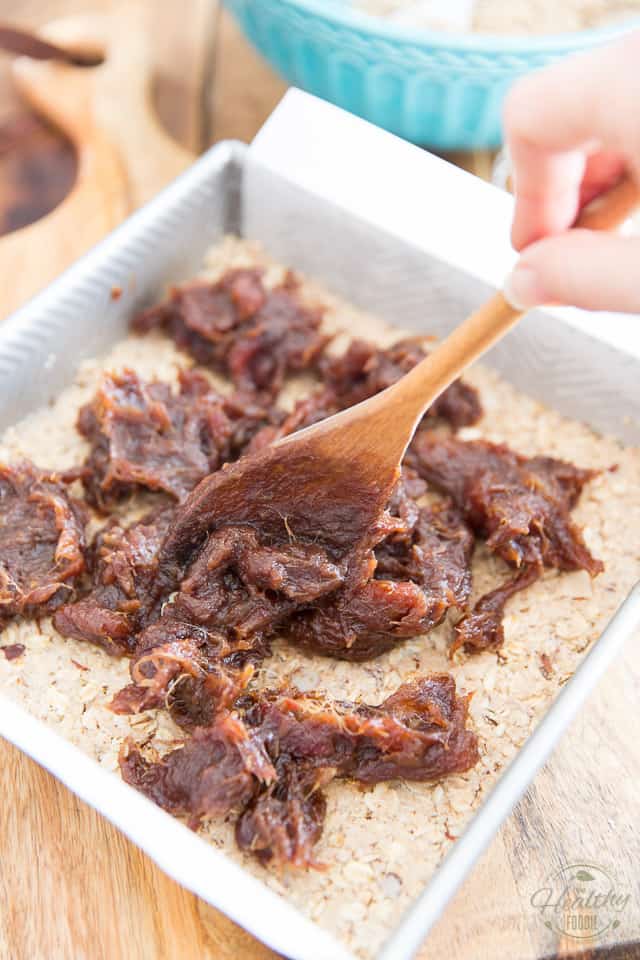
Now drop the date mixture delicately by the spoonful all over the crust. Don’t go dumping it all in one place because then you’ll have a really hard time spreading that sticky mixture without having the crust stick to it and lift all kinds as you spread away… Dropping little dollops all over the surface of that crust is the best way to go!
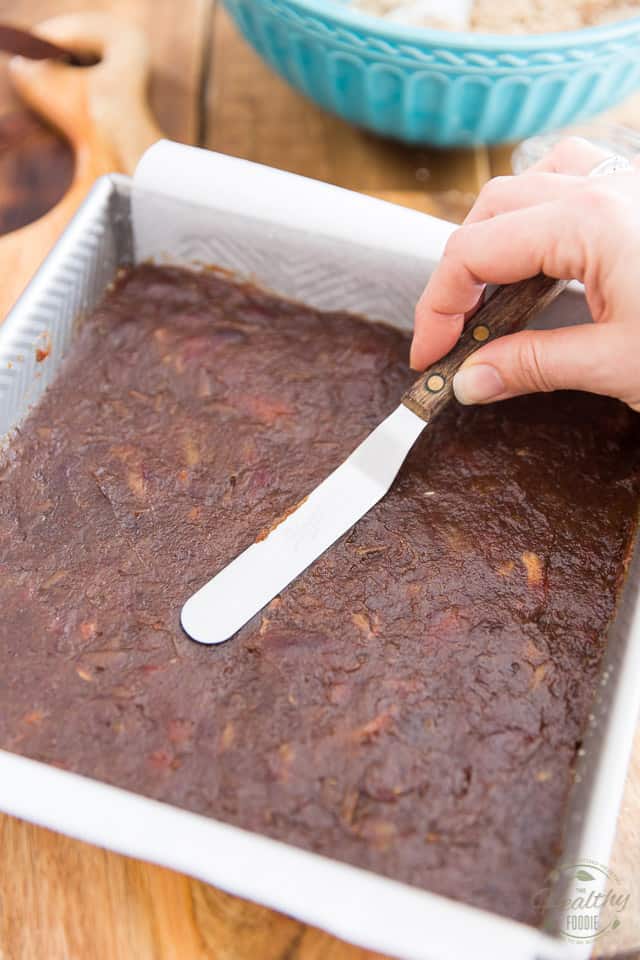
Still, you want to spread that date mixture very delicately, as evenly as you can, all the way to the edges of the pan.
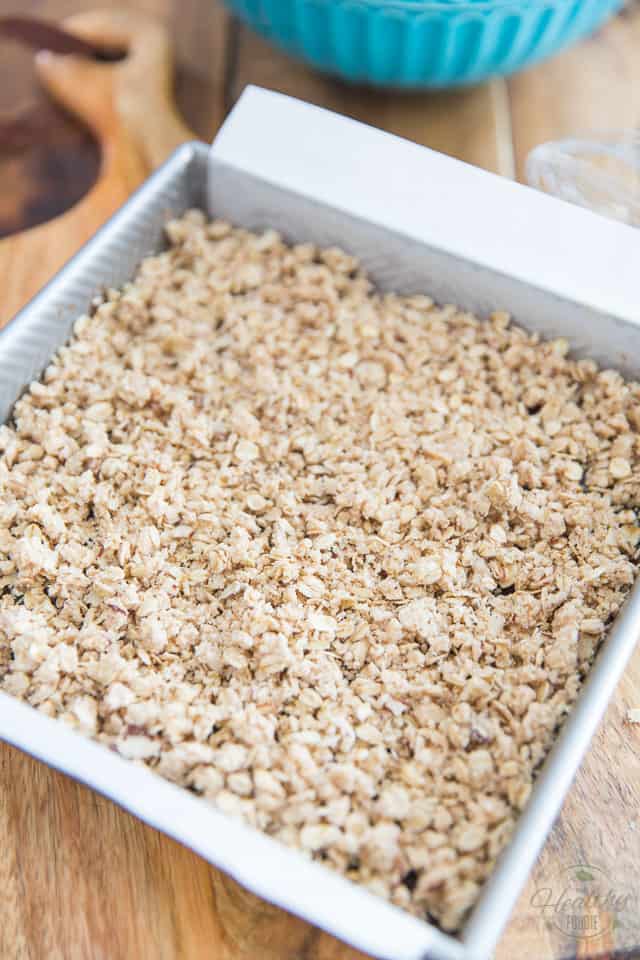
Finally, scatter the rest of the crumble mixture loosely all over the top.
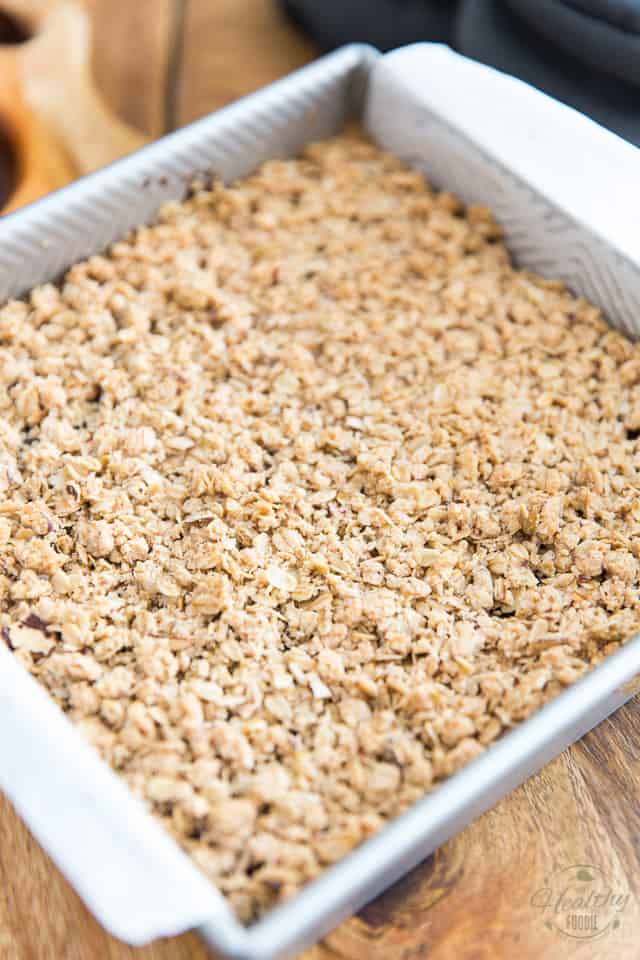
Now bake your date squares for 35 minutes, until the top turns slightly golden brown and the house is filled with the most intoxicating aroma.
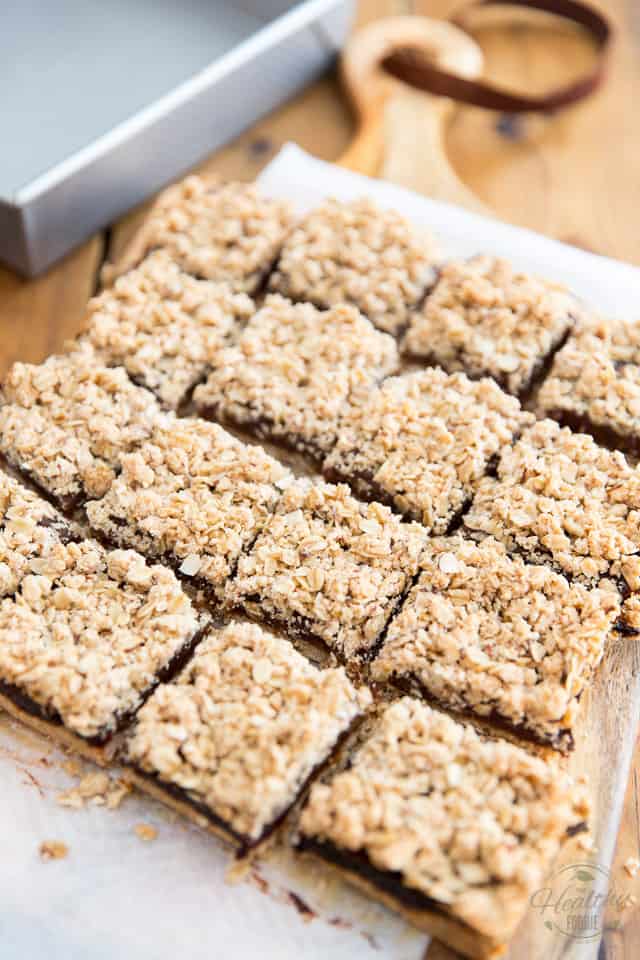
Remove the pan from the oven and allow to cool to room temperature, then transfer it to the refrigerator to chill completely before lifting the date squares from the pan and cutting them into 16 individual squares.
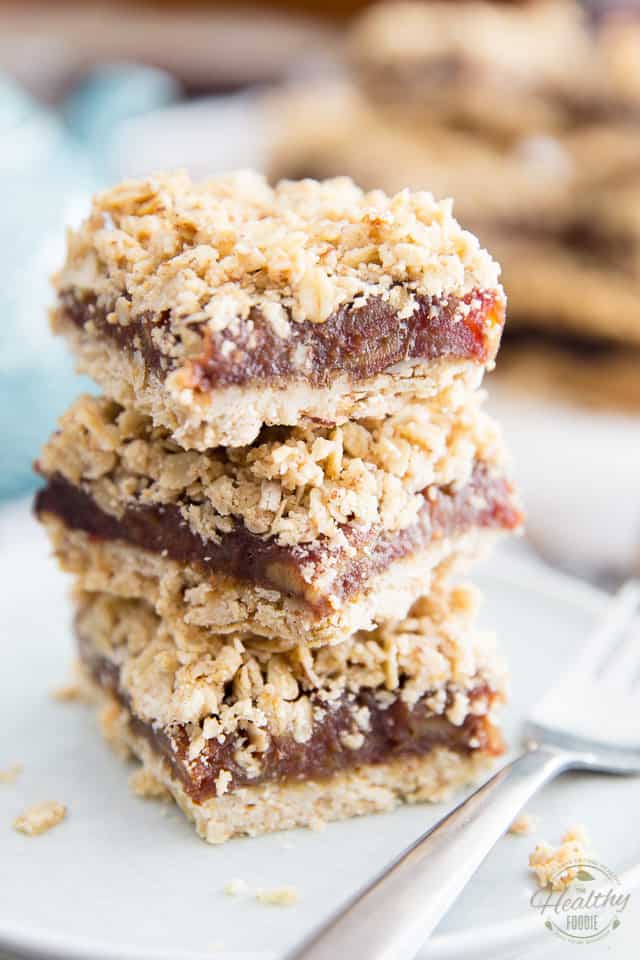
You should store your finished date squares in the fridge, where they will keep for up to 10 days, but be sure to take them out of the fridge at least 2 hours before serving, as everything about them is so very much better at room temperature!
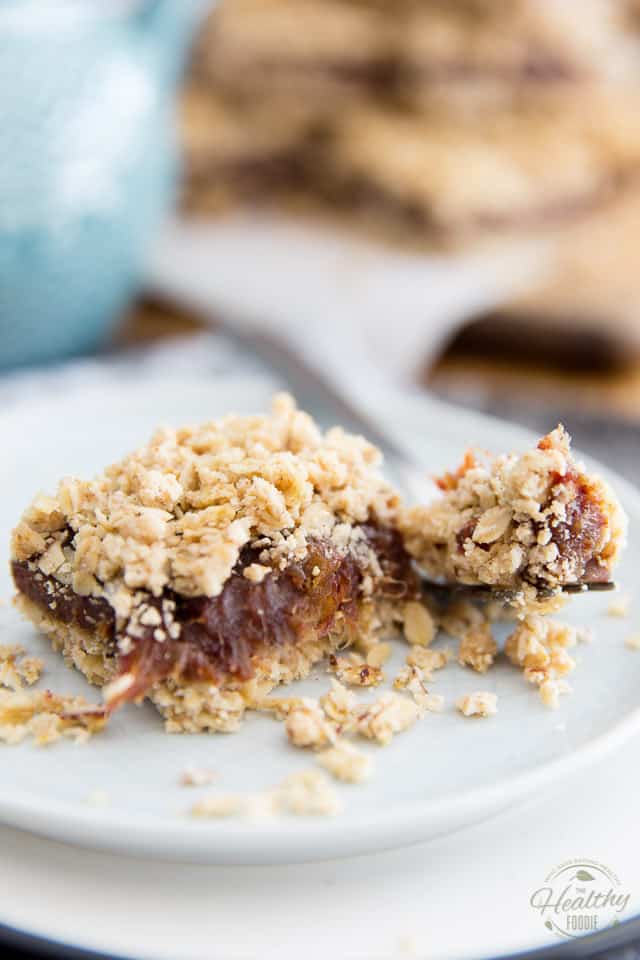
Vegan Date Squares
Ingredients
THE DATE MIXTURE
- 17.65 oz pitted dates
- 1 cup water
- 1/2 cup orange juice
- zest of 1 orange
- 2 tbsp lime juice
- 2 tbsp vegan butter
- 1 tsp pure vanilla extract
- 1/2 tsp baking soda
- 1/4 tsp salt
THE CRUMBLE
- 2/3 cup coconut oil, in solid form
- 1-1/2 cup rolled oats
- 1 cup almond flour
- 1/2 cup sliced almonds
- 1/2 cup unsweetened shredded coconut
- 1/2 cup tapioca flour
- 3 tbsp coconut flour
- 1 tsp ground cinnamon
- 1/2 tsp baking soda
- 1/4 tsp salt
- Pinch cream of tartar
Instructions
- Combine all the ingredients for the date mixture in a medium saucepan and cook, stirring frequently over medium-low heat for about 5 minutes, smashing the dates with your spoon as you go, until the liquid has completely evaporated and you’re left with a creamy, smooth and heavenly fragrant date mixture. Set aside to cool.
- Preheat your oven to 350°F and grease a 9″ square baking pan with coconut oil, then line it with parchment paper, leaving a bit of an overhang on 2 sides.
- In a large mixing bowl, combine all the ingredients for the crumble, save for the coconut oil. Mix well with a large whisk until very well combined.
- Add the coconut oil and mix well, either with a large spoon or with the tip of your fingers, until the oil is well distributed and the mixture resembles coarse sand.
- Transfer about 2/3 of this mixture to the prepared pan and press it firmly into an even crust, using your fingertips or a flat bottomed glass.
- Now drop the date mixture by the spoonful all over the crust and spread it delicately, as evenly as you can all the way to the edge, then scatter the rest of the crumble mixture loosely over the top.
- Bake for 35 minutes, until the top turns slightly golden brown and the house is filled with the most intoxicating aroma.
- Remove the pan from the oven and allow to cool to room temperature, then transfer it to the refrigerator to chill completely before removing from the pan and cutting into 16 individual squares.
- Store the finished date squares in the fridge for up to 10 days, but be sure to take them out of the fridge at least 2 hours before serving, as they taste much better at room temperature!
Nutrition
If you’ve tried this recipe, please take a minute to rate the recipe and let me know how things went for you in the comments below. It’s always such a pleasure to hear from you!
You can also FOLLOW ME on PINTEREST, FACEBOOK, INSTAGRAM and TWITTER for more delicious, healthy recipes!





12 Comments on “The Healthiest Vegan Date Squares”
Wow! really simple and looks delicious.
look delicious !!! I wil try and let you know being vegan i
This looks tasty! Could you use other fruits in place of the dates, like berries or apples?
Absolutely, but depending on the texture of your filling, the squares might not hold their shape so well when you cut them…
Very good recipes!
I don’t have tapioca flour can I use corn starch instead?
Absolutely!
I made these tonight and they were fantastic. I’ve recently become gluten free and this is the first recipe that I’ve actually enjoyed. Our home smelled incredible while they were baking! Thanks for a great recipe.
My absolutely favorite recipe, thank you
I am baking for Xmas, and I noted that with both recipes such as Date Square and Black Bean brownies, you stated storing in the fridge ‘for up to 10 days’, and I plan to store for at least 3 wks leading up to Xmas, and I wonder if you have concerns about food safety if storing more than 10 days?
all your recipes have healthy ingredients and thank you for sharing.
Grace
I don’t really have a concern about safety, more about freshness… after 3 weeks in the fridge, I feel they might be a little bit stale!