Homemade Dry Cured Duck Prosciutto
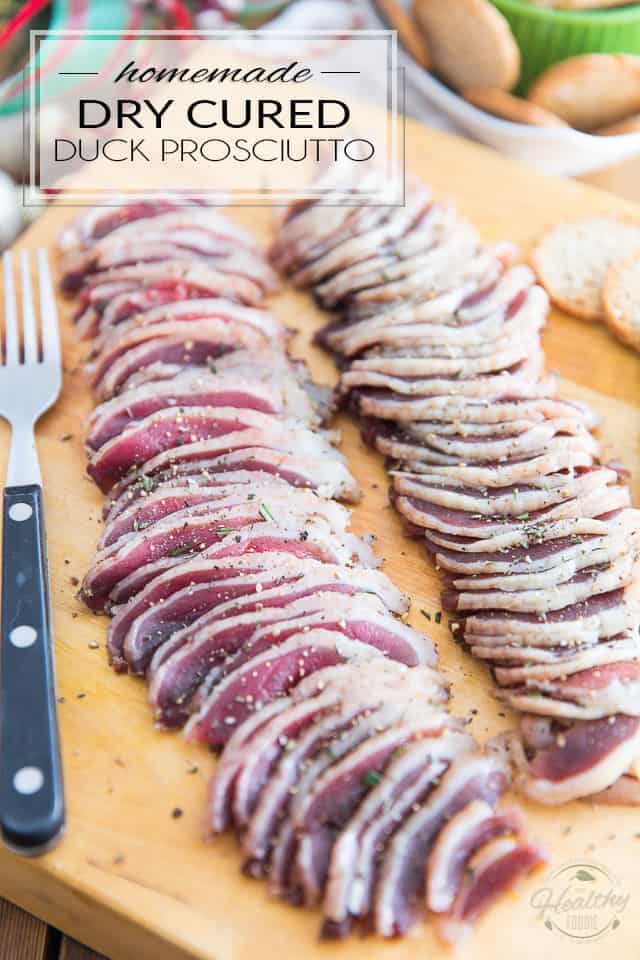
This Homemade Dry Cured Duck Prosciutto is an interesting spin on traditional prosciutto that can be easily made at home with only a few simple ingredients. No special equipment required!
This is probably the last meat recipe you’ll see me post in a while… I’m not saying that I’m not going to do meat ever again, but I’m planning on staying away from it for a wee bit. In fact, I’ve decided to start the year with a 30 day vegan challenge, so there will be no animal products in my diet for at least this one month.
And then I’ll see where that takes me. But I get the feeling that meat will become more of an occasional thing for me. At least, that’s the plan.
But for now, let me tell you about this beautiful thing that I learned about just shortly before the Holidays and then elected to serve as part of my New Year’s appetizers. Very similar to prosciutto, this dry cured duck is made with just a couple of duck breasts, some coarse salt, coarse ground black pepper and a few sprigs of fresh herbs. That’s it. It’s super easy to make and will not fail to please, and impress, your family and loved ones!
The only thing is you need to plan on making it quite a while in advance, as it will need to cure for up to a full day, and then age/dry for up to 3 weeks! But don’t let that stop you. The prep work itself is super easy and will only require a few minutes of your time.
If you’re a fan of prosciutto, you will love these dry cured duck breasts. Only this time, you will be the artisan behind this delicious creation!
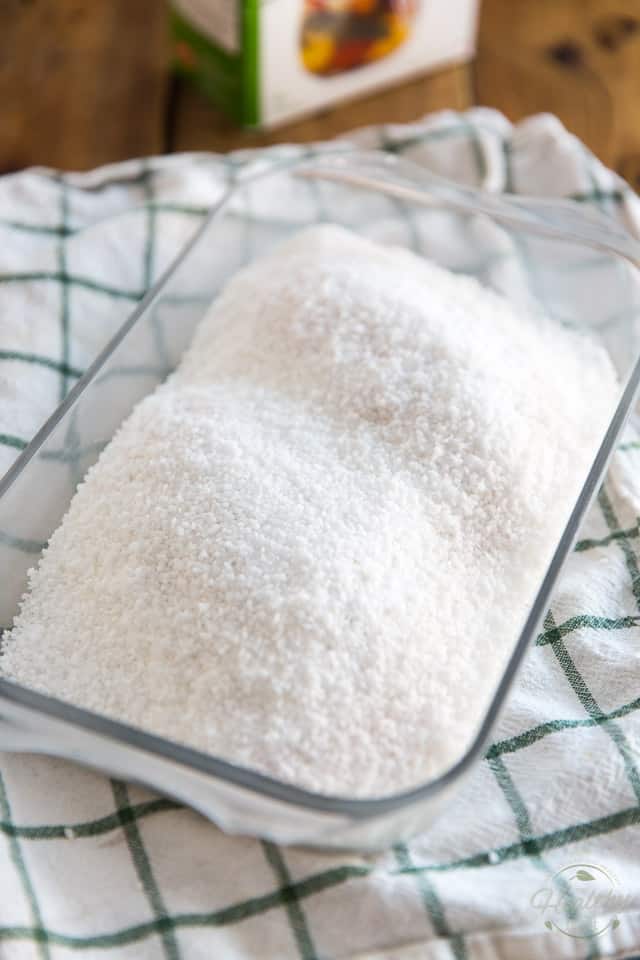
Start by making a bed of salt for you duck breasts to lay on. To do that, cover the entire bottom of a non reactive container that’s just large enough to accommodate your duck breasts with about 1 inch of coarse salt, then and gently lay the duck breasts flesh side down on top of it.
Make sure that the breasts don’t touch the sides of the container! It’s very important that they be entirely surrounded by salt.
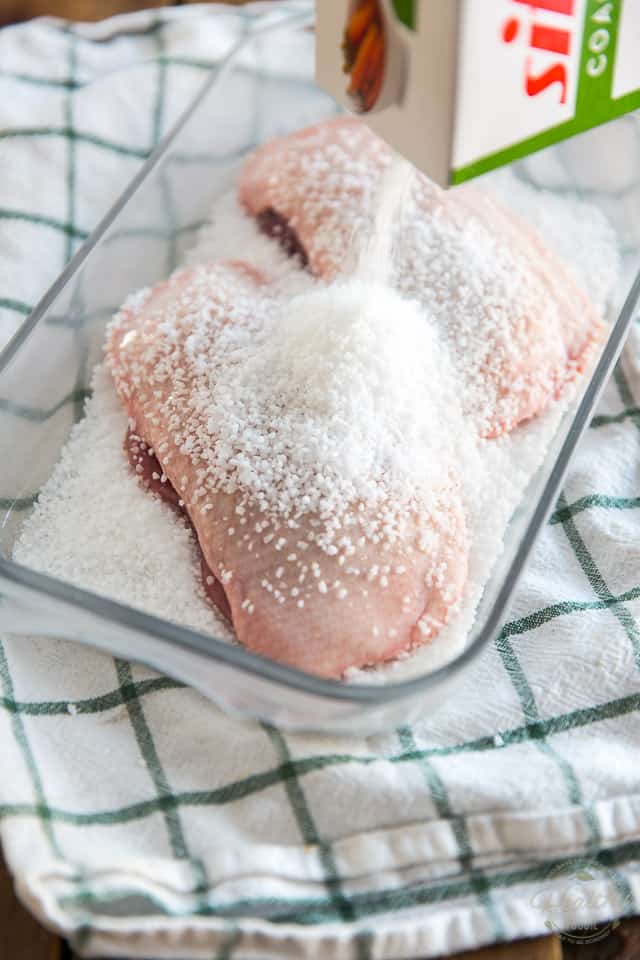
Next, pour enough salt over the duck breasts to completely cover them and then place the container in the fridge, uncovered, for 12 to 24 hours.
The salt will immediately start to cure the meat and draw the moisture out of it; the longer you leave the meat in the salt, the saltier the final product will be.
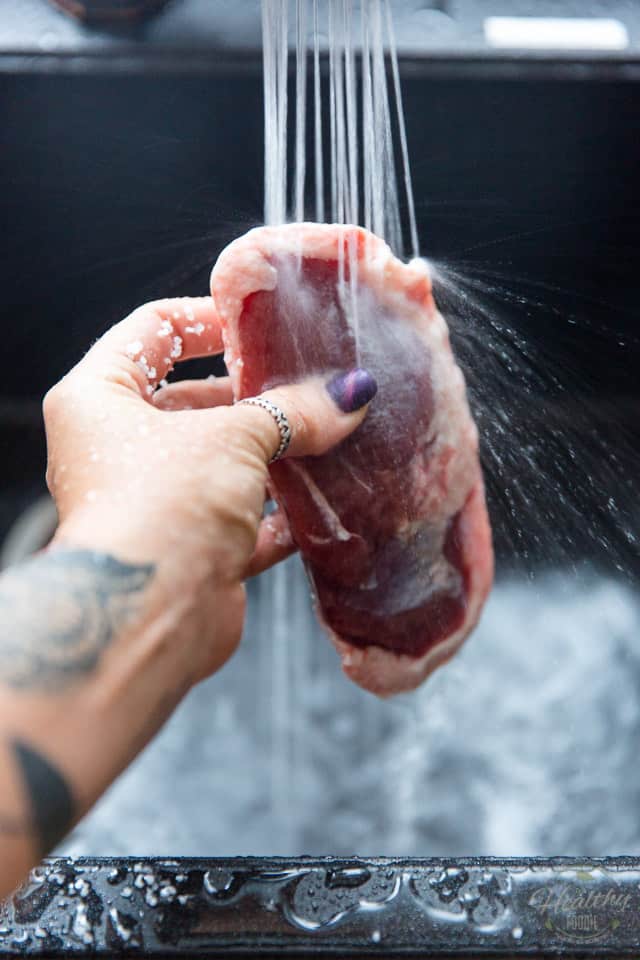
After your meat has cured for the desired amount of time, remove the duck from the fridge and quickly rinse it under cold running water.
Notice how the flesh has already gotten so much darker?
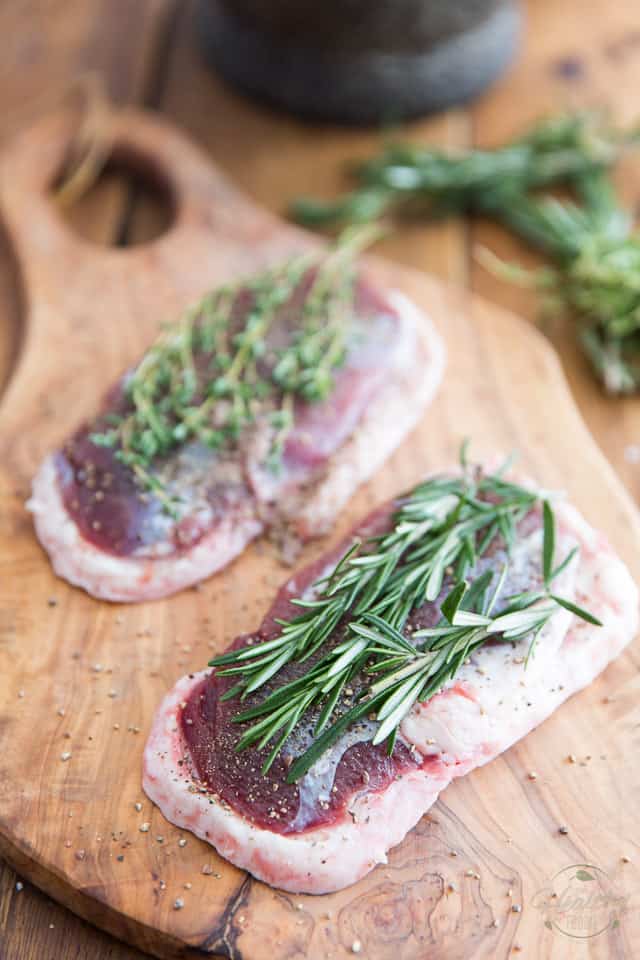
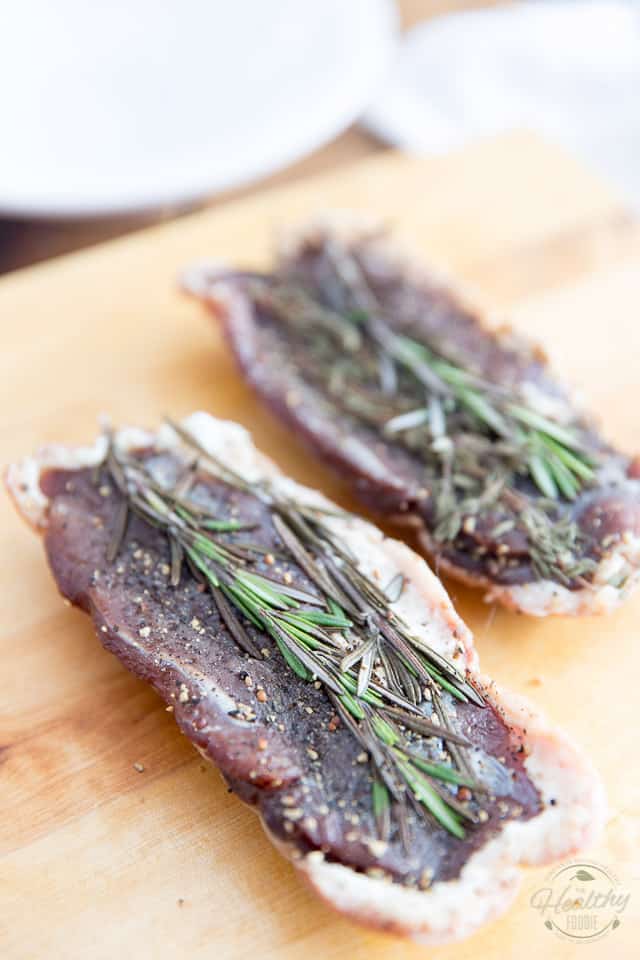
Now pat those breasts real dry and then sprinkle the flesh side with coarse ground black pepper. Place a few sprigs of fresh thyme and fresh rosemary (or any other herbs of your choice) over each breast and then close them together like a sandwich, flesh to flesh.
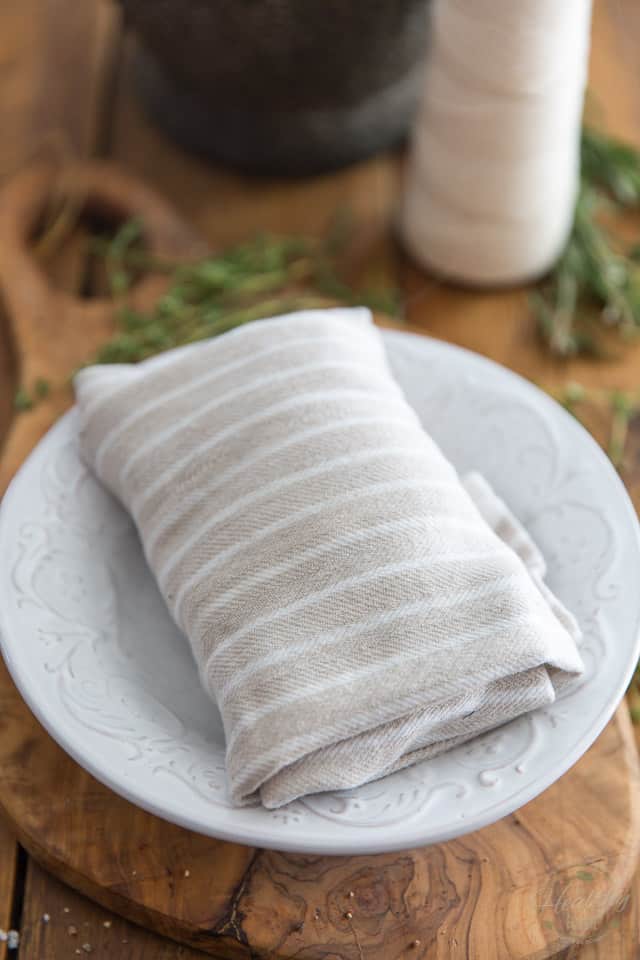
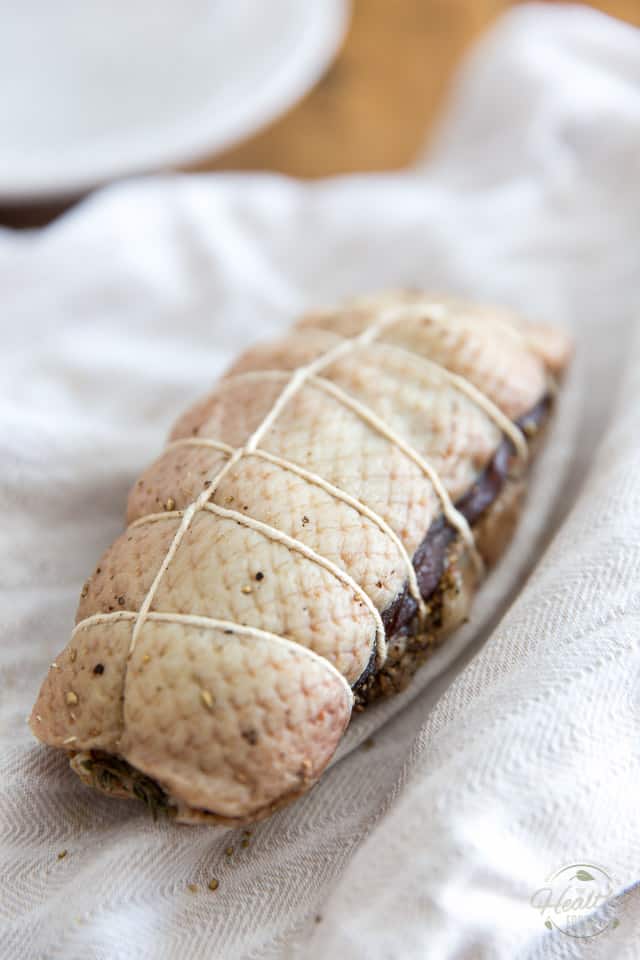
Tie the two breasts together tightly with butcher’s twine and then wrap them loosely in a clean tea towel.
Place that package in a shallow plate, ideally one that will allow air to circulate all around. Place your duck in the back of the fridge, where you will forget it for the next 2 to 3 weeks. You can still check on it from time to time, though, if only to make sure that everything is going fine!
Now how long you leave your meat in the fridge is a question of personal preference: the longer you leave it in there, the drier it will get. For a true chewy and dry, prosciutto-like consistency, I totally recommend leaning towards the 3 week mark. If you prefer a suppler, softer meat, you can definitely take it out after 2 weeks. Some people even leave it for as little as a week.
So ultimately, the decision is yours; you can make a few tests and decide for yourself which option you like best.
After 3 weeks have elapsed (or two, or one!) remove the breasts from the fridge and unwrap your precious package.
Take the twine off and discard the herbs: they have done their job!
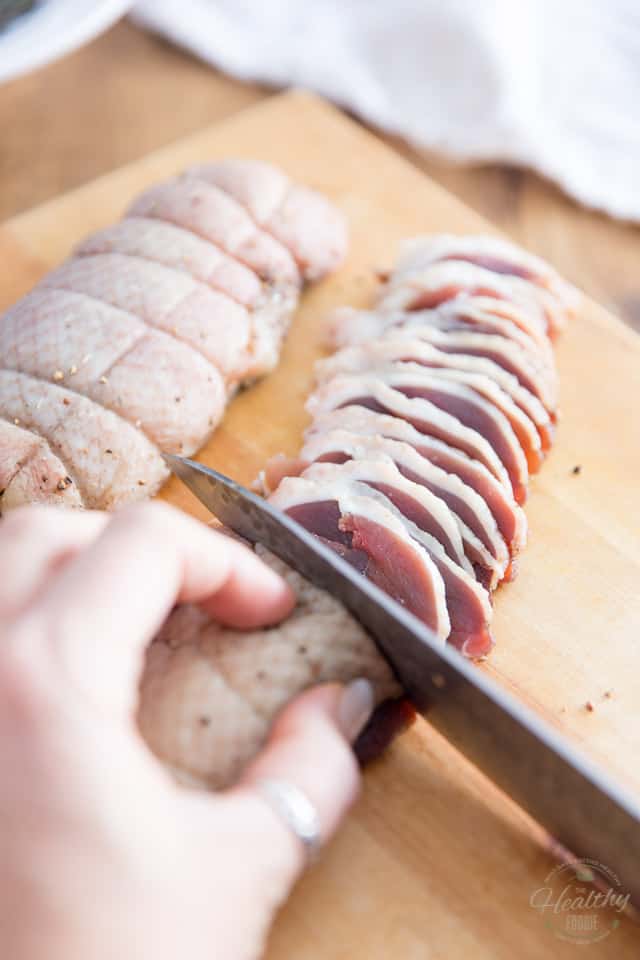
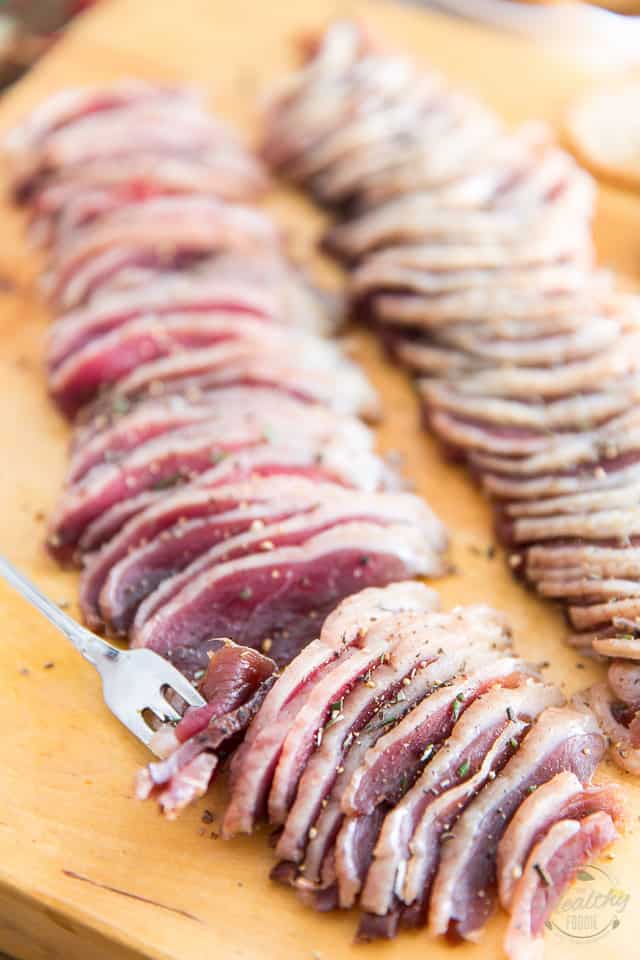
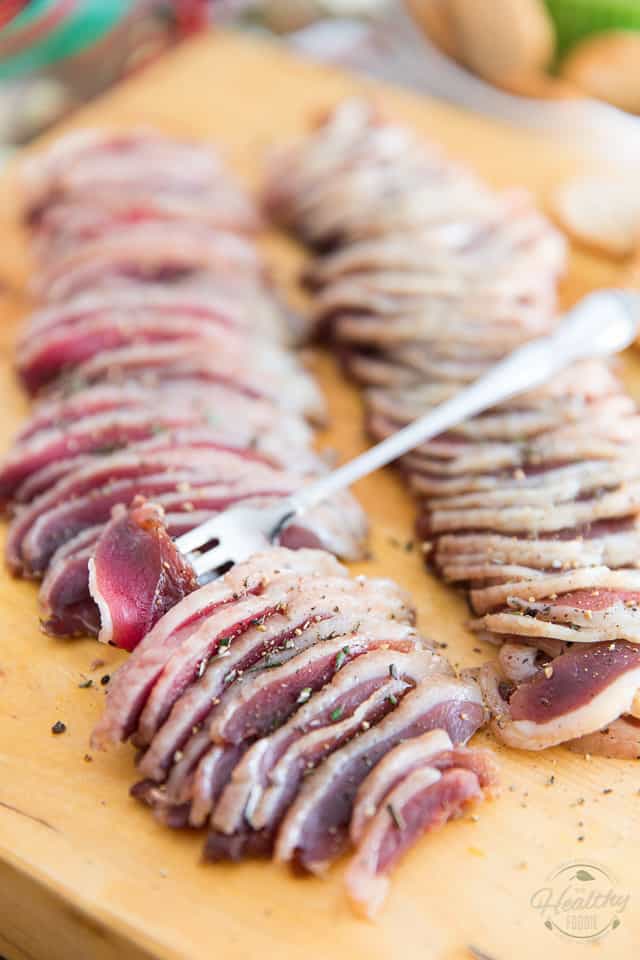
That’s it, you’re done! Now slice each breast super thinly and serve your beautiful cured duck prosciutto with crackers, or use it in sandwiches, to top salads or pizzas, or enjoy it as a side with your morning eggs…
You can store your delicious homemade sliced cured meat in the refrigerator in an airtight container for up to several days.
Homemade Dry Cured Duck Prosciutto
Ingredients
- 2 medium duck breasts, about 300g each
- about 1 lb coarse salt
- Generous amount of coarse ground pepper
- Few sprigs of fresh thyme
- Few sprigs of fresh rosemary
Instructions
- Cover the bottom of a non reactive container that's just large enough to accommodate your duck breasts with about 1 inch of coarse salt, then and gently lay the duck breasts flesh side down on top of it. Make sure that the breasts don't touch the sides of the container.
- Pour enough salt over the breasts to completely cover them and then place the container in the fridge, uncovered, for 12 to 24 hours. The salt will cure the meat and start to draw the moisture out of it. The longer you leave it in the salt, the saltier the final product will be.
- After that time, remove the duck from the fridge and quickly rinse it under cold running water.
- Pat it real dry and then sprinkle the flesh side with coarse ground black pepper. Place a few sprigs of fresh thyme and fresh rosemary (or other herbs of your choice) over each breast and then close them together like a sandwich, flesh to flesh.
- Tie the two breasts together tightly with butcher's twine and then wrap them loosely in a clean tea towel. Place that package in a shallow plate, ideally one that will allow air to circulate all around. Place your duck in the back of the fridge, where you will forget it for the next 2 to 3 weeks. You can still check on it from time to time to make sure everything is going fine! The longer you leave the meat to age, the drier it will get.
- After that time, remove the breasts from the fridge, untie them and discard herbs, then slice thinly and serve with crackers (or use in sandwiches, salads, pizzas, or as a side with eggs)
- Store in the refrigerator in an airtight container for up to several days.
Nutrition
If you’ve tried this recipe, please take a minute to rate the recipe and let me know how things went for you in the comments below. It’s always such a pleasure to hear from you!
You can also FOLLOW ME on PINTEREST, FACEBOOK, INSTAGRAM and TWITTER for more delicious, healthy recipes!









6 Comments on “Homemade Dry Cured Duck Prosciutto”
This looks amazing! Do you know if this would work with other types of meat, for example chicken breast? Or do you think there is not enough fat and that it would become too tough and dry? Thank you!
I’m not sure, Kayla… I imagine that the process would be very different with chicken, due to the extremely different nature of the meat. I think it’s very well worth researching, though!
Chicken breast prosciutto sounds like it could possibly be the most unappetizing thing I’ve ever heard if
What about cold smoking before hanging it to dry in the fridge instead of using the herbs?
I’m not really familiar with cold smoking, so I’m afraid I can’t be of much help here, sorry…
This looks and sounds amazing! I can’t wait till my ducks are ready to butcher!
Do you know if one could cure duck breasts enough to store longer term in a cellar – prosciutto style?
Thank you for the inspiration!
Samya