Homemade Pumpkin Puree
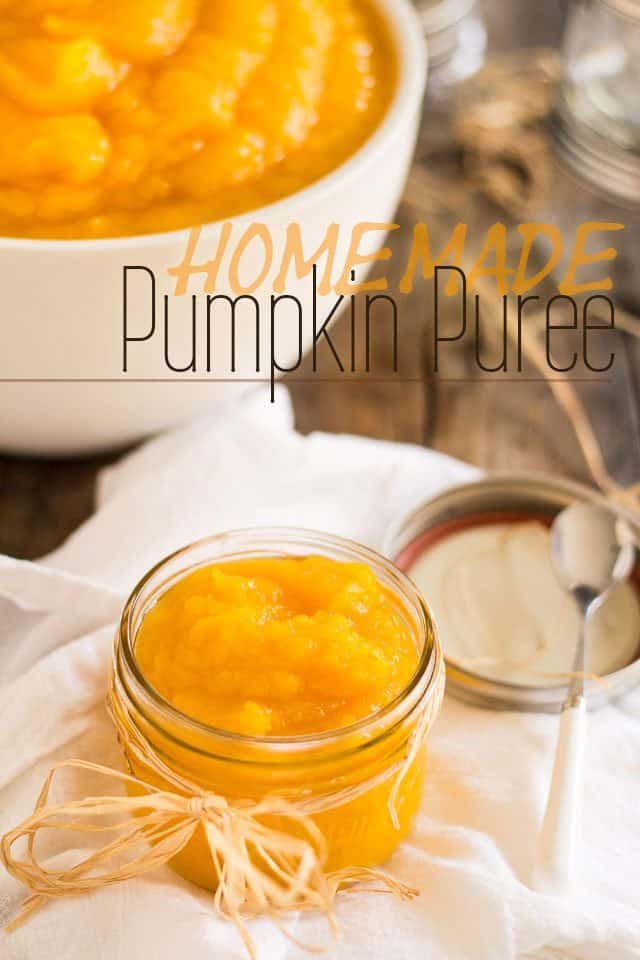
I don’t know about your part of the world, but in my neck of the woods, it seems like pumpkin puree only comes in cans of the gigantic variety. As a result, I’m always fairly hesitant to use that deliciously sweet puree in recipes, because practically every time I do that, I end up throwing out half the content of the can. I mean seriously, what recipes, apart from pumpkin cake or pumpkin pie, calls for so much pumpkin puree?
And even then, you don’t get to use the whole can! Hey, that stuff costs a fortune too, you know… I’m not really a fan of spending my money on stuff that will end up in the trash. (now don’t get me started on toilet paper and garbage bags!)
Oh, and another thing, too: if you’re like me, you probably try and avoid cans as best you can! You know, because of the BPAs and their impact on the environment and all…
This year, I decided I would put an end to all this nonsense and make my very own pumpkin puree!
What a great decision this was: for about the price of a single can, I go to make a HUGE batch, which I then portioned and froze for ulterior use.
HA! I honestly don’t think I’ll be buying pumpkin puree EVER again.
Homemade Pumpkin Puree is one of those things that you don’t really need a recipe for…It’s just so crazy easy to make. I think it’s the kind of project where pictures come in a lot handier than a bunch of words.
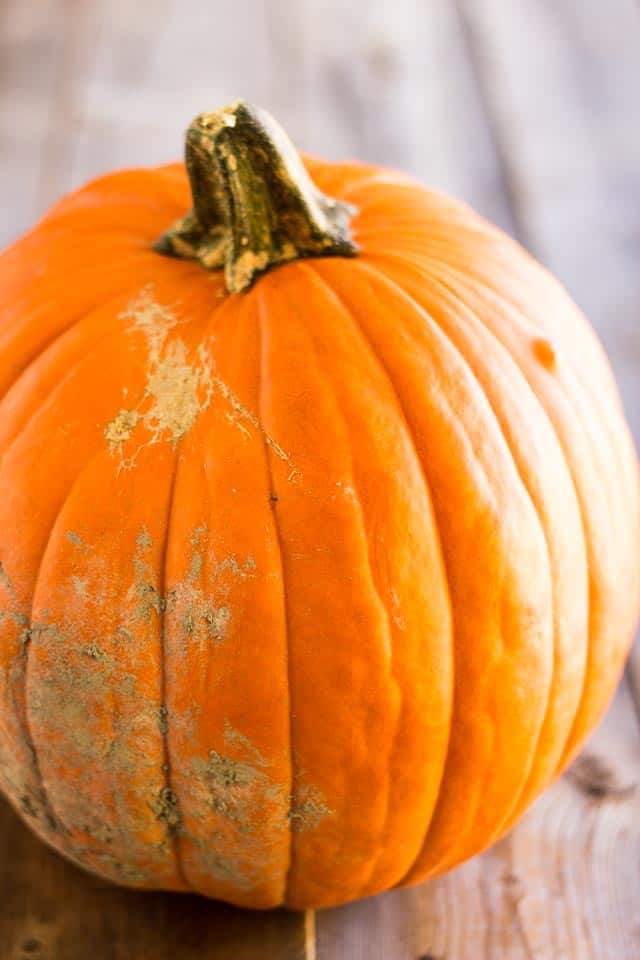
For starters, of course you’re gonna need a pumpkin, or several, depending on what size you get and the quantity of pumpkin puree you want to make.
When buying your pumpkin(s), keep in mind that the smaller varieties, those that were bred in the intent of cooking, hold a lot more flavor and are a lot sweeter than their giant “Jack-O-Lantern” counterparts, which were grown with the sole purpose of being large, decorative and durable, even after several holes had been carved into their hard, tough skin and a candle stuck in their hollowed out guts.
As a general rule of thumb, the smaller the pumpkin, the sweeter and tastier it’ll be.
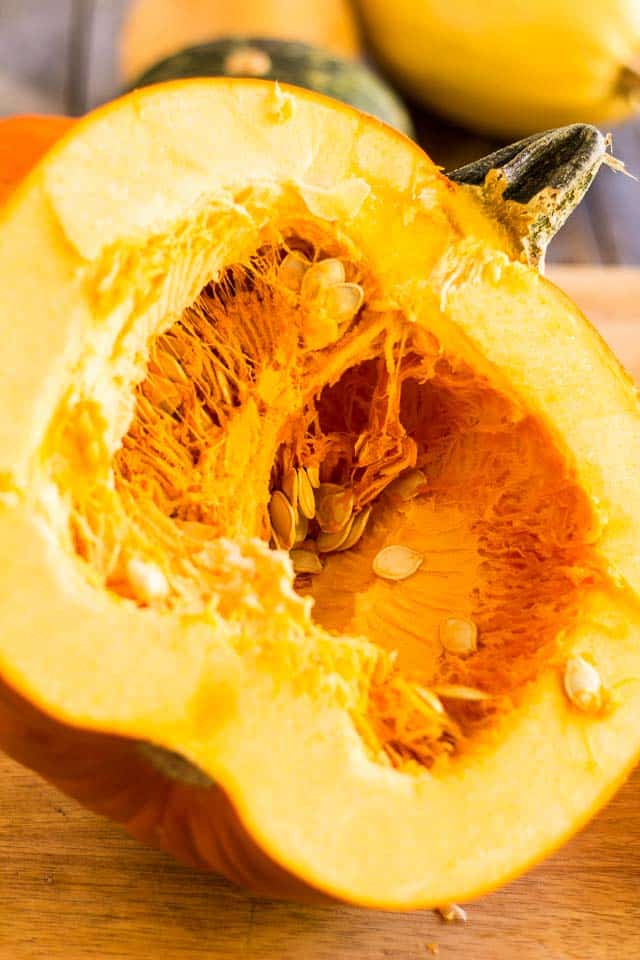
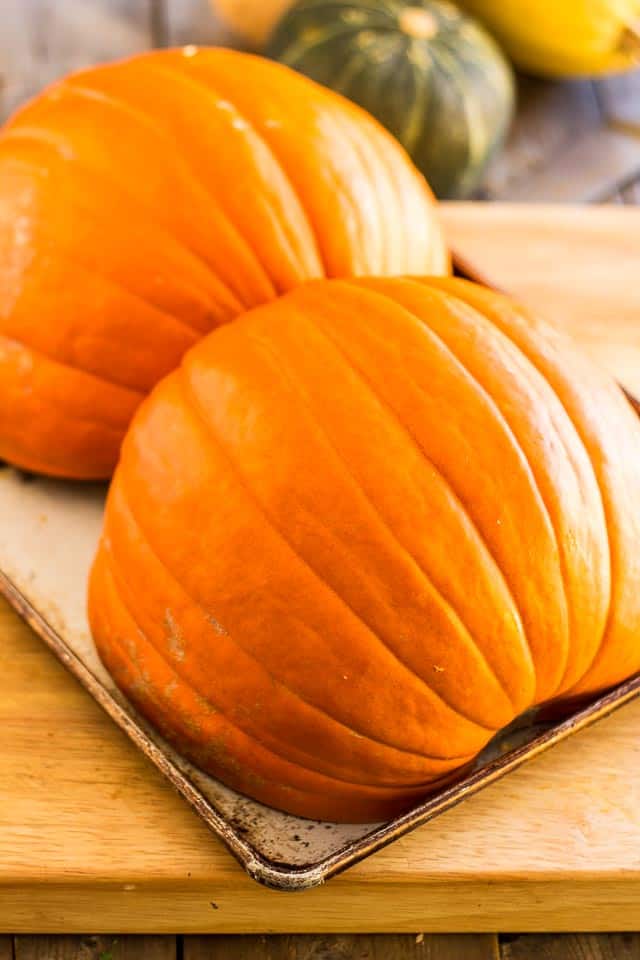
After you’ve made your selection, take your pumpkin home with you, give it a good wash and then cut it in half.
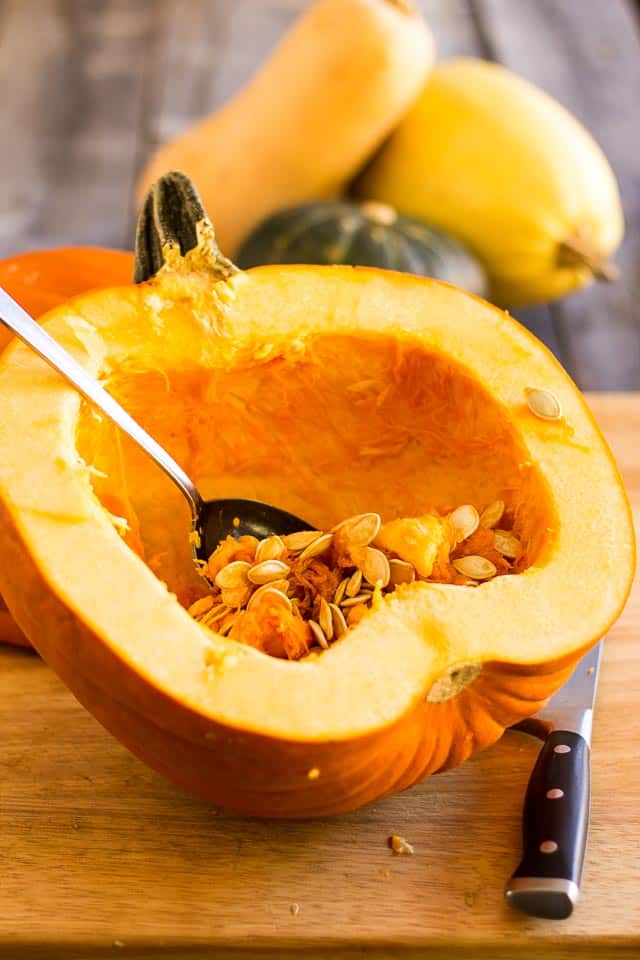
Scrape the seeds and guts and scoop them out with a large spoon.
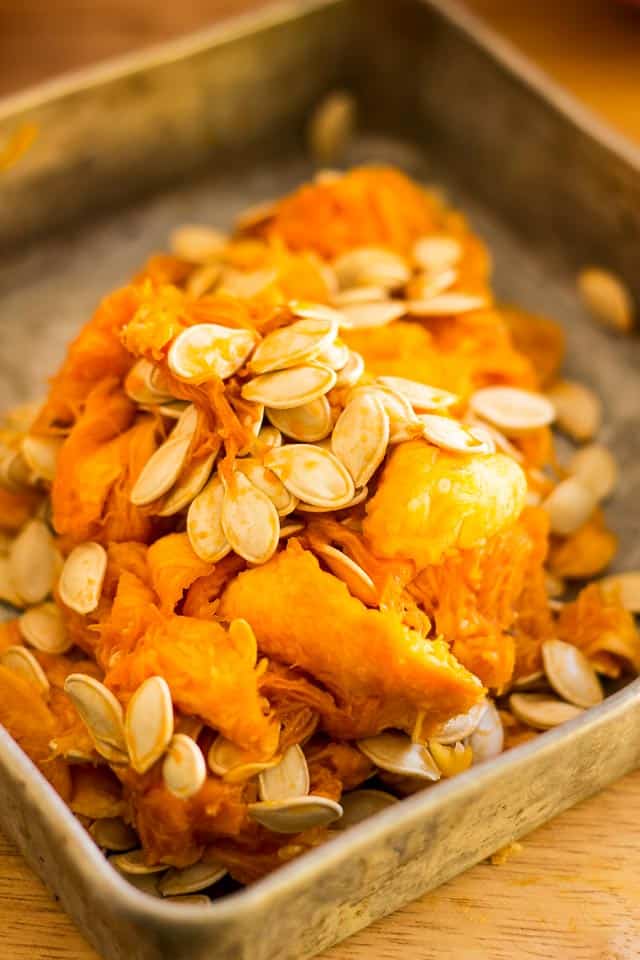
Now, if you’re a fan of roasted pumpkin seeds, make sure you hang on to them.
After you’re done making the puree, you could totally make your own roasted pumpkin seeds if you wanted to. It’s a bit of a messy, slimy process, but very easy nonetheless.
Now I feel I owe you an apology… Since I don’t really care for roasted pumpkin seeds myself, I decided not to go through the hassle of making them, but I now realize that I could’ve done that if only to share the process with all of you out there who happen to like them…
To make amends, I did the next best thing and found this great tutorial by Haley and Bill of Primal Palate. So if you do want to make ’em roasted pumpkin seeds, head on over to their blog; they’ll show you how it’s done.
But let’s get this puree out of the way first, shall we?
Place both pumpkin halves flesh side down on a rimmed baking sheet and pour about a cup of water at the bottom of the pan.
Bake your pumpkin in a 375°F oven for about an hour, or until it’s really soft and can its flesh and skin can very easily be pierced with the tip of a sharp knife.
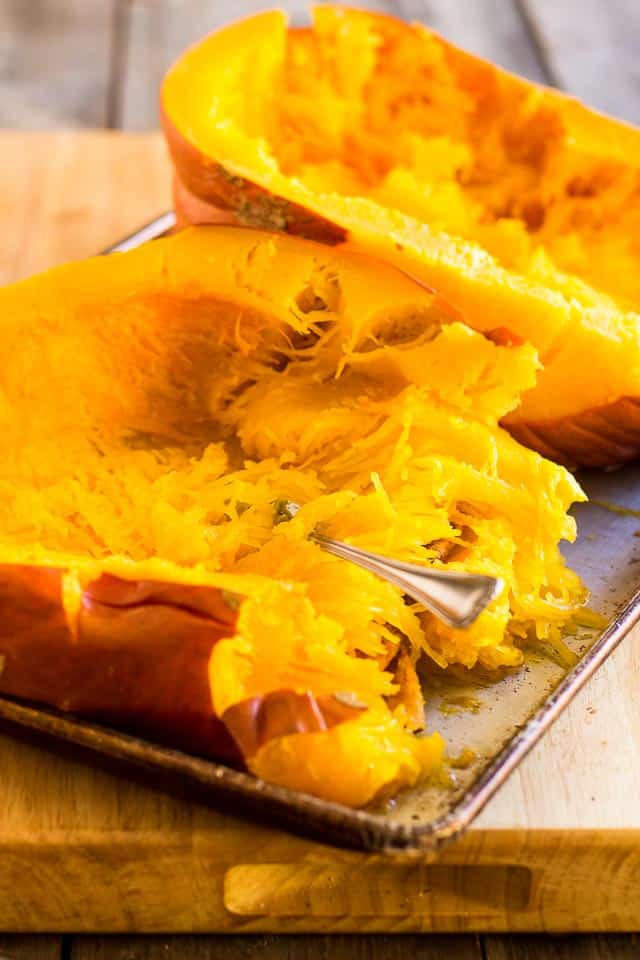
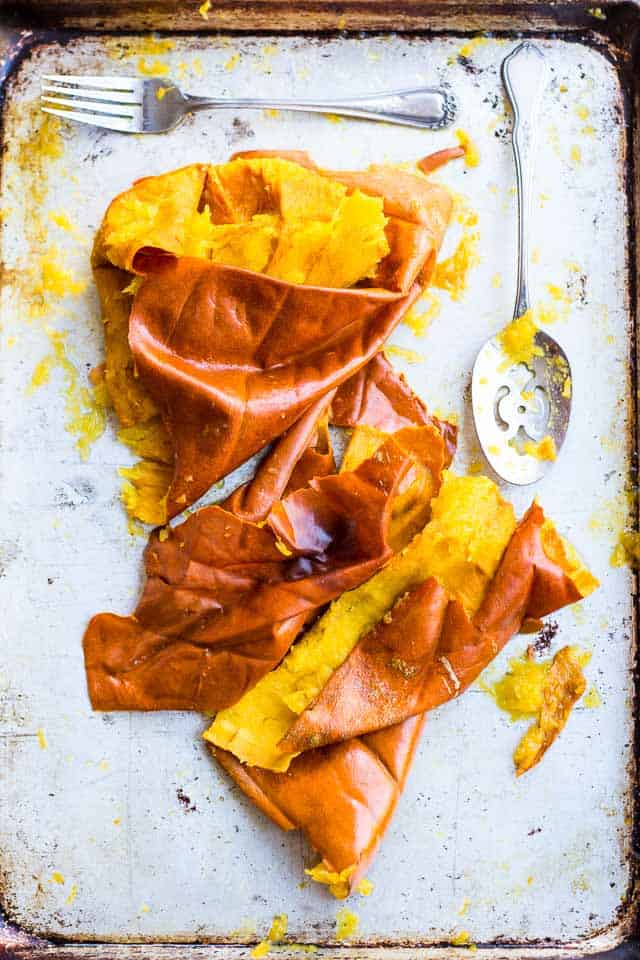
Let the pumpkin cool until it can be safely handled, then scoop the flesh out with a large spoon and discard the skin…
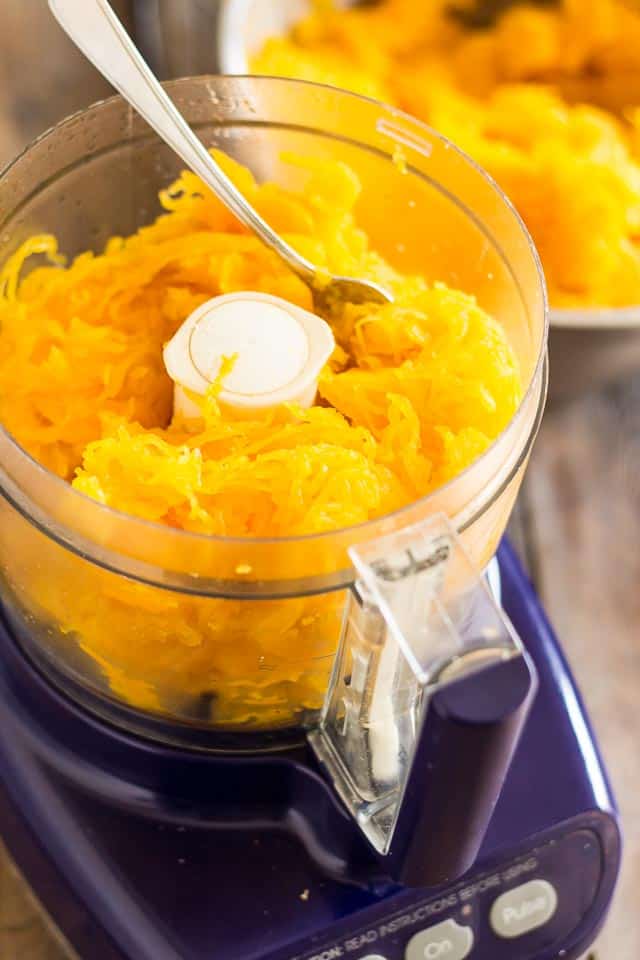
Place the flesh into the bowl of your food processor (obviously you’re gonna need to work in batches!)
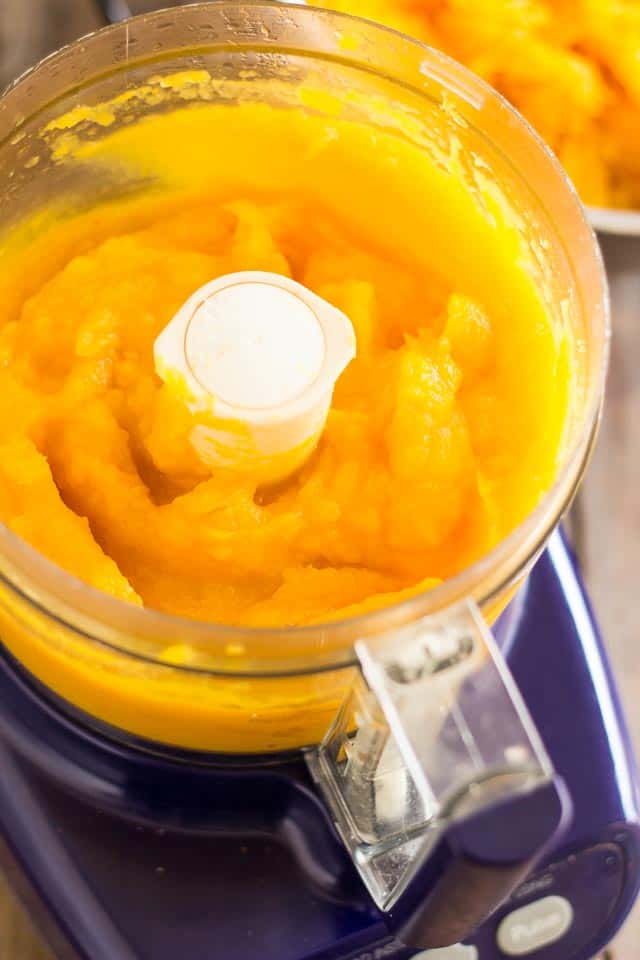
…and process until your puree gets silky smooth.
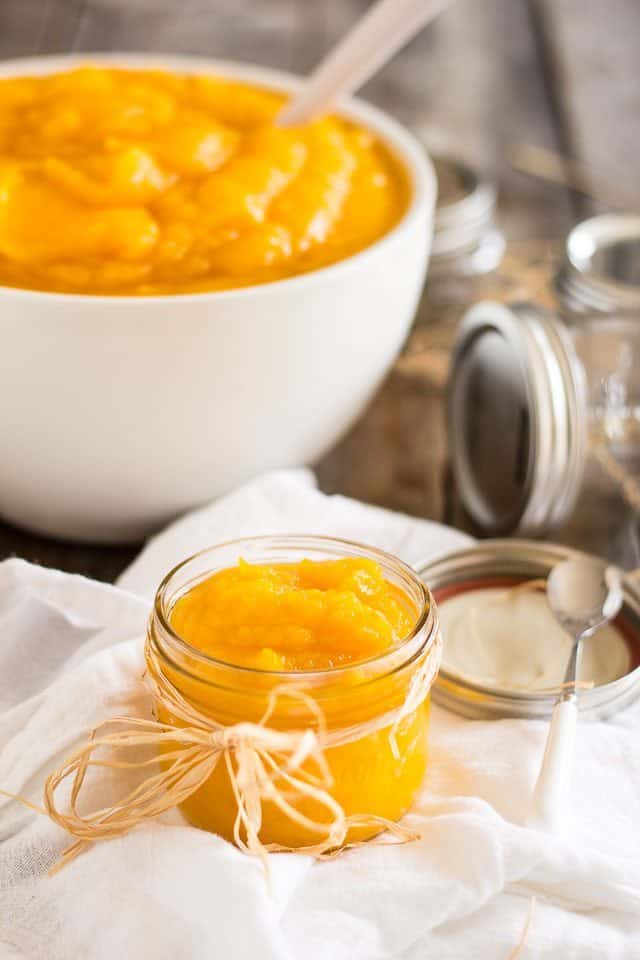
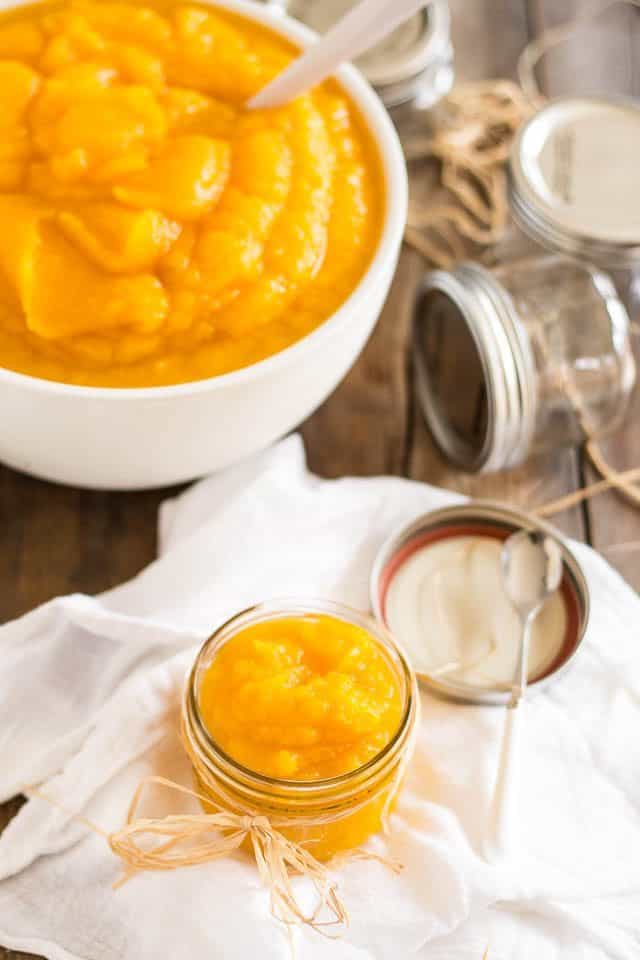
Transfer your finished puree to several airtight containers or the desired size.
The beauty of making your own pumpkin puree is you can portion it however you like. Use small, medium or large containers…
And if you’re an expert at canning, you can even can it so the puree will last you throughout the year, until pumpkins are in season again. *(Apparently, canning pumpkin puree is not recommended, so you better stick with the freezer option, even if you’re a canning expert!)
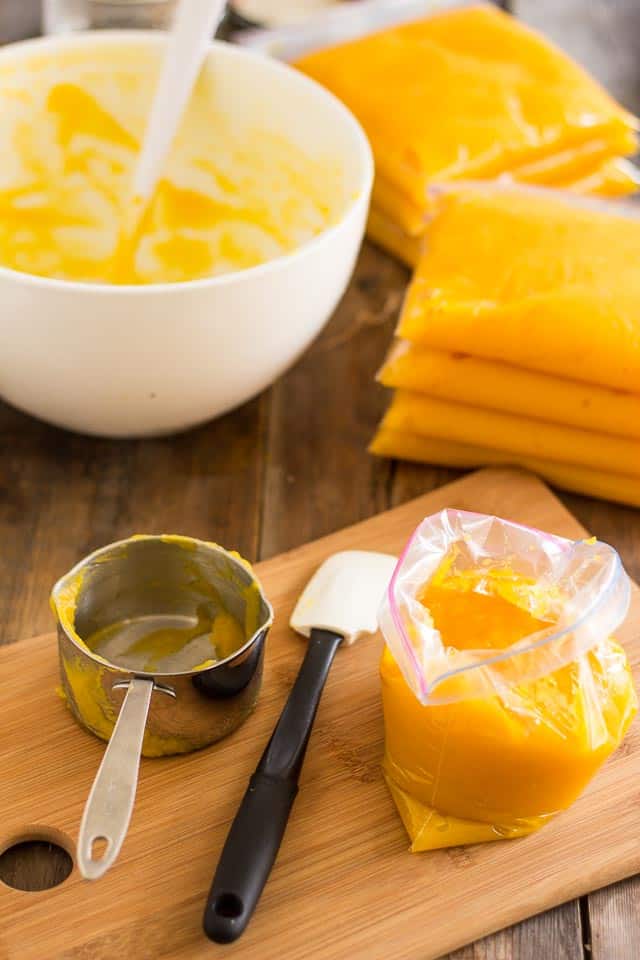
You can also portion your pumpkin puree in resealable freezer bags and then lay those bags flat in the freezer.
They won’t take much space at all and will last you up to several months. The only drawback is you will have to think about taking it out of the freezer a day ahead of time to allow for thawing, but I can very well live with that.
To me, that’s a much more acceptable option than throwing out half the can every single time I need to use pumpkin puree…
Now if you’ll excuse me, I think I’ve a few “pumpkin” recipes that I need to whip up!
Homemade Pumpkin Puree
Ingredients
- 1 or more pumpkin of the desired size
- About 1 cup water
Instructions
- Take your pumpkin home with you, give it a good wash and then cut it in half.
- Preheat your oven to 375F
- Scoop the guts and seeds out of the pumpkin with a large spoon. Discard or keep the seeds to roast them later.
- Place both pumpkin halves flesh side down on a rimmed baking sheet and pour about a cup of water at the bottom.
- Bake your pumpkin in a 375°F oven for about an hour, or until it's really soft and can its flesh and skin can very easily be pierced with the tip of a sharp knife.
- Let the pumpkin cool until it can be safely handled, then scoop the flesh out with a large spoon and discard the skin.
- Place the flesh into the bowl of your food processor (obviously you're gonna need to work in batches!) and process until your puree gets silky smooth.
- Transfer your finished puree to several airtight containers or resealable plastic bags of the desired size and keep in the refrigerator for up to a week or freeze for up to several months.
- If you're an expert in canning, you can even can these so the puree will last you throughout the year, until pumpkins are in season again.
If you’ve tried this recipe, please take a minute to rate the recipe and let me know how things went for you in the comments below. It’s always such a pleasure to hear from you!
You can also FOLLOW ME on PINTEREST, FACEBOOK, INSTAGRAM and TWITTER for more delicious, healthy recipes!







15 Comments on “Homemade Pumpkin Puree”
Yours is better, I’m sure. Just for info, Whole Foods has 12 oz. cans of organic pumpkin puree with a BPA free lining in the can.
HA! Don’t I wish we had Whole Foods here… Sadly, they aren’t in my neck of the woods just yet. Soon, I hear… soon, I hope!
That’s a great tutorial with excellent photos! Only thing I do different is plop it into a strainer and let it sit for an hour to drain & thicken. This is expecially important if using for a pumpkin pie so the mix isn’t too runny. You’ve inspired me to buy more pumpkins to freeze.
Good idea! If I ever use it for baking, I’ll make sure to strain it first! Thanks for the tip, Leslie.
Freezing is the only option for puree as it is not safe to can.
Check out this site
http://www.extension.umn.edu/food/food-safety/preserving/vegetables-herbs/preserving-winter-squash-and-pumpkins/
Good to know… thanks for that, Fern!
So nice to see someone posted this. I only just found your site as I need to process my pumpkins now that I can actually cook again (stove died on Thanksgiving and new one was installed yesterday). I was going to post this information as well.
May I suggest editing your original post to include the need to freeze homemade puree. I would hate someone to become ill with botulism because they home canned (pressure or water bath) without understanding the puree is simply too dense to get it hot enough, all the way through, to make it safe. I know I don’t always read all the comments left, so had I not known this about puree, I could have easily missed this important information.
I took your advice and edited the post, Jennifer. Thanks for suggesting that!
Okay. Here’s were our paths veer apart as I never EVER have the problem of left over pumpkin. GIMME ALL THE SQUASH. I even vowed one winter to eat nothing but orange foods to get a “natural” tan… my feet and hands turned orange but nothing else. *womp womp* My extremities looked like an oompa loompa.
Ah, but it’s the carbs, Jordan, you know… all those carbs! Can’t afford to have that much in one go. 🙁
And really? Your feet and hands turned orange? How strange! Good thing you didn’t eat all green things… 😉
Here in the Netherlands they don’t sell pumpkin puree, so I always make it myself. I do use the skin though. Why do you remove it? I use organic pumpkins by the way,
I remove the skin because I doubt that a regular food processor would be powerful enough to pulverize it. If I’d pureed it in a high-speed blender, I might very well have left it…
dehydrate the skin to make pumpkin chips! x
I stumbled onto your site and after an hour I am still here..:)) I have never posted before.
I used the baked pumpkin and when its barely fork tender i cut it into squares. I then use it with chunked apples and a dash of cinnamon or maple syrup or both….DELICIOUS… and both apple and pumpkin can be frozen.
Glad you’re enjoying your time on my site, Suzie, and thank you for choosing to post for the first time, too! I’m flattered. The pumpkin apple combo sounds absolutely lovely. I’m thinking I should make a casserole with all those ingredients. Has to be delicious! 🙂