Multigrain No Knead Country Bread
Think making your own bread at home is too much hard work? Think again! This Multigrain No Knead Country Bread is every bit as easy to make as it is good to eat!
I don’t tend to eat much bread, but when I do get the craving for a slice, I like to make my own bread in the comfort of my very own home. For starters, because nothing quite beats a slice of warm, fresh-out-of-the-oven bread, and well, it makes the whole house smell incredibly good! But also too because that way, I get to know exactly what goes into it. And plus, well, contrary to what you may think, making bread at home can be EXTREMELY easy, and practically foolproof, too.
Take this Multigrain No Knead Country Bread for instance. While you do have to plan ahead if you’re going to make it, as it needs to rest and rise for a full day before you get to actually bake it, it’s as easy to make as mixing flour and water together in a bowl. Yes, really. That easy!
Don’t believe me? Please, allow me to demonstrate…
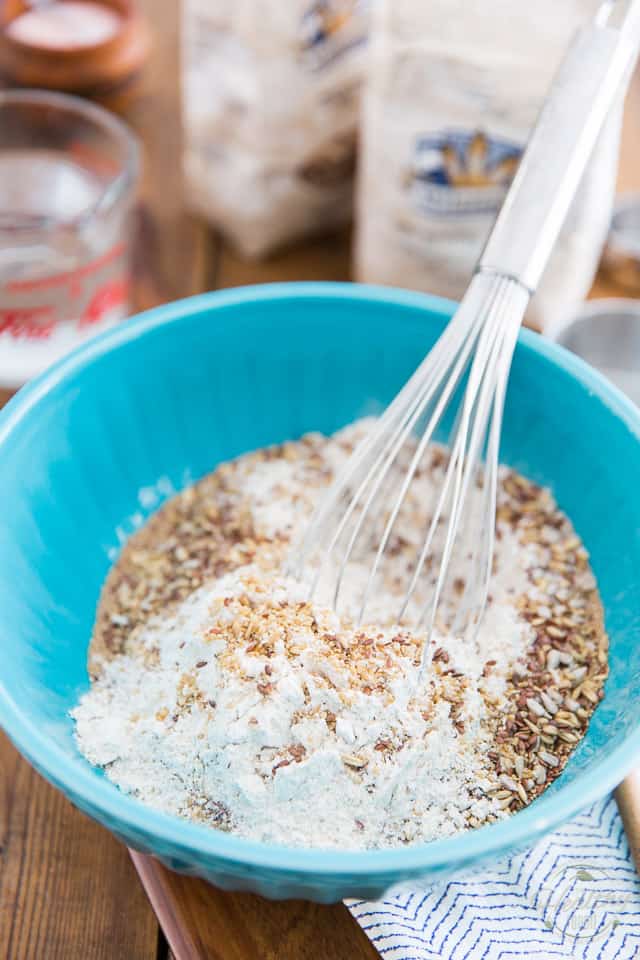
First, you’re going to use a combination of 3 different kinds of flour: 1 cup of unbleached all purpose flour, 1 cup of whole wheat flour, and 1 cup of multigrain flour.
Multigrain flour will often be called 5 grain, 6 grain, 10 grain, 12 grain, etc. It doesn’t really matter which one you choose, so long as it’s multigrain! And if you can’t find multigrain, don’t sweat it. Simply substitute more whole wheat flour for it.
To that, you’re going to add some actual grains, namely 1/4 cup oat groats, 1/4 cup flax seeds, 1/4 cup bulgur wheat and 1/4 cup sunflower seeds.
Again, if you can’t find those specific grains and seeds, feel free to substitute any other kind. Steel cut oats, buckwheat groats, poppy seeds, chia seeds, millet, amaranth; those are all great substitutions that come to mind. Just be sure to choose grains or seeds that you can safely chew on in their raw state, without risking breaking a tooth; rice or barley, for instance, might not be your best options…
Finally, you’ll need to throw in 1 teaspoon of active dry yeast. Please, be sure that your active yeast is actually still active! If you’re in doubt, test it first; it should say on the package how to do that…
All that goes into a large bowl and gets mixed with a whisk until thoroughly combined.
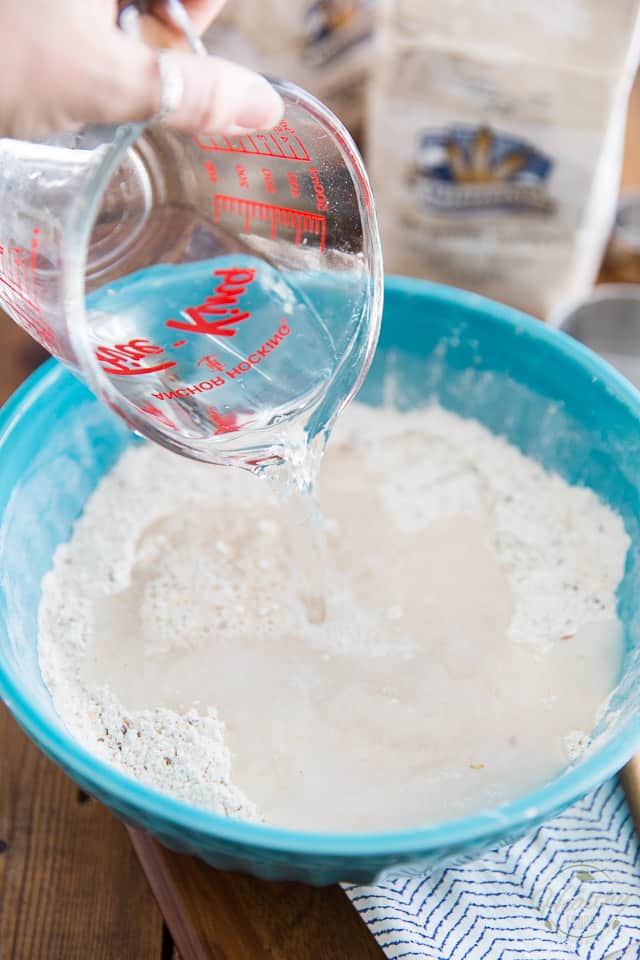
Now that everything’s been mixed together, add the warm water.
The only rule here is to make sure that your water isn’t too hot, which could kill your yeast. Slightly warmer than your body temperature is the way to go!
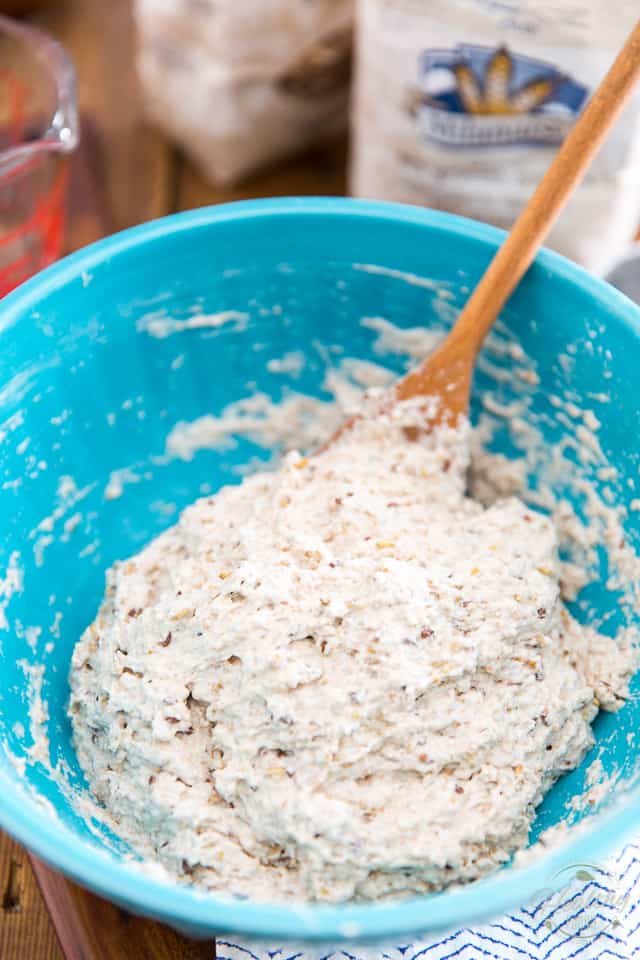
Stir until a wet dough forms and all the flour has been incorporated, about 45 seconds.
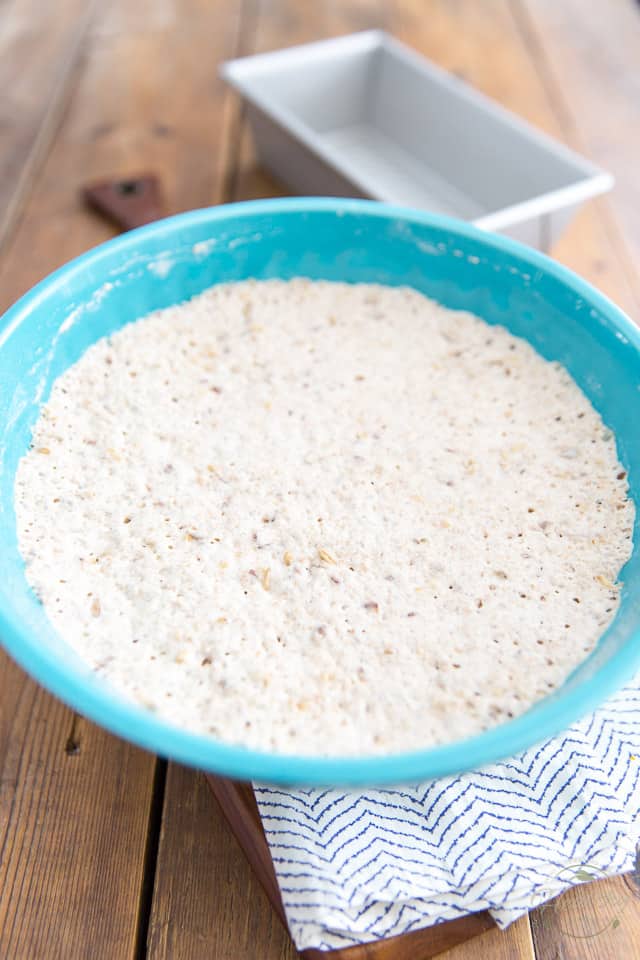
Cover the bowl with plastic wrap and place it in a warm place to rest for 18 to 24 hours. How long to let the dough rest is not an exact science, it depends more on your schedule… go for a minimum of 18 hours, and a maximum of 24, how’s that?
The real important thing to look for is that your dough must have more than doubled in size and become sort of spongy.
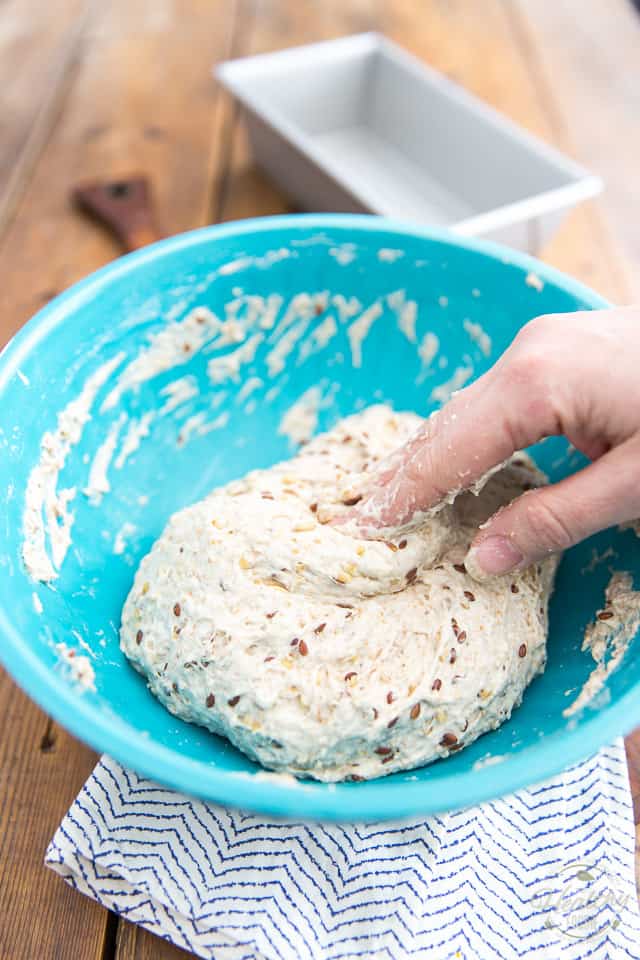
Now you must “punch” the dough, in other words, you have to deflate it. Do that by poking and folding it with the tip of your fingers; the dough will be sticky, that’s completely normal, and desirable!
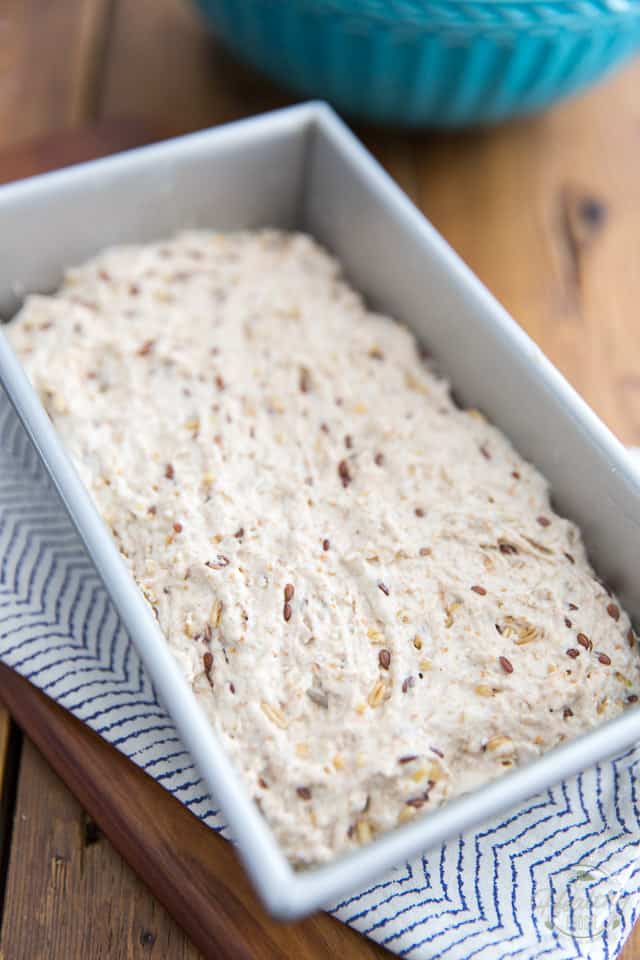
Transfer the dough to a loaf pan and delicately spread it evenly across the pan with your fingers.
Cover the pan loosely with plastic film and place it in a warm place to let the dough rise once more, about 3 hours this time.
Again, this is not an exact science: the dough needs to pretty much double in size. Aim for 3 hours, but anywhere from 2 to 4 would work just fine. Also, the warmer the environment, the faster the dough will rise. If you’re in a pinch, place the pan in the cold oven and turn the oven light on. This will definitely speed things up for you!
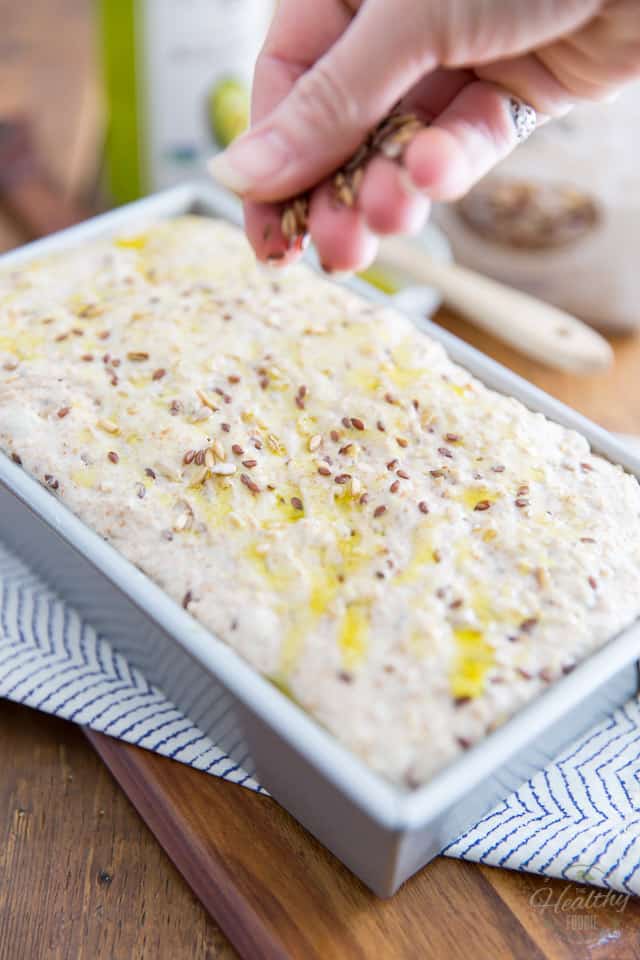
When you are ready to bake your bread, preheat your oven to 400°F; brush the top of your loaf with a little bit of avocado oil and sprinkle with a handful of assorted seeds and grains, if desired.
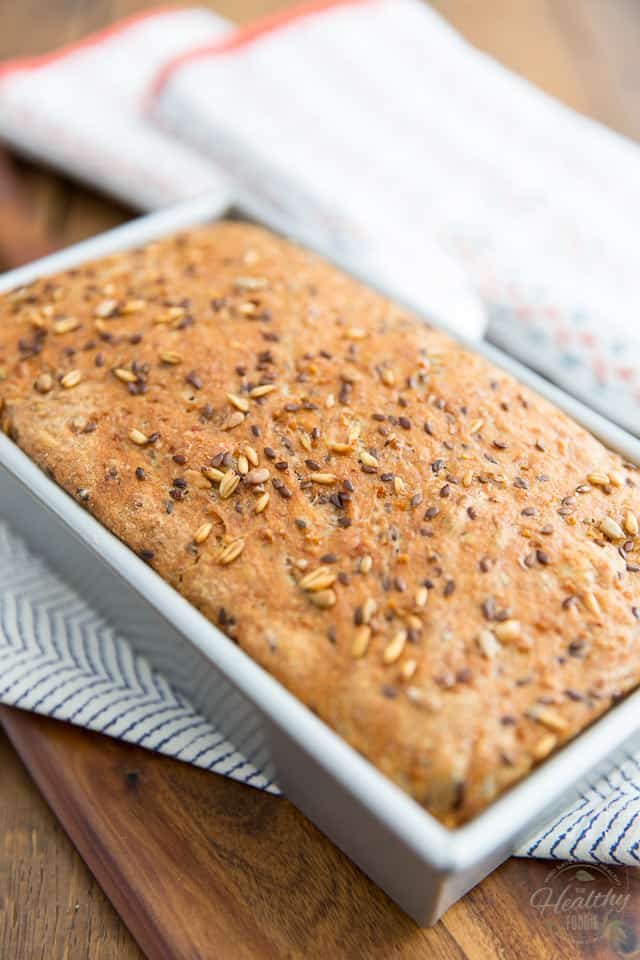
Bake the bread for 40 to 45 minutes or until the top is golden brown and the crust appears crispy;
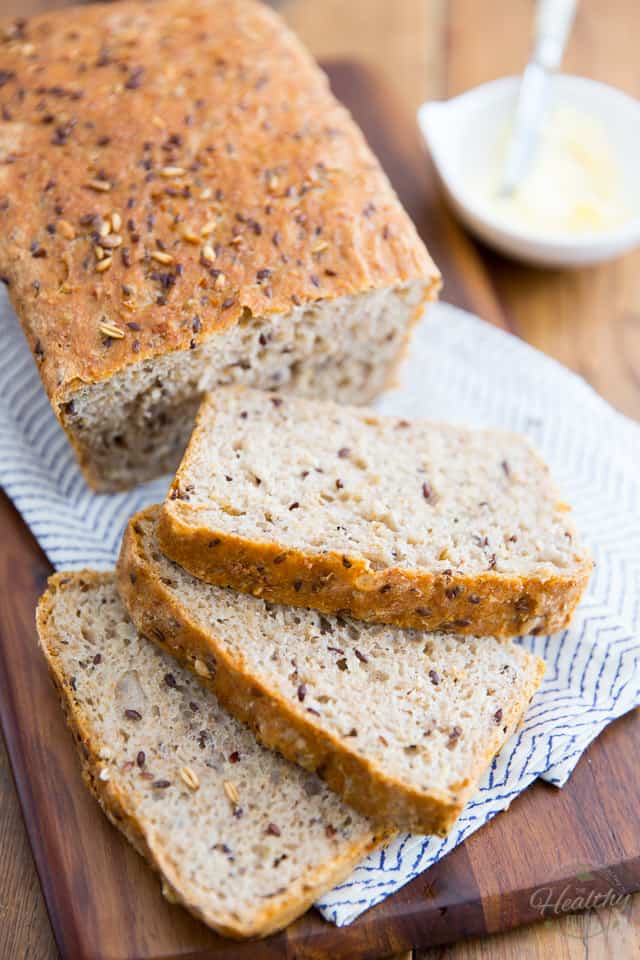
Let the bread cool in the pan for a few minutes then take it out of the pan and let it cool on a wire rack for about 30 minutes before slicing and indulging!
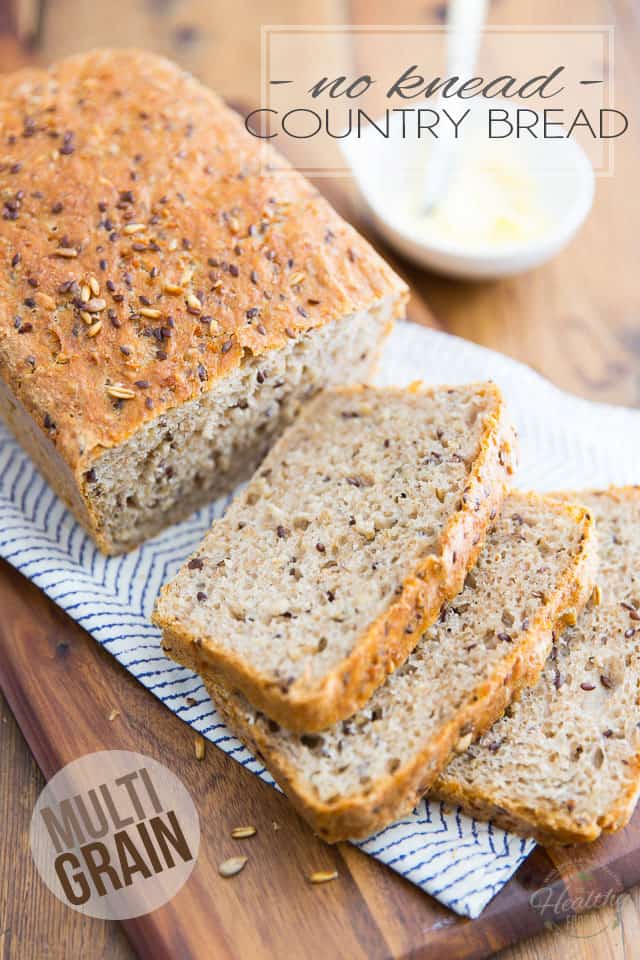
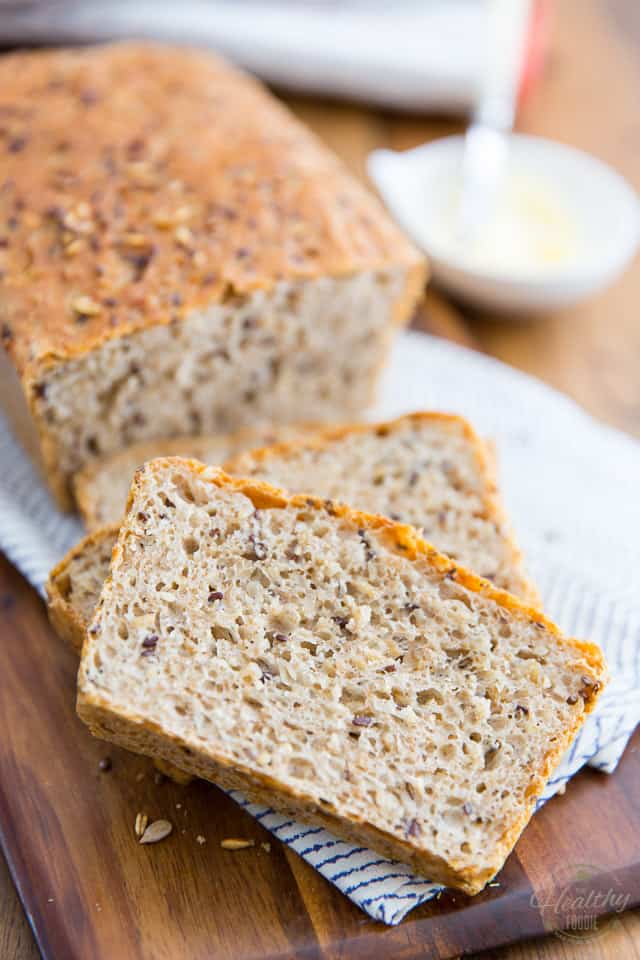
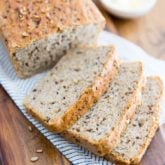
Can you get a sense of how chewy and dense yet airy that bread is? And how crazy crispy that crust is? I’m telling you, make this bread once and you’ll want to make it time and time again…
Multigrain No Knead Country Bread
Ingredients
- 1 cup whole wheat flour
- 1 cup unbleached all purpose flour
- 1 cup multigrain flour
- 1/4 cup oat groats
- 1/4 cup bulgur wheat
- 1/4 cup sunflower seeds
- 1/4 cup flax seeds
- 1 tsp salt
- 1 tsp active dry yeast
- 2 cups warm water
Optional Garnish
- Avocado oil
- Handful of seeds and grains
Instructions
- Combine the dry ingredients, including the active yeast, in a large bowl and mix with a whisk until thoroughly combined.
- Add the warm water and stir until a wet dough forms and all the flour has been incorporated, about 45 seconds.
- Cover the bowl with plastic wrap and place it in a warm place to rest for 18 to 24 hours.
- Deflate the dough -it will be sticky, that's normal- by poking and folding it with your fingers and then transfer it to a loaf pan, delicately spreading it evenly across the pan with your fingers.
- Cover the pan loosely with plastic film and place it in a warm place to let the dough rise once more, about 3 hours this time.
- When ready to bake your bread, preheat the oven to 400°F; brush the top of your loaf with a little bit of avocado oil and sprinkle with a handful of seeds and grains, if desired.
- Bake 40 to 45 minutes or until the top is golden brown and the crust appears crispy.
- Let the bread cool in the pan for a few minutes then take it out of the pan and let it cool on a wire rack for about 30 minutes before slicing.
- Store leftovers in a cool dry place for up to a few days.
Notes
Nutrition
If you’ve tried this recipe, please take a minute to rate the recipe and let me know how things went for you in the comments below. It’s always such a pleasure to hear from you!
You can also FOLLOW ME on PINTEREST, FACEBOOK, INSTAGRAM and TWITTER for more delicious, healthy recipes!









13 Comments on “Multigrain No Knead Country Bread”
I do like dense bread sometimes. Not to say I don’t like nice fluffy and light breads too. If you say its crave-able I will try it. I love multigrain and seedy breads so this looks so yummy 🙂
Oh, it’s crave-able allright! Try it toasted with almond butter and banana slices. Oh heaven! I want some now! 🙂
This doesn’t look ruined at all! I’m amazed at all the grainy goodness you stuffed into it.
Thanks Nicole! Can you tell I looooove grains? 😉
Hummm ça a l’air trop bon ce pain !!
Merci bien! Si t’es chanceux, (c’est-à-dire si j’ai le temps d’en faire…) t’y goûteras en fin de semaine! 😉
Wow. This looks outstanding. It’s a shame you cannot by too much bread like this. I would love to have some with cream cheese for breakfast. Thanks for the post!
Thanks Mark! 🙂 Why buy it? Bake your own! This one is really so easy to make… and you get to smell it as it bakes as an added bonus!
hi there, what brand of 5 grain flour did you use? thanks!
The one I have at home is made by Moulin Abénakis. I guess if you can’t find ready made 5 grain flour, you could easily make your own, using whole wheat flour and throwing in a few grains. I can look up the list of grains that go in the making of that particular flour tonight, if you want…
thx so much! do i put the raw grains into the blender and whiz it up if i want to make my own? any suggestions for particular grains to use would be helpful. would it work with quinoa, buckwheat, and rice flour?
The grains that I mention in my recipe, you want to use whole. If you want to make your own 5 grain flour, you might want to grind them a bit. The one I used contains stone ground whole wheat flour, millet, flaxseeds, buckwheat, rye and barley. Not sure about the rice flour. I would stick to wheat, or maybe spelt…
Oh my goodness, this makes my mouth almost water. Love the way this looks.