Raisin Oatmeal Muffins – Naturally Sweetened
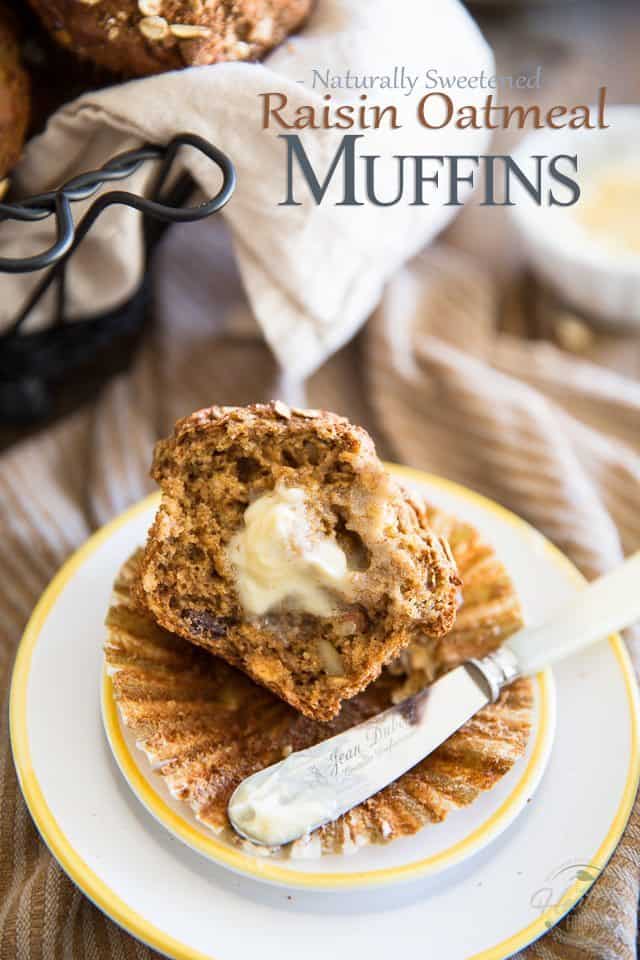
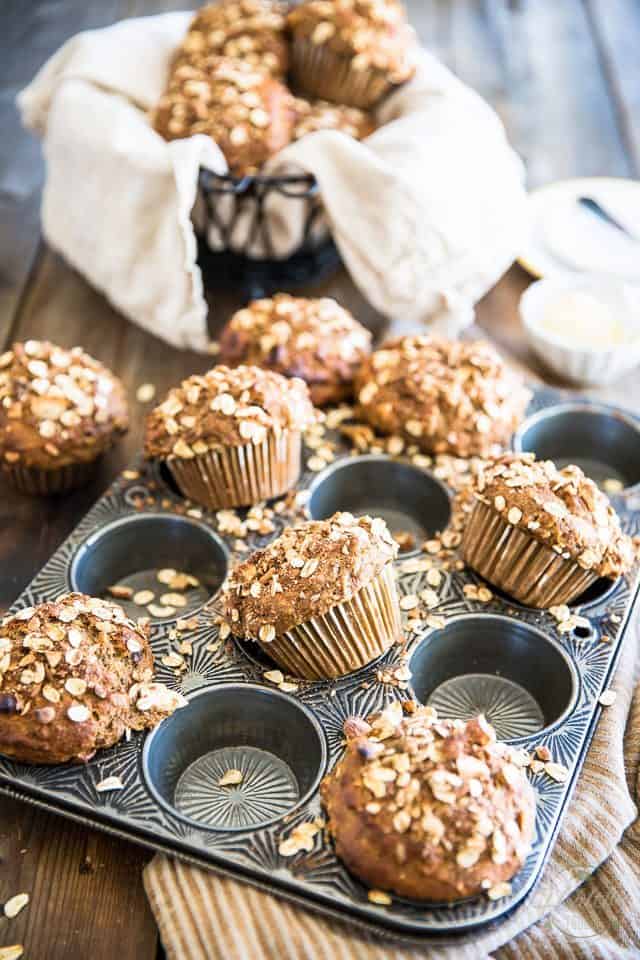
You guys, I’m so crazy excited!!! Firstly, because I finally got my hands on some AWESOME vintage muffin pans (I’d been dreaming about getting some for years!) but also too, because I feel like I’ve just created the ultimate, no, make that the PERFECT oatmeal muffin recipe.
Of course, I don’t expect you to just take my word for it and drop everything you’re doing to run to the kitchen and whip up a batch right this instant. Allow me, if you please, to elaborate on these very serious allegations…
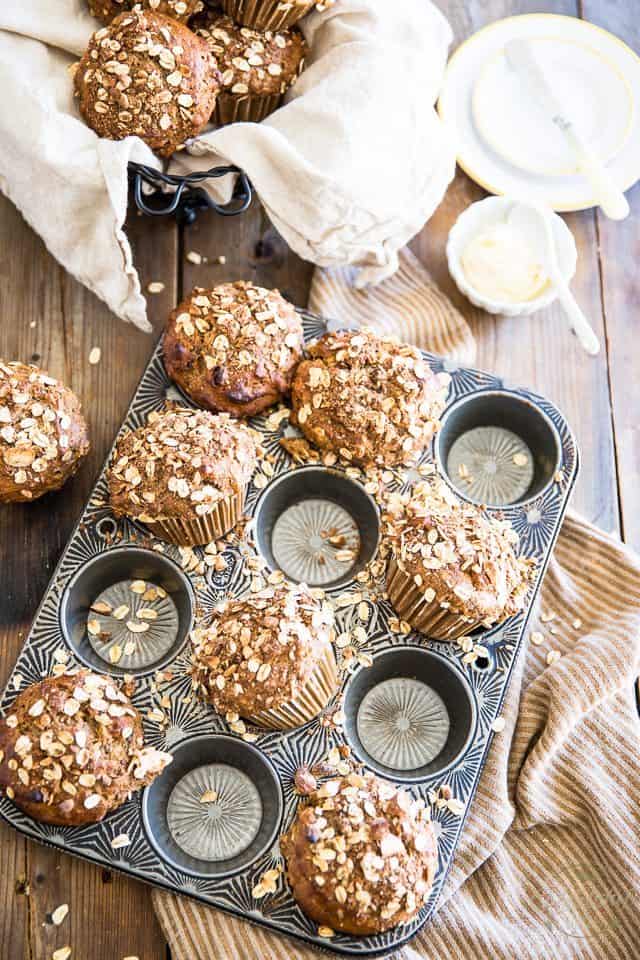
You know how, when you buy muffins at the store or bakery shop, they’re always super big and have beautiful, perfectly mushroom-shaped tops? As in yummy, delicious tops that get super crispy, especially around the edges where the batter meets up with the pan as it bakes and bursts out of its confining little paper chamber?
Well, I’ve been trying to replicate that at home for years, to no avail. Not that I’m a TRUE muffin top kinda girl, because in fact, I never quite could decide which part of a muffin I preferred most: the deliciously crunchy top or the perfectly moist bottom. Truth is, I think I like both parts equally, key word being both here. I like actually HAVING both parts to my muffins.
But up until now, when I made muffins at home, no matter how good they were, they only had one part to them: a bottom with a bit of a crispy layer on it.
When I was in school, I learned that in order to make your muffin tops really explode and get that nice, sought-out mushroom shape, you had to start baking them at a very high temperature, to shock them out of their “seat” with a great big burst of heat, and then lower the heat to finish cooking the inside. That much made sense, but then again, no matter how hot your oven is, one simply can’t get the batter to triple in volume on account of heat alone.
So I started researching the subject in hopes to find out exactly how to create the perfect muffin, complete with beautiful mushroom tops, at home.
My research quickly taught me that one simple trick: you only need to use a batter that”s firm enough to hold its shape and then totally OVERFILL the paper cups. In other words, you need to give tops to your muffins BEFORE they even get to hit the oven.
BRILLIANT! Why had I never thought of that?
Equipped with that new knowledge (as well as with my brand new vintage muffins pans) I proceeded to write up the perfect oatmeal muffin batter recipe. That batter would have to be tasty, of course, but mostly, it would have to be firm enough to hold its shape but still be nice and moist after it’s been baked. And of course, it would have to be totally free of nasty oils and refined sugar…
Well, I’m happy to report that I totally nailed it with my very first try. Beginner’s luck? Perhaps! One thing I can tell you for certain though is that I’m not done experimenting and now want to create all kinds of beautiful, healthy mushroom shaped muffins… as soon as I can get my pans back, that is!
Indeed, My Evil Twin‘s requested to use the new pans, too, claiming that it was her who (apparently) actually found them. Hmpft, okay, whatever! I’ll let her play with them, too, even though I get the feeling that what she has in mind isn’t exactly of the healthy kind. I’m guessing that she is more of the triple chocolate nutella extravaganza kind. Oh well, I’ll get out of the house on the days that she gets to experiment!
As for me, I’m just happy that I can finally get the best of both worlds at home, i.e. tops AND bottoms, in a muffin that’s much healthier than any of which I could buy at the store…
As always when baking, I like to start with a little bit of mise-en-place. First, preheat the oven to 400°F and line a 12 cup muffin pan with paper liners.
Then, in a large mixing bowl, combine the rolled oats, oat flour, whole wheat flour, baking powder, baking soda, cinnamon and salt and mix well with a flat whisk until evenly combined. Set aside.
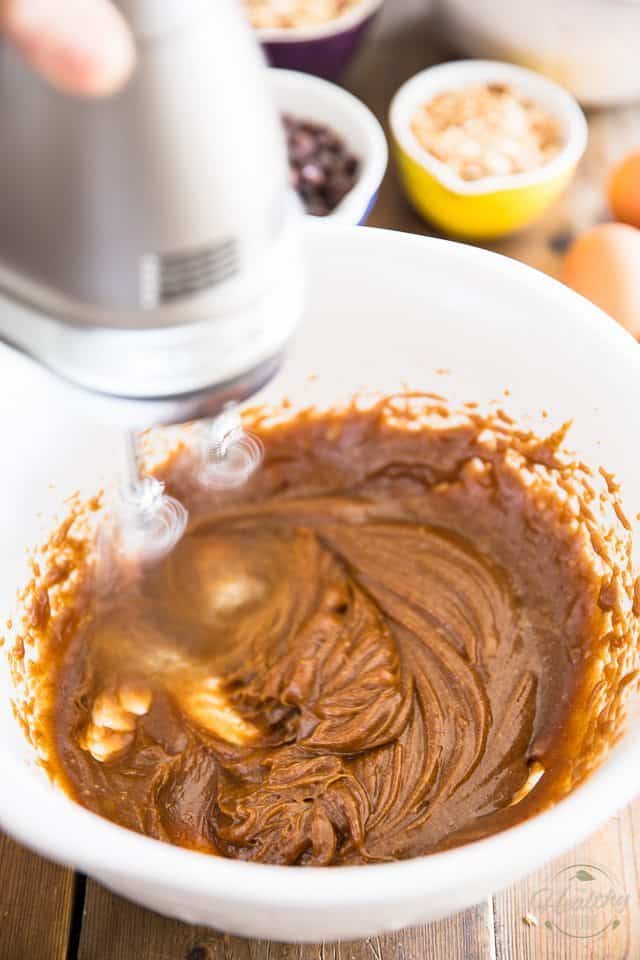
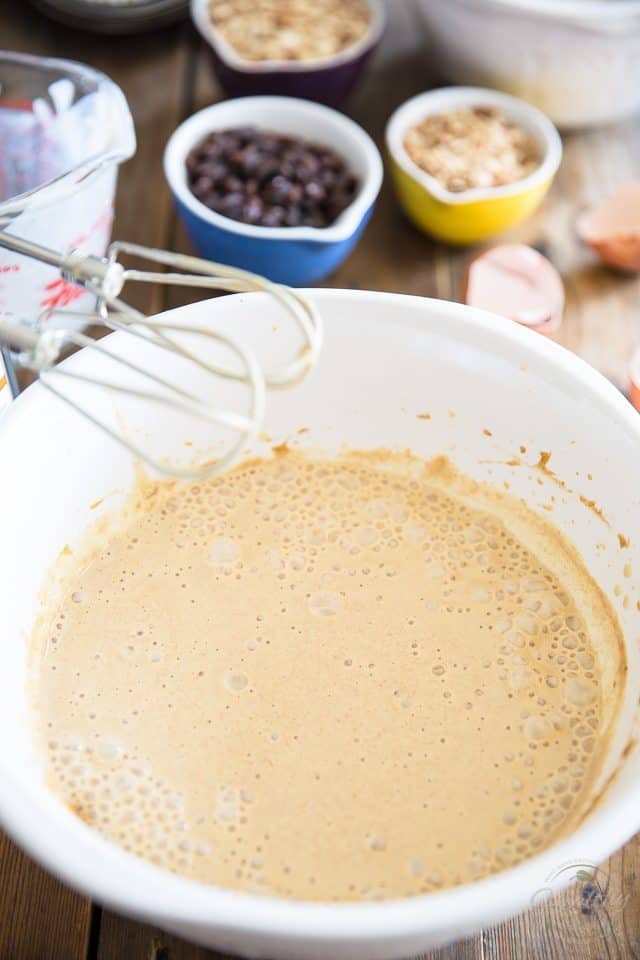
Next, in a separate large mixing bowl, combine the date paste, honey and avocado oil and beat on high speed with an electric mixer until thoroughly combined and slightly lighter in color, about 2 minutes
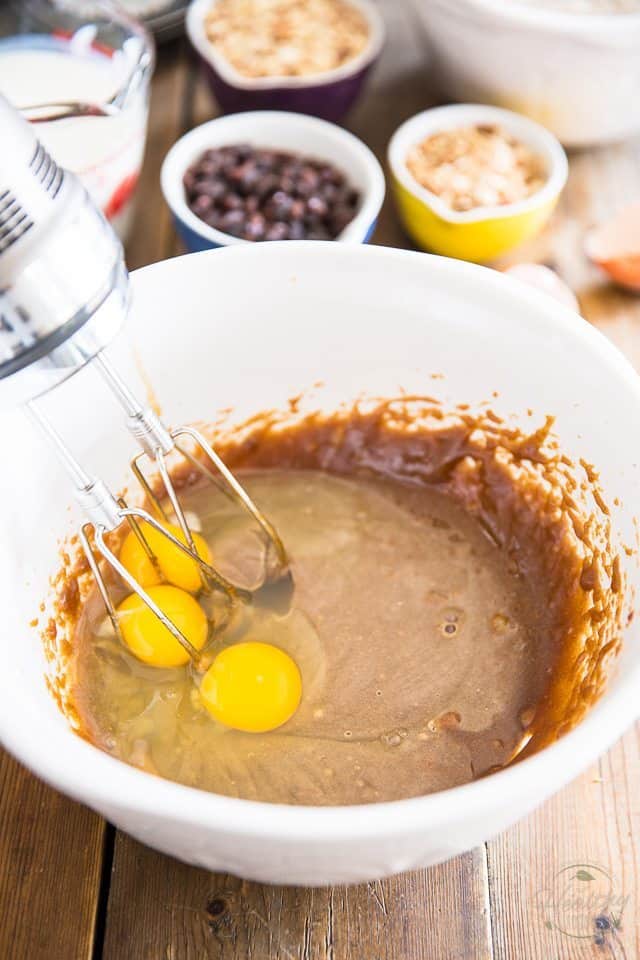
Now add the eggs. As you can see, you can add them all at once, no need to get fancy about it!
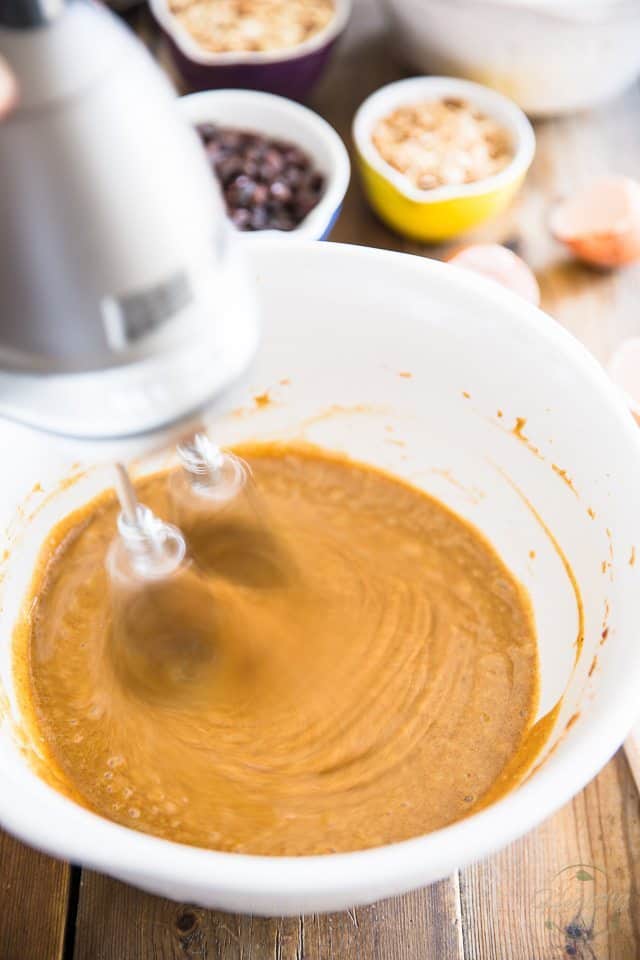
Resume beating for about 1 minute, until very well combined.
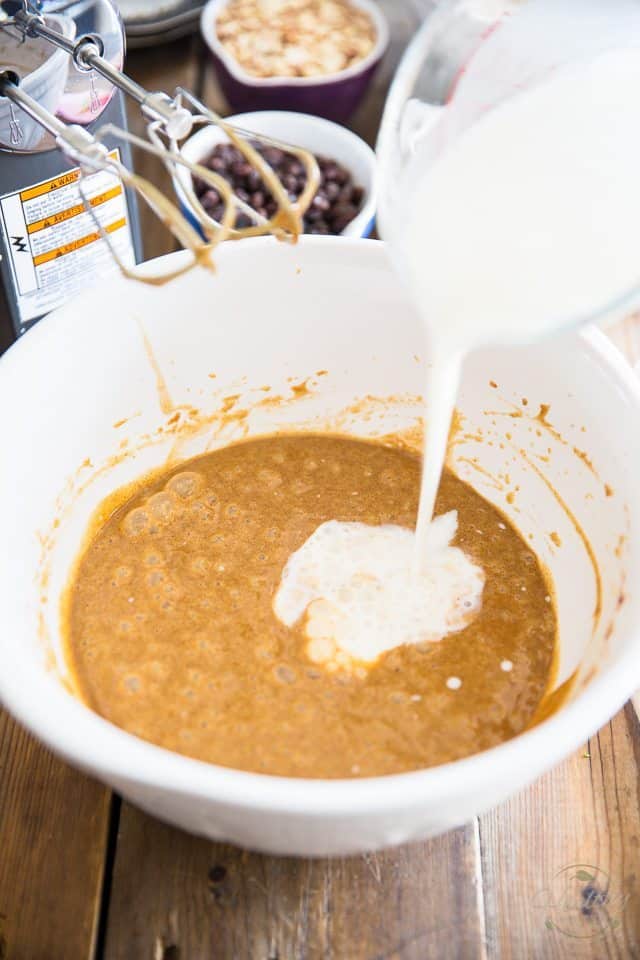
Next, add the buttermilk…
… and resume beating once again on medium speed until fully incorporated.
It might be a good idea to scrape the sides once or twice, just to make sure that you have every last bit mixed in there.
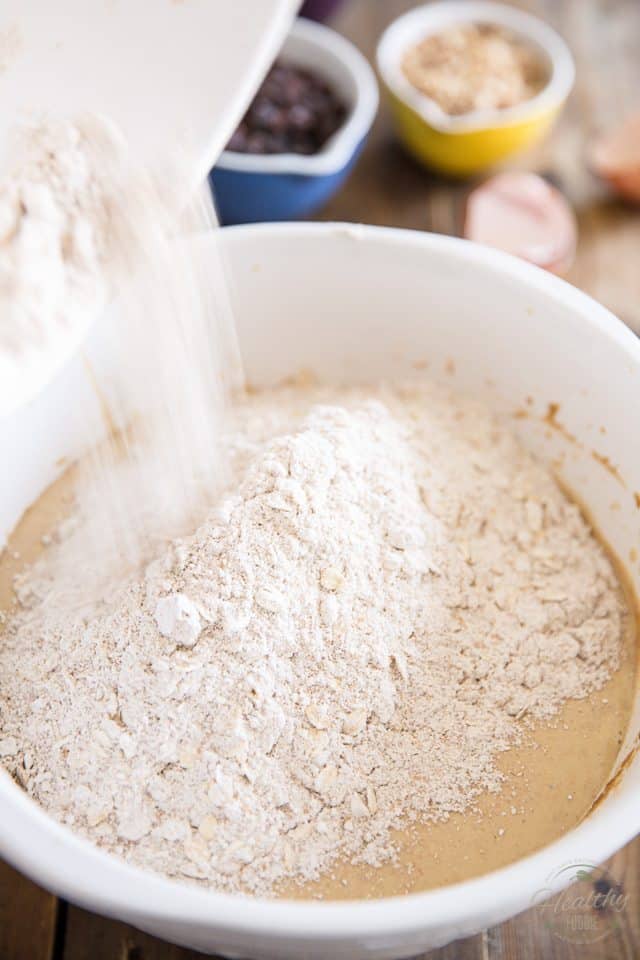
Time to throw in the dry ingredients, the very ones that you’ve taken the time to combine right before you started. You did that, didn’t you?
Good! Throw them right in!
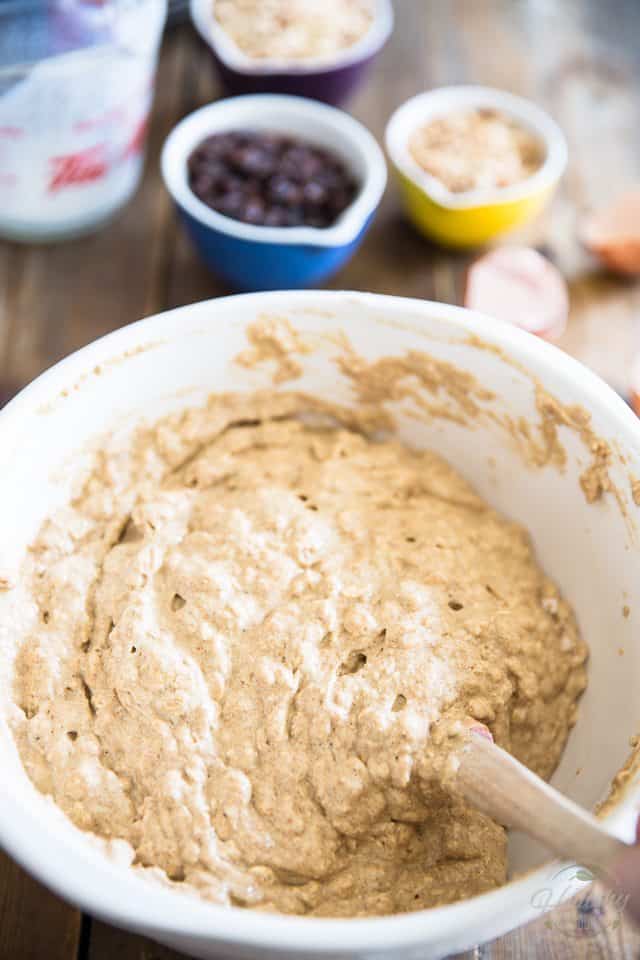
Now mix delicately with a rubber spatula until everything’s well incorporated.
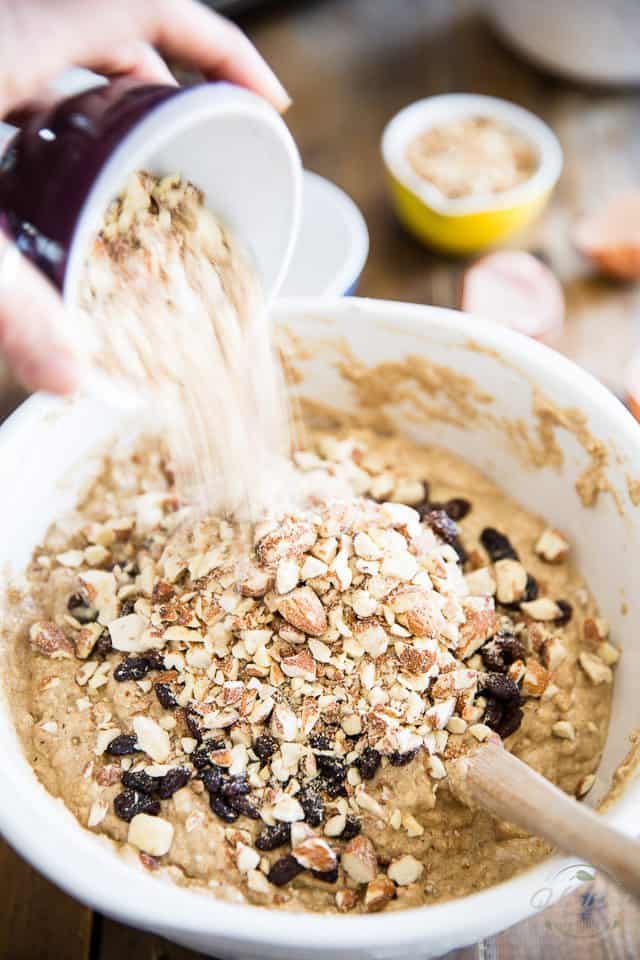
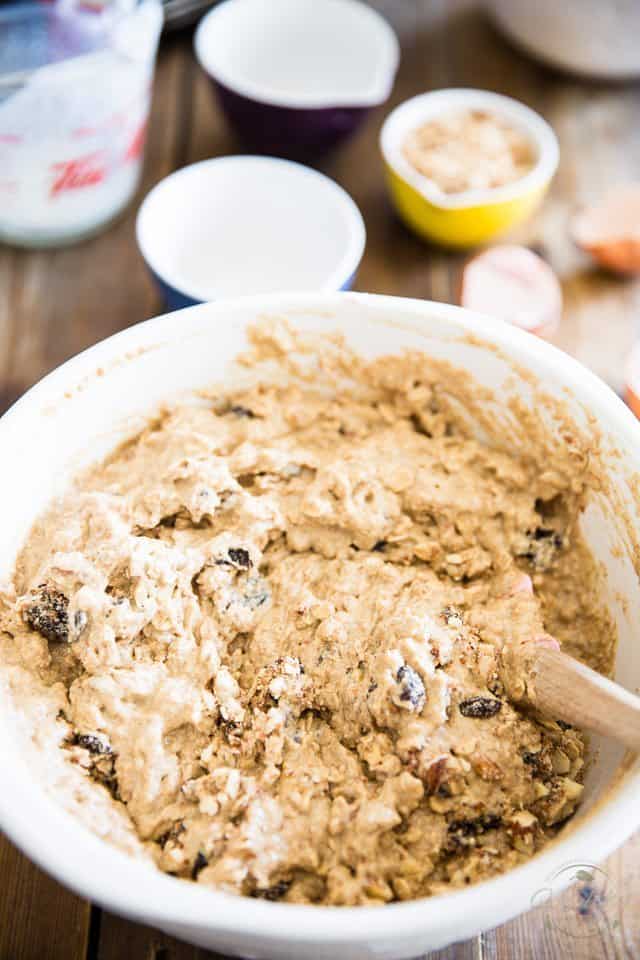
Finally, delicately fold in the raisins and chopped almonds.
Stir until the goods are just incorporated, no more.
And now, the moment of truth!
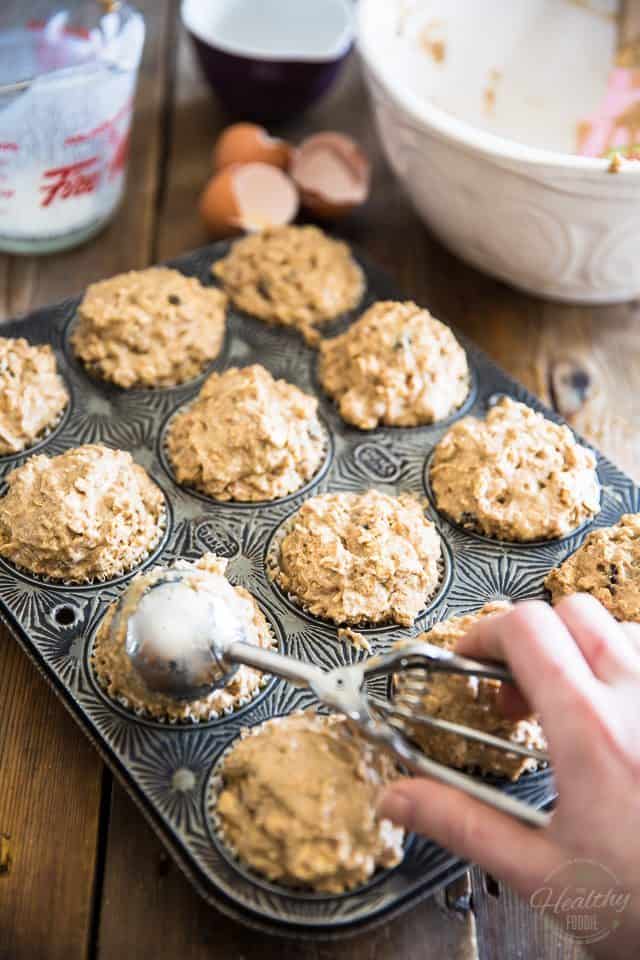
Divide the batter between 12 large muffin cups. Yes, that’s 12. You’ll probably think that it’ll never work, that you have WAY too much, but trust… The batter will go over the paper cup, it’s perfectly normal. What you want to do at this point is try to shape the tops into nice rounded domes. A large spring-loaded ice cream scoop works particularly well for this task, so I strongly recommend that you use one.
Also, if you were like, really weird or something, and didn’t care for the extra large, bakery style muffins and preferred to stick with a more conventional homemade, snackable size muffin, you could very well divide the batter into 18 to 24 smaller muffins, instead. Of course, you’d then need to adjust cooking time accordingly.
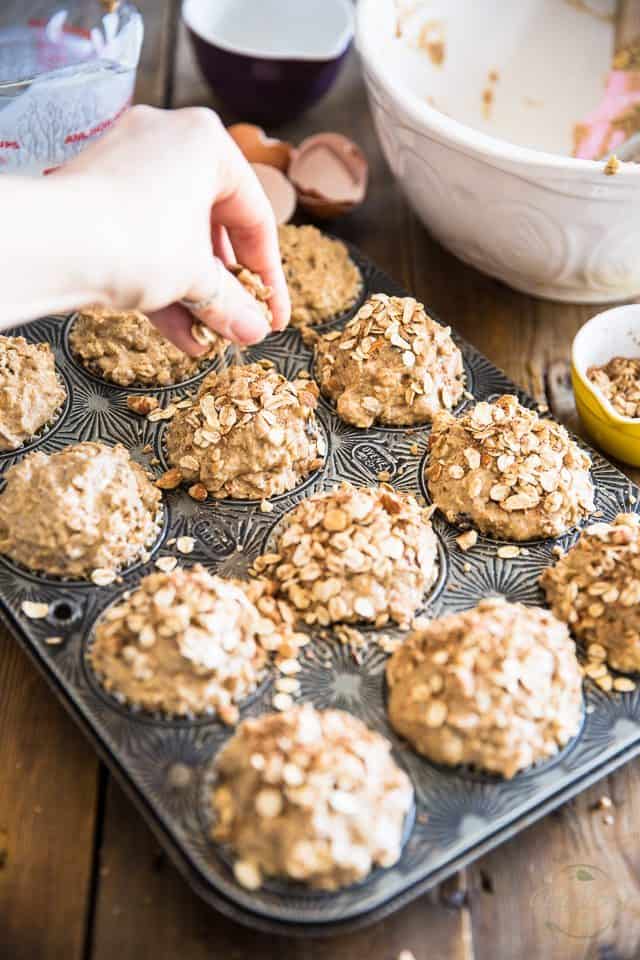
And now for the finishing touch, let’s make our muffins look extra pretty. Mix a few tablespoons of rolled oats, finely chopped almonds and a pinch of cinnamon and sprinkle that over the tops of the muffins.
Bake your muffins in 400°F oven for 20 minutes, or until a toothpick inserted in the center of a muffin comes out clean.
Let the muffins cool for a few minutes in the pan then remove to a wire rack to cool completely (although I strongly suggest that you eat at least one while they’re still fresh out of the oven! Would be a shame to let that opportunity go to waste… )
I know I just very recently said that my ultimate favorite muffins in the whole wide world were Bran Muffins, but now that I made these Raisin Oatmeal Muffins, I’m honestly not too sure anymore…
These guys are seriously, dangerously delicious! If they haven’t stolen the first spot, they’re really not far behind.
In fact, I was so excited about these muffins (and brand new vintage pans, haha!) that I got a bit carried away and took tons of pictures… so now on top of giving you step-by-step pictures and instructions on how to make the muffins, I’m almost giving you step-by-step pictures on how to eat your muffins.
As if you needed visual help to get that done!
But hey, until you actually get to hold one of the real things in your hands, you can at least get a very good idea of what to expect!
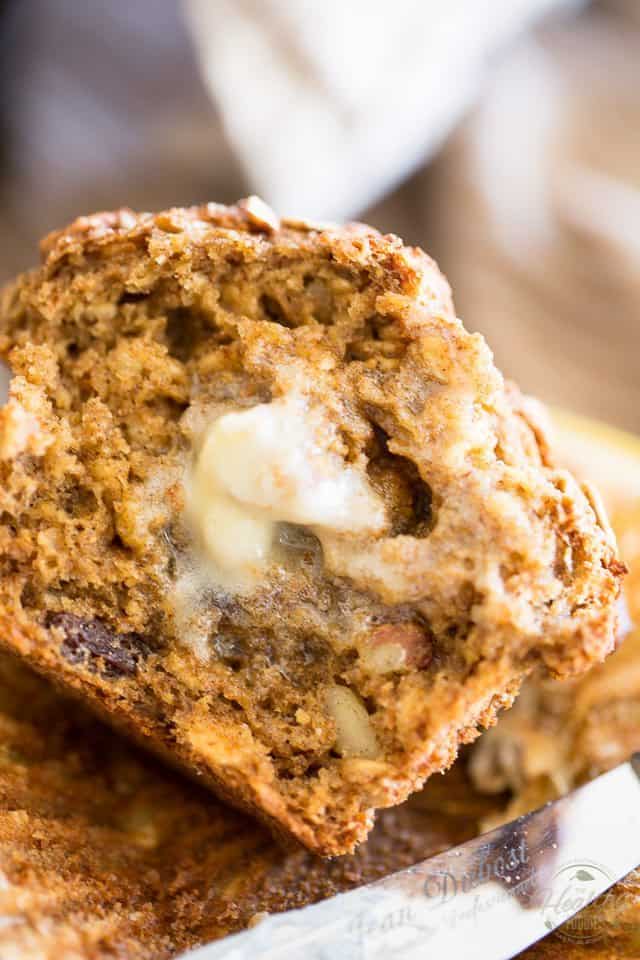
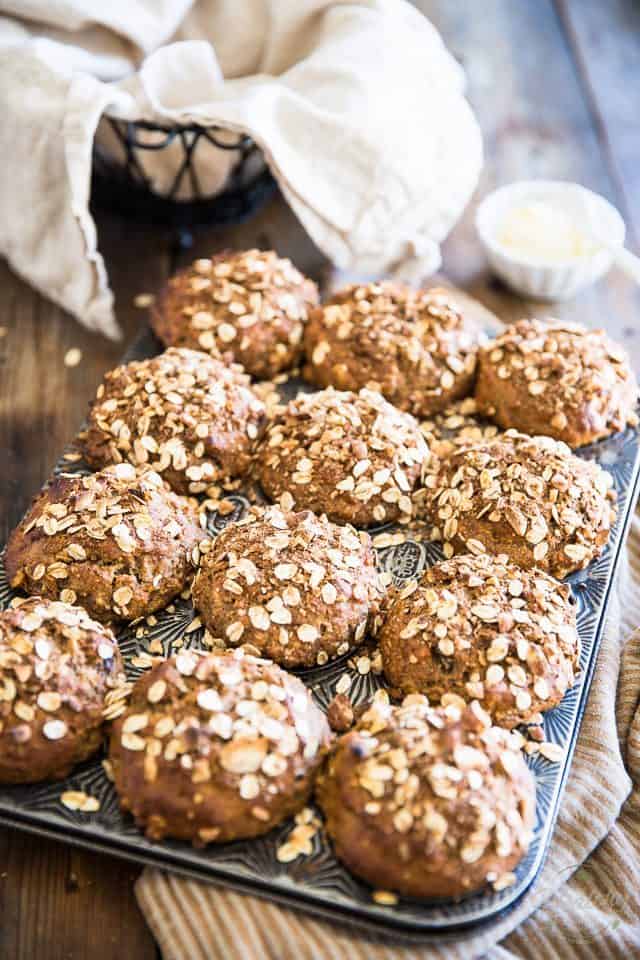
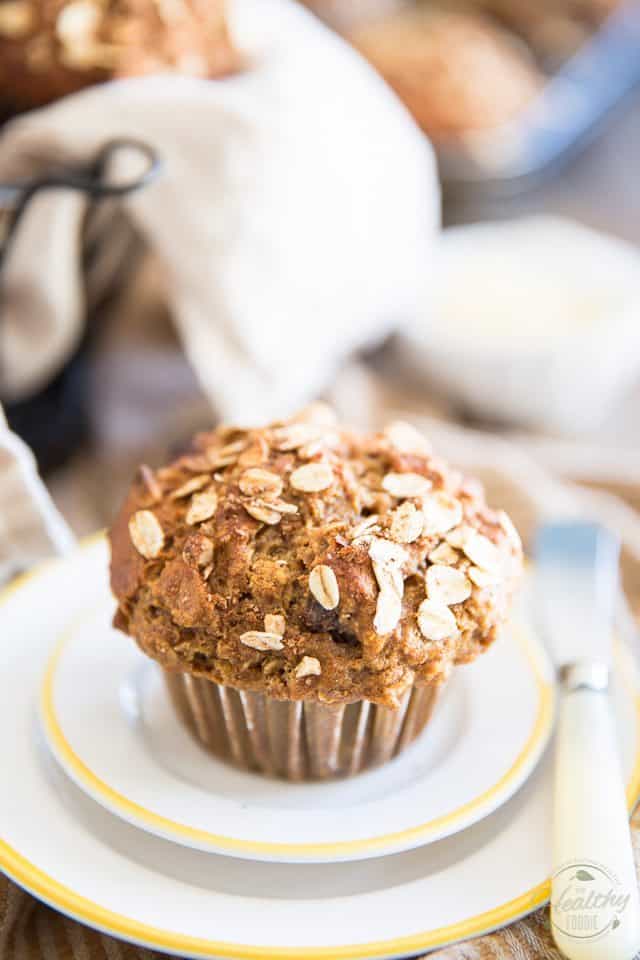
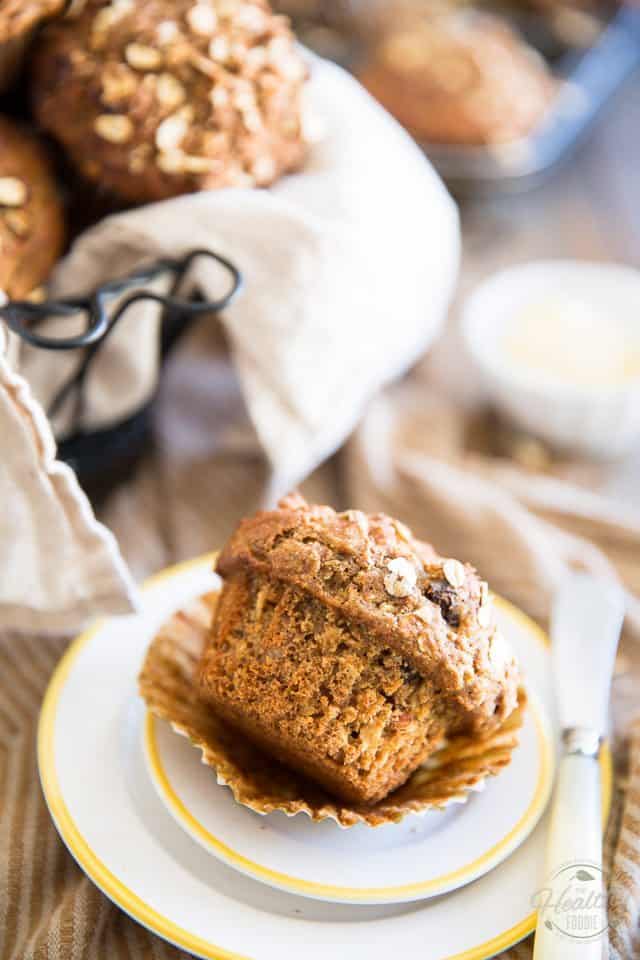
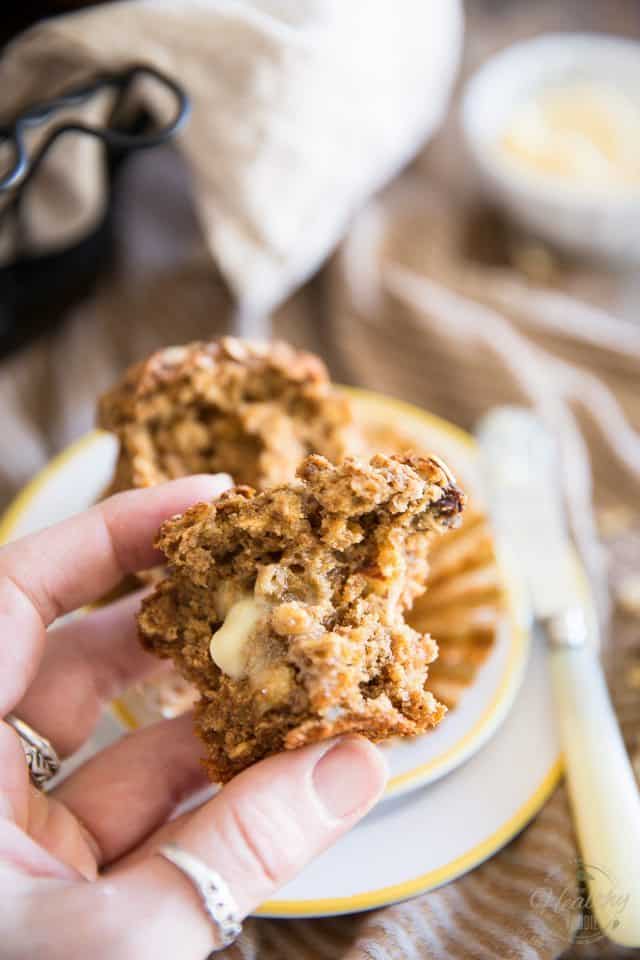
Just look at that perfect texture, and gorgeous, gorgeous mushroom top!
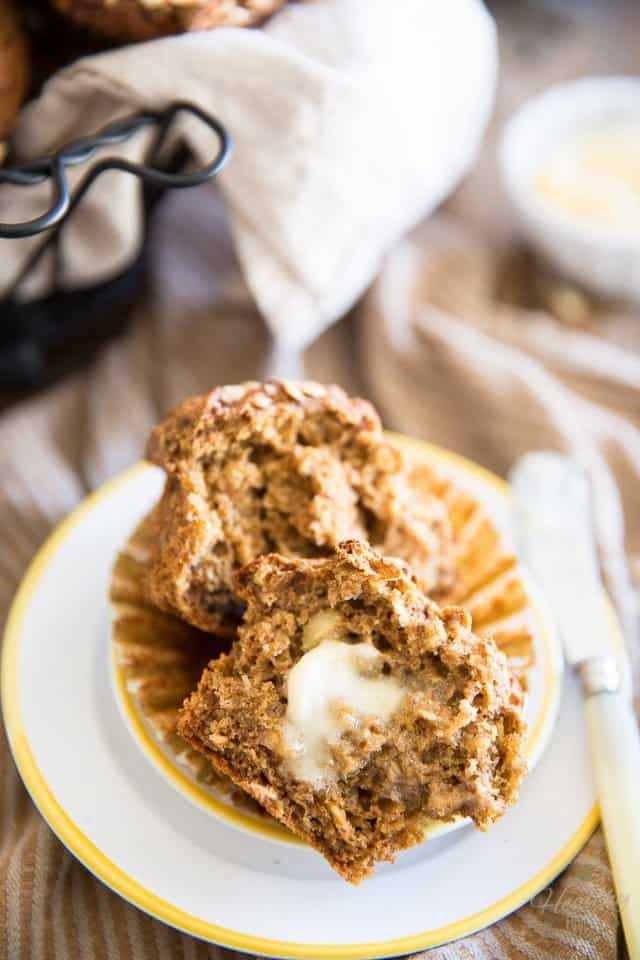
I couldn’t resist eating one right then and there, as I was taking pictures. That tempting little bugger even seduced me into topping it with a dollop of whipped ghee…
Oh my… the dream! Now I can’t wait to hear what YOU think of them.
Raisin Oatmeal Muffins – Naturally Sweetened
Ingredients
Wet Ingredients
- 1/2 cup date paste
- 1/2 cup unpasteurized honey
- 1/2 cup avocado oil
- 2 cups buttermilk
- 3 large eggs
Dry Ingredients
- 1-1/2 cup old-fashioned rolled oats
- 1-1/2 cup oat flour
- 1-1/2 cup whole wheat flour
- 1 tbsp baking powder
- 1-1/2 tsp baking soda
- 1 tbsp ground cinnamon
- 1 tsp Himalayan salt
Add-ins
- 1 cup chopped almonds
- 1 cup raisins
Garnish
- 3 tbsp rolled oats
- 3 tbsp finely chopped almonds
- 1/2 tsp ground cinnamon
Instructions
- Preheat the oven to 400°F and line a 12 cup muffin pan with paper liners.
- In a large mixing bowl, combine the rolled oats, oat flour, whole wheat flour, baking powder, baking soda, cinnamon and salt and mix well with a flat whisk until evenly combined. Set aside.
- In a seperate bowl, combine the date paste, honey and avocado oil and beat on high speed with an electric mixer until thoroughly combined and slightly lighter in color, about 2 minutes
- Add the eggs and resume beating for about 1 minute, until very well combined, then add the buttermilk and beat on medium speed until fully incorporated.
- Throw in the dry ingredients and mix delicately with a rubber spatula until well incorporated, then delicately fold in the raisins and chopped almonds. Stir until just incorporated, no more.
- Divide the batter between 12 large muffin cups. The batter will go over the paper cup, so try and shape the tops into nice rounded domes. The use of a large spring-loaded ice cream scoop is strongly recommended. Alternately, you could also divide the batter into 18 to 24 smaller muffins. Of course, you'd need to adjust cooking time accordingly.
- Mix the rolled oats, finely chopped almonds and cinnamon listed under "garnish" and sprinkle over the tops of the muffins.
- Bake in 400°F oven for 20 minutes, or until a toothpick inserted in the center of a muffin comes out clean. Let the muffins cool for a few minutes in the pan then remove to a wire rack to cool completely.
- Store in a cool dry place in an airtight container for about a week.
Nutrition
If you’ve tried this recipe, please take a minute to rate the recipe and let me know how things went for you in the comments below. It’s always such a pleasure to hear from you!
You can also FOLLOW ME on PINTEREST, FACEBOOK, INSTAGRAM and TWITTER for more delicious, healthy recipes!










8 Comments on “Raisin Oatmeal Muffins – Naturally Sweetened”
Your muffin recipes are the best! I love the apple ones in your cookbook and recently made some banana walnut ones, too. Any suggestions on how to make these gluten/dairy free? I am guessing that you might be able to sub coconut milk and vinegar to make “coconut buttermilk?” Thanks!
Probably so, although I’ve never tried that. And then you’d have to replace the whole wheat flour. I would go with something like 1/4 part coconut flour 1/4 part tapioca starch and 1/2 part almond flour. Let me know how they turn out if you end up giving them a try.
And also, thanks for your kind words, that’s very nice of you to say! 🙂
Ok Sonia, I finally got around to making these and I wanted to report back. I ended up using hemp milk, since my research indicated that a higher protein count would work the best. I used you flour mix suggestion (thanks for making me dust off my middle school fraction skills). I used 3/8 cup of both coconut and tapioca flour and 3/4 cup almond flour. They turned out delicious! They did spread a lot without any gluten, so next time I will make more, smaller muffins, instead of 12 large ones. Thanks for the recipe!
Thanks for the update, Amanda. Glad to hear they turned out great!
OMG. Obsessing over those muffin pans! They’re almost as gorgeous a the muffins, I tell ya. These are the perfect on-the-go breakfast!
Haha! I so agree with you on that one, Karly. I’ve had that pan sitting in the middle of my kitchen table for almost a week after I got it. I just couldn’t bring my self to putting it away. All I wanted to do was look at it (and use it, too, of course!) I’m sure the muffins turned out this great just because of the pan! 🙂
Hiya, can I replace buttermilk with regular milk?
You can make your own buttermilk by adding a tablespoon of lemon juice or vinegar to a cup of regular milk…