Zucchini Cake – Naturally Sweetened
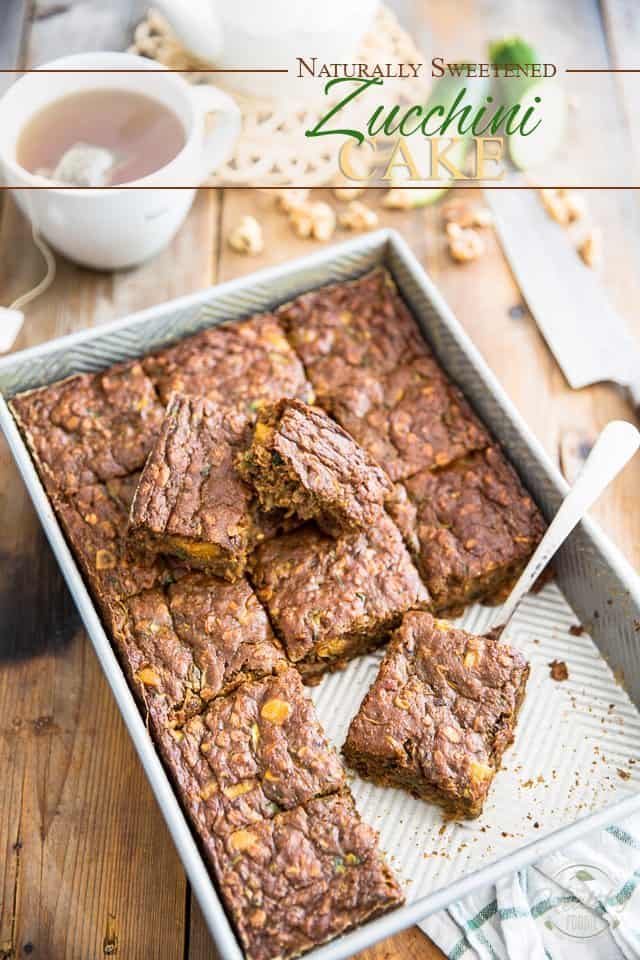
Before I start entertaining you about this [crazy moist and delicious] Zucchini Cake, I’d like to ask your opinion on something, if I may.
As some of you may have noticed, I just had this place completely redesigned. While everything is pretty much in place and fully functional now, there’s still one thing that I really can’t make up my mind about, and that would be the size of the pictures within my posts.
You see, with this new look, the main window is now much wider than it used to be, thus allowing room for bigger pictures. While I love the clean, overall block-y look that the bigger pictures confer to the actual page, as they align perfectly well with the text (you may check out my last post to see what I mean) I find that the pictures themselves may be a tad too big, a tad too… in your face.
On the other hand, I’m not sure that I like how the text overflows on either side of the smaller pictures, like it does in this post, even though I prefer the more “viewable” size of the pictures.
I’ve been thinking about this for days now, and I just can’t decide, so your opinion on the matter would help me a great deal in making up my mind.
I would be extremely grateful if you’d kindly help me out and tell me which of the 2 options you prefer:
- Option #1 – Huge, full width pictures, text aligned, clean block-y feel (like in my previous post)
- Option #2 – Slightly smaller pictures with text overflowing on either side of pictures (like in this current post)
Thanks much in advance for your input. I’m positive that it will help me a great deal!
Alright. Now that this boring, technical stuff is out of the way, let’s go on with the eats, shall we?
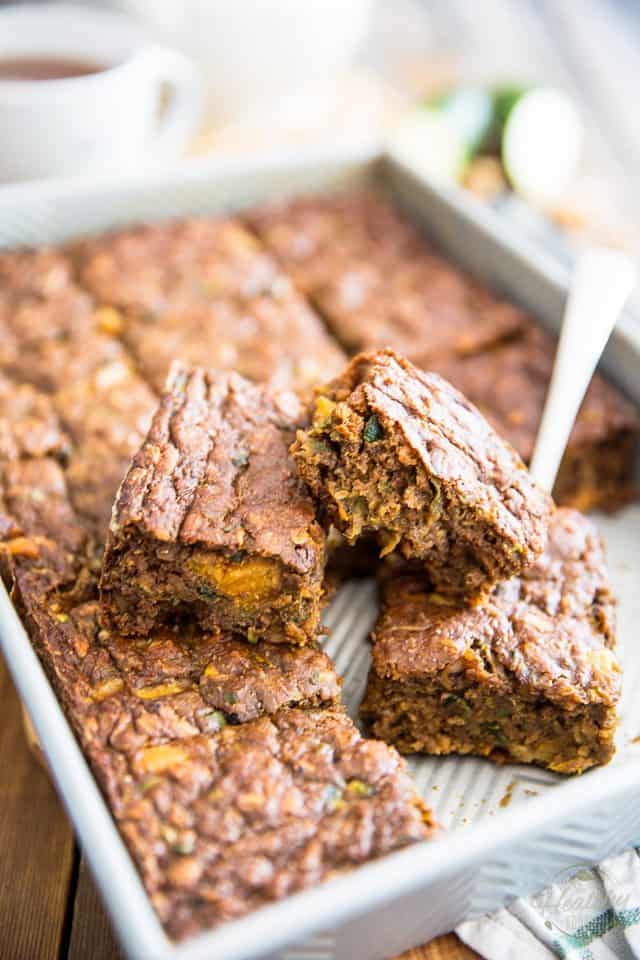
Zucchinis are in full season as we speak, so you too probably have a great big bunch total overload of them, either in your garden or sitting in the fridge. What better way to use them up than by baking cake, right? Especially if said cake happens to be made with nothing but highly nutritious ingredients, (we’re talking oats, yogurt, zucchini, avocado, eggs, coconut oil, walnuts, just to name a few) and was sweetened using only natural sweeteners, namely dates (in the form of date paste), dried fruits, a little bit of honey and a hint of blackstrap molasses.
Here’s a cake that is so good for you that it would make for a more than acceptable snack if you needed a little something to help you make it to the next meal, but that’s also so incredibly tasty and delicious that it would be gladly and unquestionably accepted as dessert by all, even little kids I’m sure of it, without so much as the raise of an eyebrow.
The only tricky part about making this cake, if we can even call it tricky, resides in squeezing the water out of the zucchinis. You all know how much I love to squeeze water out of things, right? NOT!
Unfortunately (for me), it’s really IMPERATIVE that you squeeze every last drop of water out of those zucchinis. This cake is so incredibly moist to start with, if you didn’t go through with this step and left tons of moisture in your zucchinis, then your cake would, in all likeliness, turn to pudding.
I don’t know about you, but zucchini pudding doesn’t sound all that appealing to me. Zucchini Cake, on the other hand… I’d definitely be like, yes please! Now you’re talking my language!
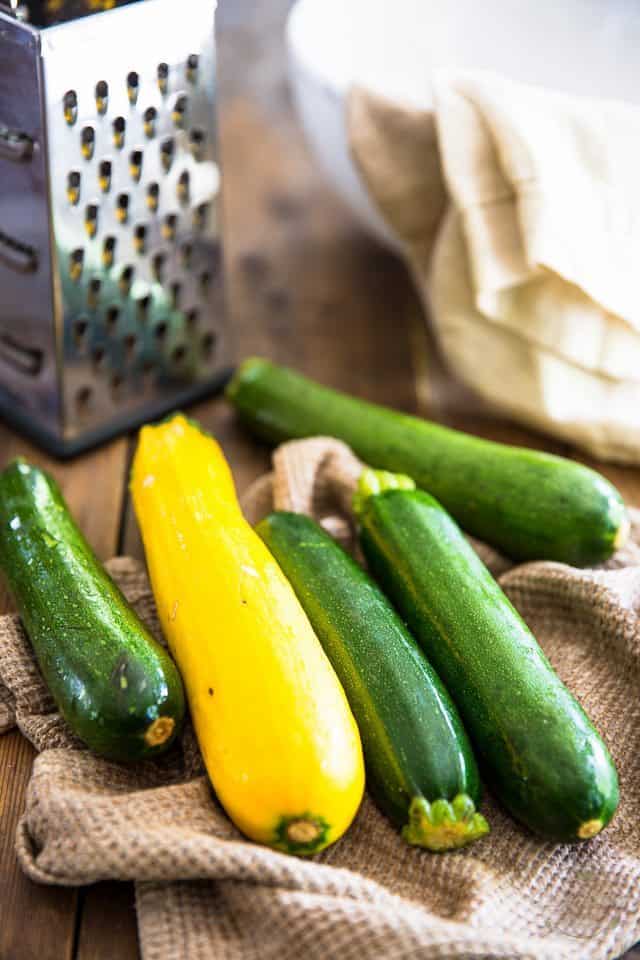
Oh, and it doesn’t matter what color zucchinis you use: yellow or green will work just as well. I, myself, chose to go with a little bit of both: the more color, the better!
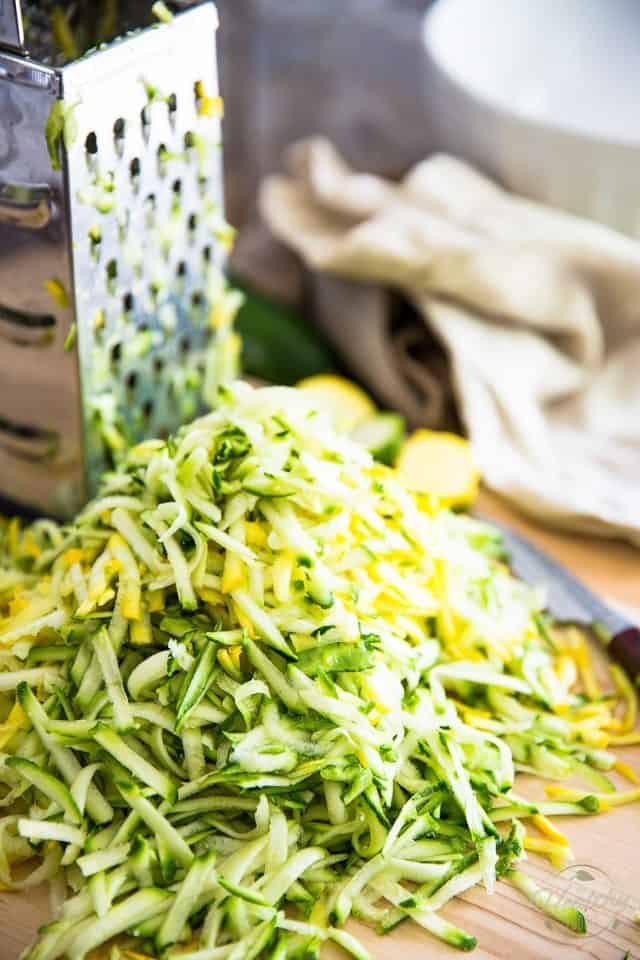
First things first, you’ll need to grate [a great big pile of] zucchini. I’m not giving you a definite amount here because you’ll have to measure or weigh your zucchini AFTER you’re done squeezing all the water out.
Ball park figure, you’re looking at approximately 3 large, or 4 to 5 medium.
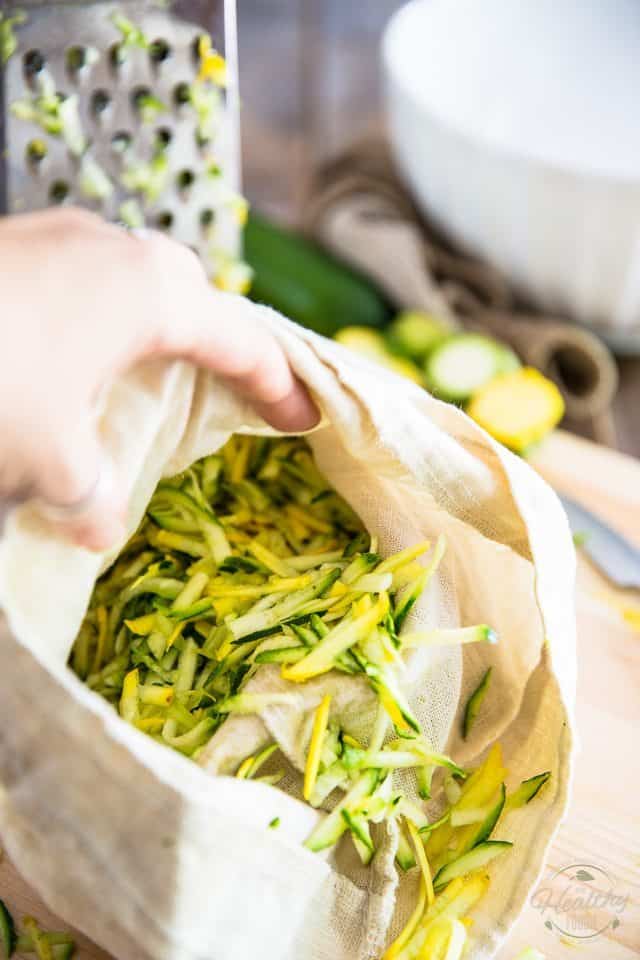
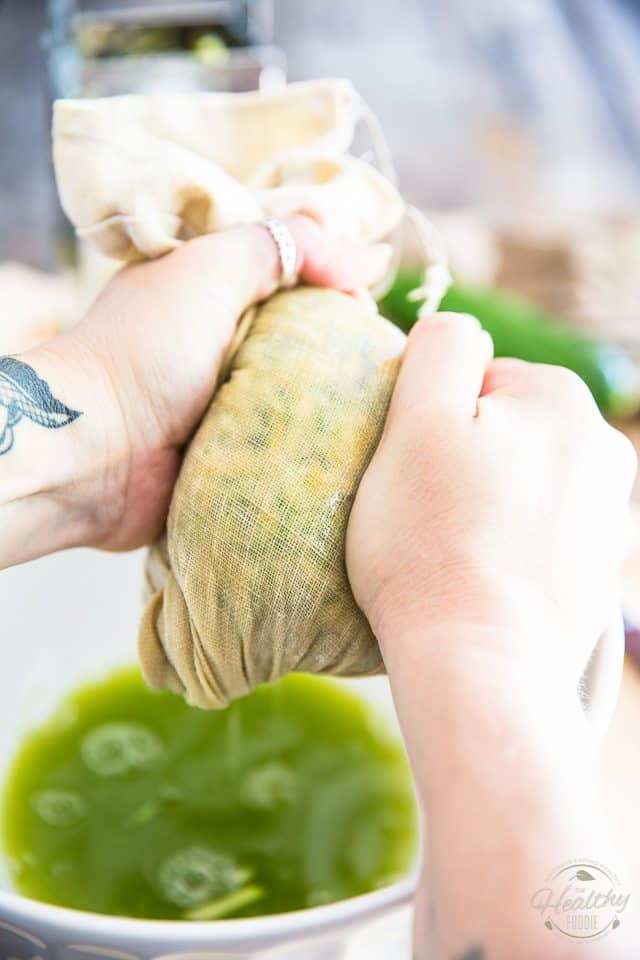
Now here is the neatest tool in the world for squeezing water out of stuff: a nut milk bag! It really doesn’t cost all that much and makes the job SO MUCH EASIER! Plus, it’s totally washable and reusable too, so it’ll give you years of loyal services; all you need to do is give it a quick wash with dish-washing soap once you’re done using it, wring it to remove excess water and then let it hang to dry.
If you despise squeezing water out of stuff as much as I do, then you’ll definitely want to invest in one of these. They’re a total game changer, I tell you!
And if you didn’t have one of ’em nut milk bags, you could also use the tea towel method: just dump your grated zucchini right in the center of a clean tea towel, wrap it up real good and then squeeze the bejesus out of it.
And when I say squeeze the bejesus out of it, I really mean squeeze the BEJESUS out of it.
I can’t stress this enough: you want that zucchini to be AS DRY AS CAN BE. Don’t stop squeezing until there isn’t a single drop of liquid coming out of it!
That courgette juice, you can either discard or use in a smoothie or cold soup…
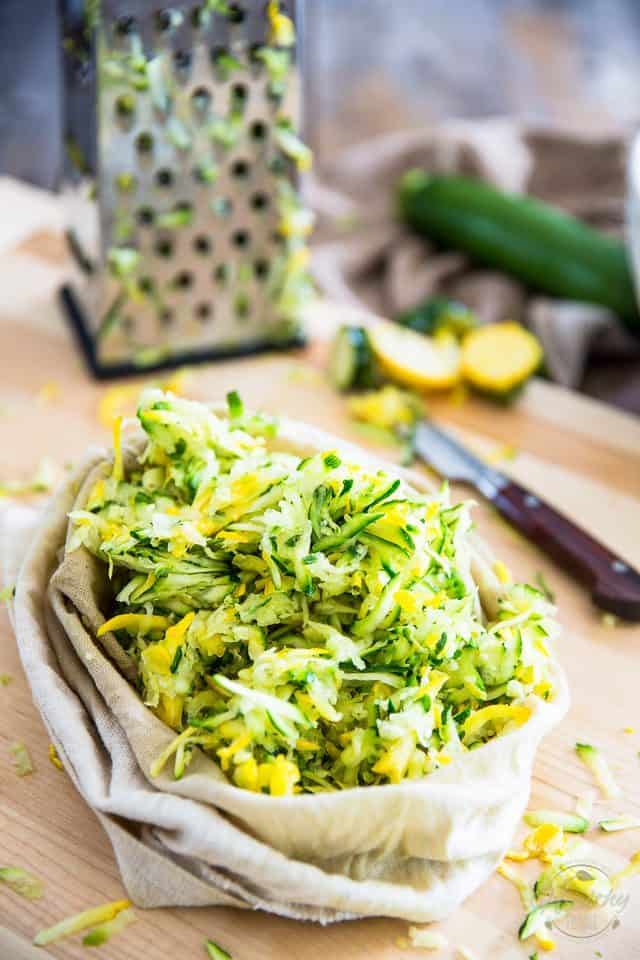
Now that your zucchini is nice and super dry, measure or weigh the required amount and set it aside.
And now, to make some cake batter…
Preheat your oven to 350°F; grease and flour a 9″ x 13″ baking pan and set aside.
In a medium sized mixing bowl, combine the whole wheat, rolled oats, baking soda, cinnamon, ginger, salt and nutmeg and mix them with a flat whisk until they are perfectly combined.
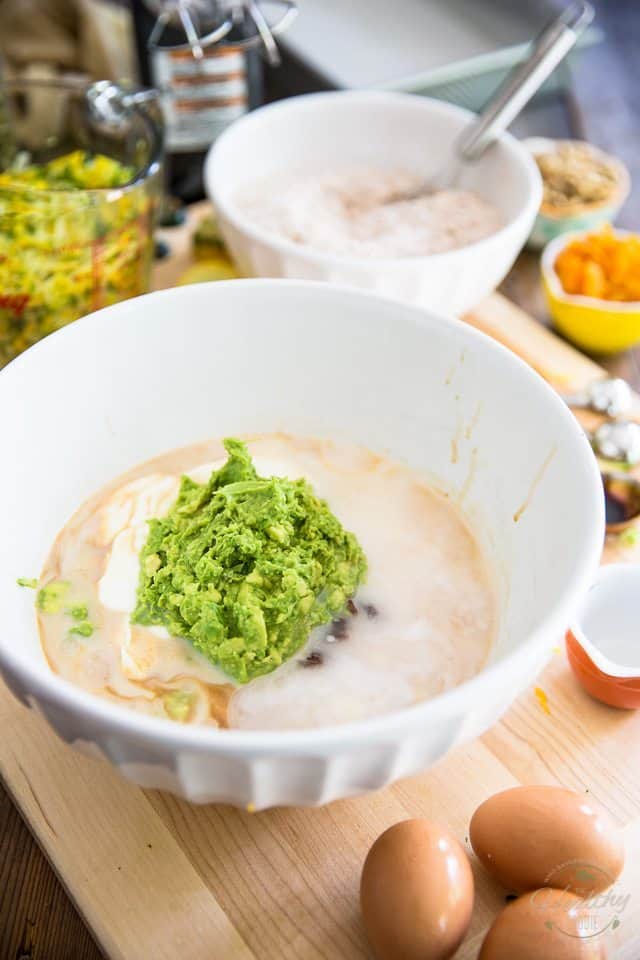
In a separate bowl, combine the mashed avocado (you’ll need about 2 medium), Greek yogurt, buttermilk, date paste, honey and melted coconut oil.
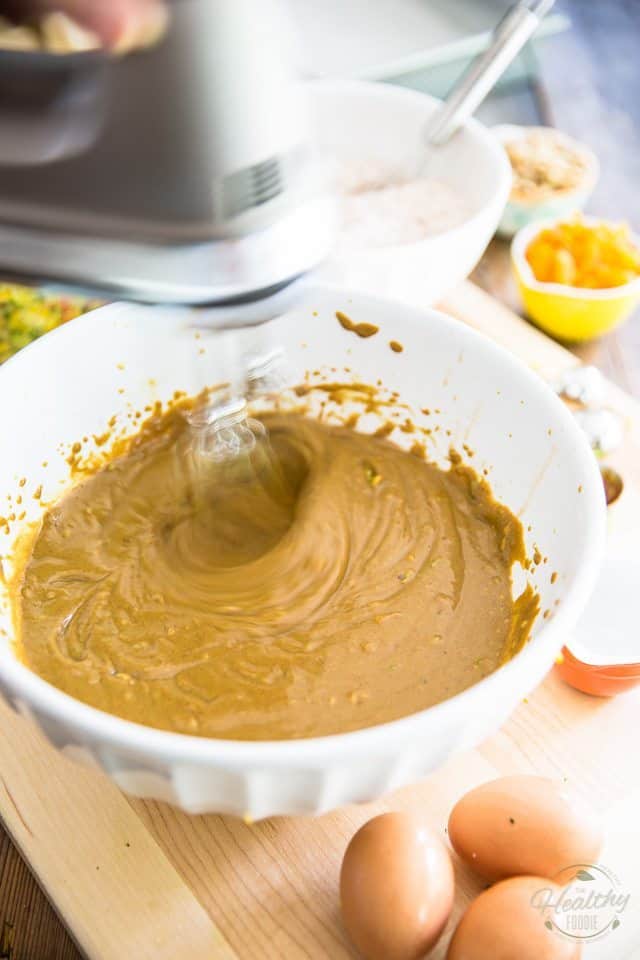
Beat the wet ingredients with an electric mixer on medium-high speed until well combined, about 1 minute.
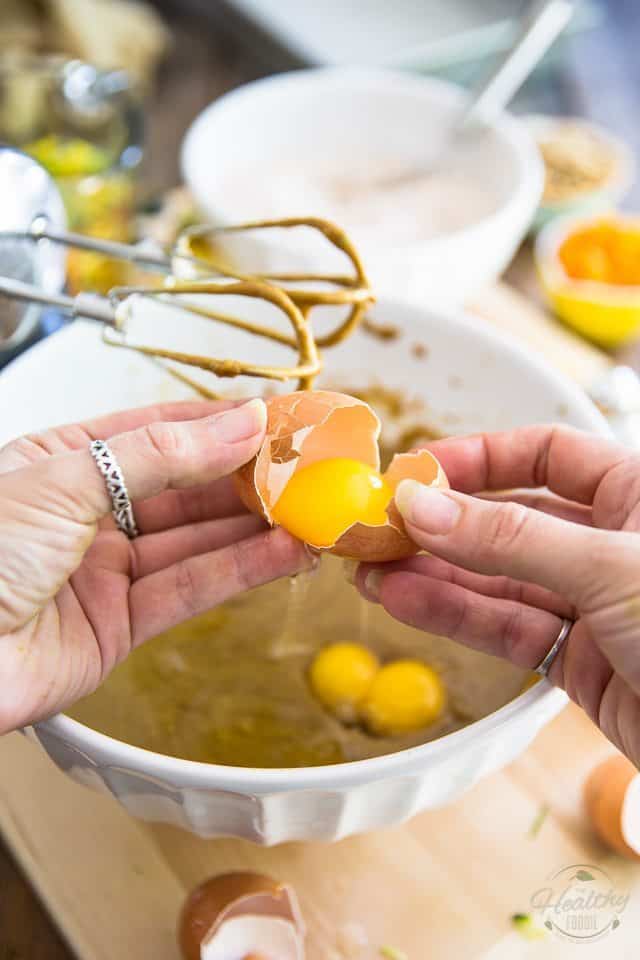
Add the eggs and vanilla extract…
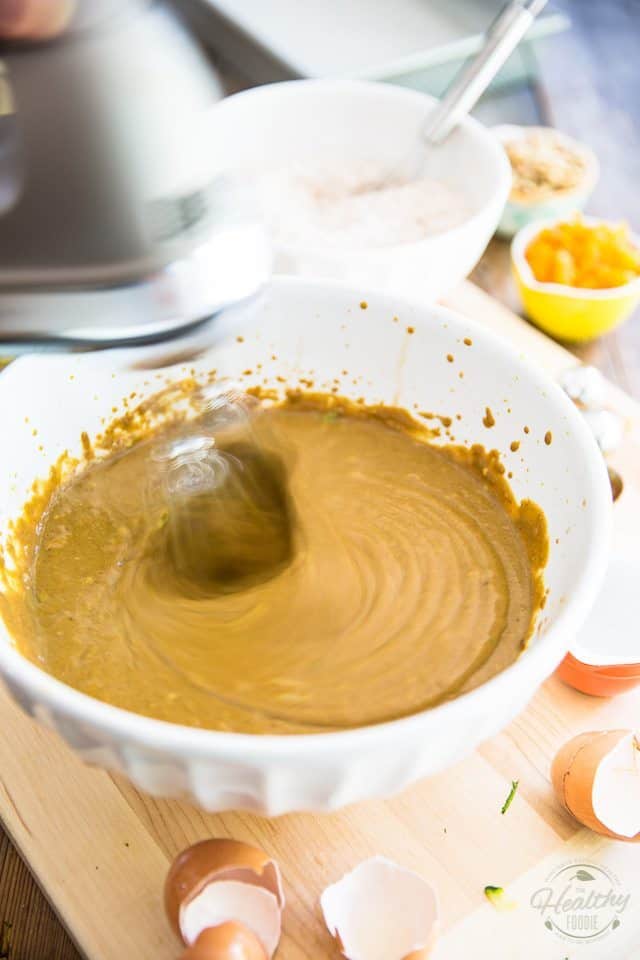
…and resume beating until well incorporated.
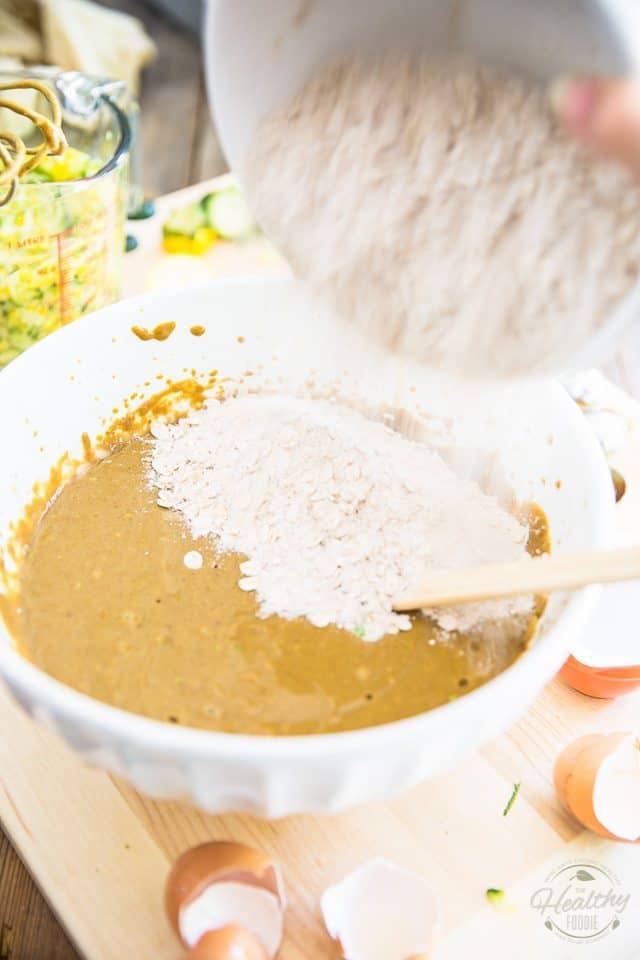
Next up, add the dry ingredients, all in one go.
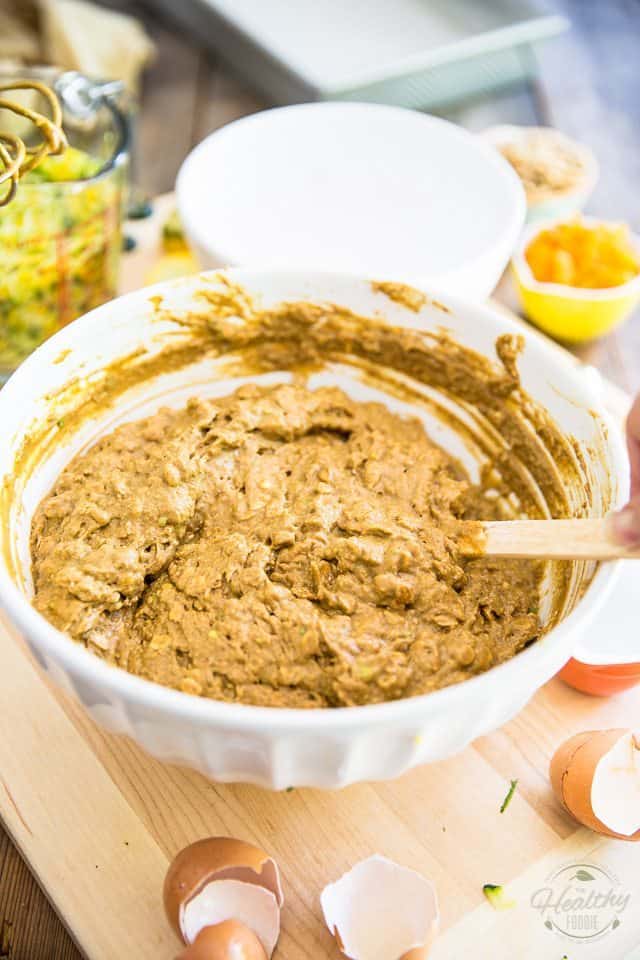
Switch to a wooden spoon or rubber spatula and mix delicately until the dry ingredients are just combined, no more.
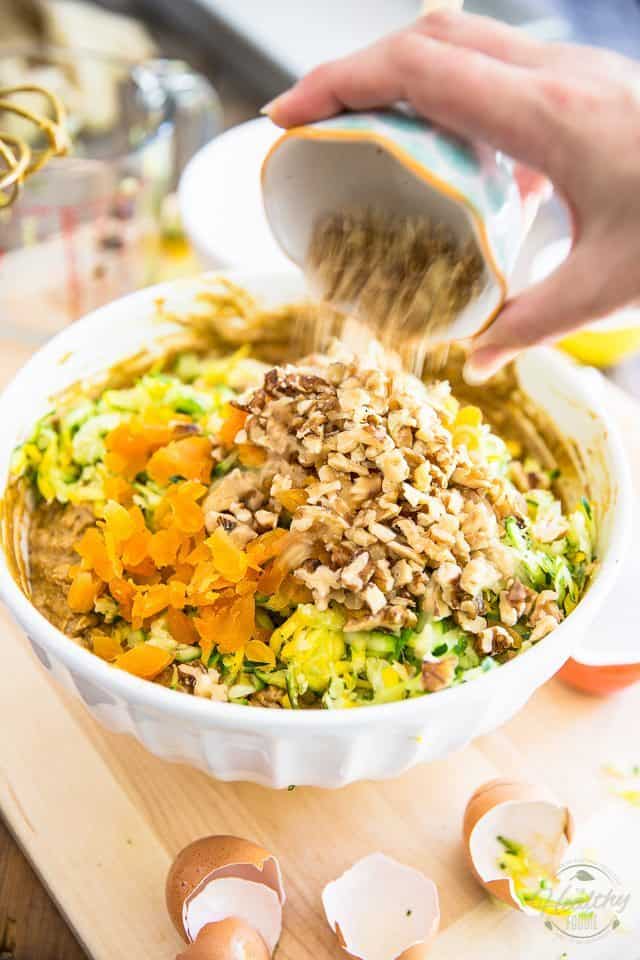
Throw in the grated zucchini, dried apricots and chopped walnuts.
Wow, just look at those gorgeous colors. Almost makes you want to eat that cake batter right out of the bowl!
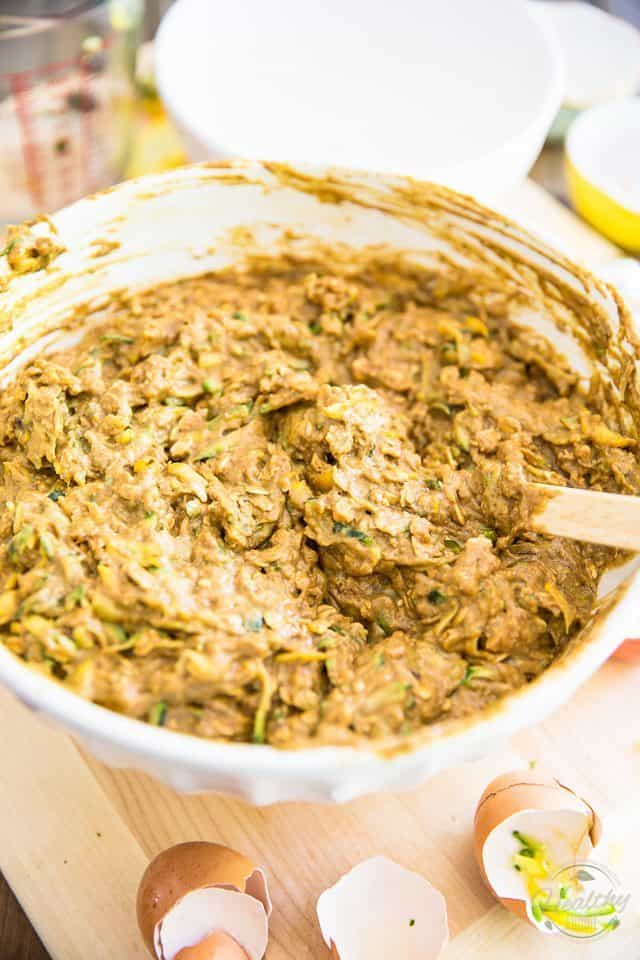
But if you’re gonna bake some cake, you need to mix those colors in gently with your spatula or wooden spoon, until all the ingredients are well combined.
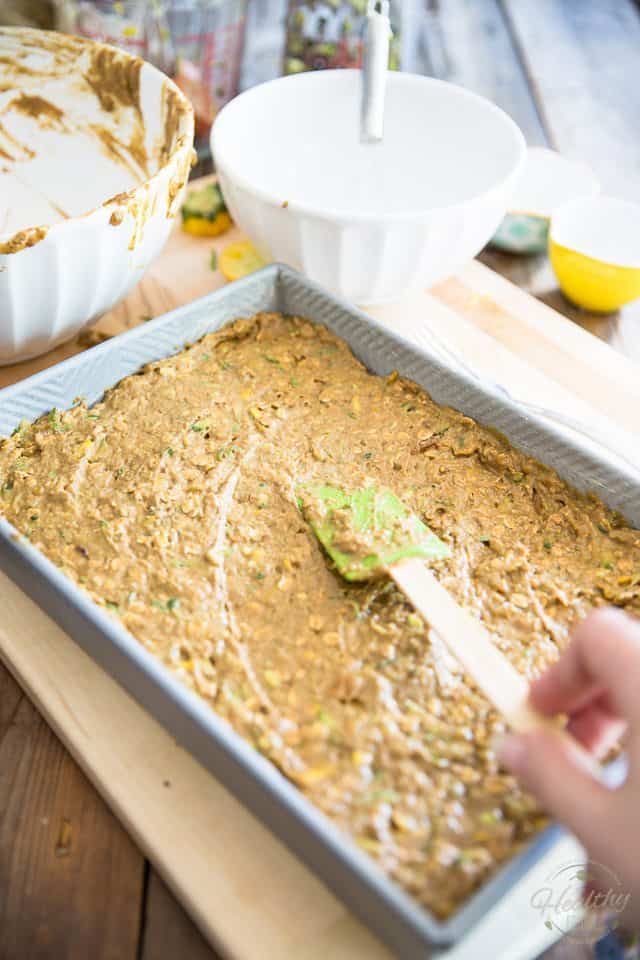
Transfer the cake batter to your prepared pan, spread it evenly and all the way to the sides and then bake the cake for about 45 minutes or until the top turns a beautiful dark golden brown and a toothpick inserted in the center comes out clean.
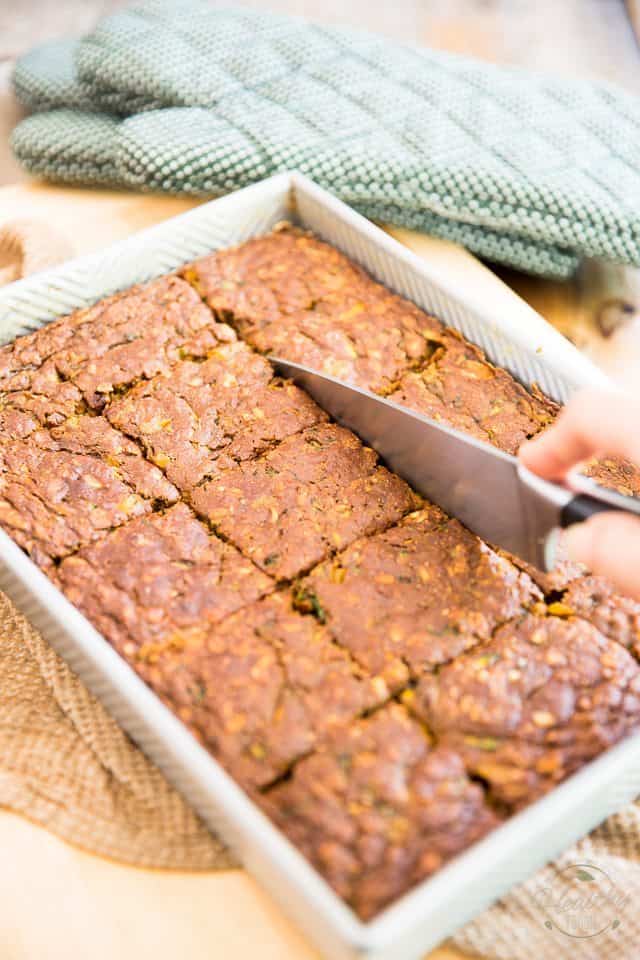
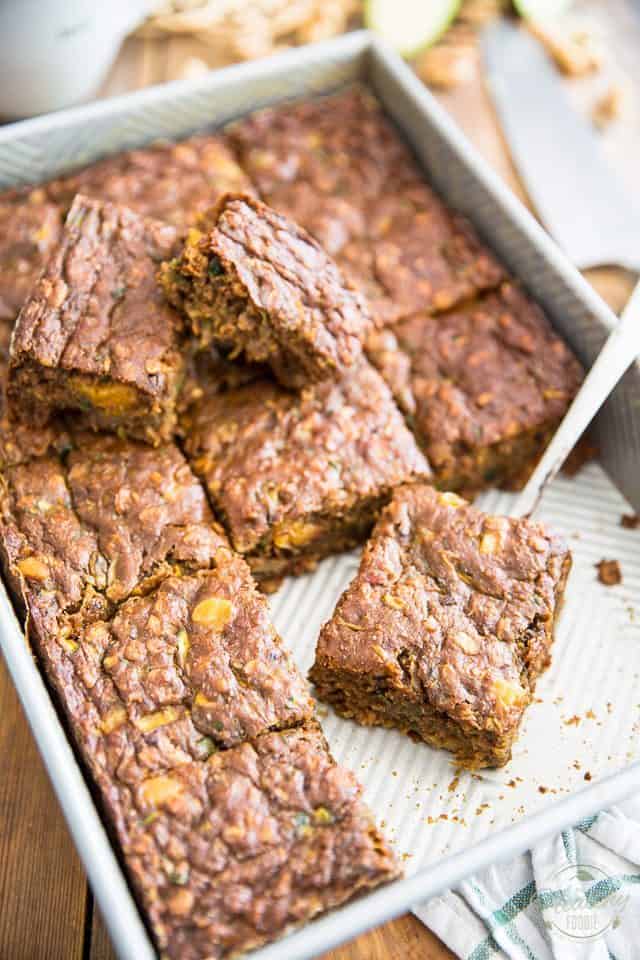
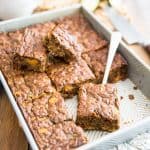
Allow the cake to cool completely in the pan before cutting it into squares. Any leftovers can be stored in the refrigerator for up to a week.
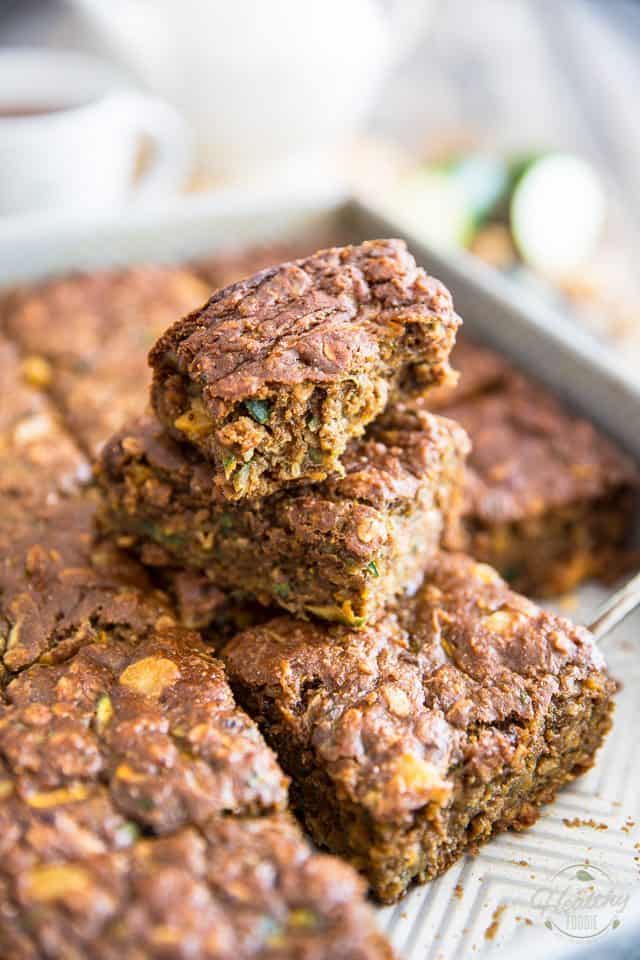
And that is what I call color, texture and flavor overload!
Zucchini Cake – Naturally Sweetened
Ingredients
Dry Ingredients
- 2 cups whole wheat flour
- 1-1/2 cups rolled oats
- 1 tbsp baking soda
- 1 tbsp ground cinnamon
- 1/2 tsp ground ginger
- 1/2 tsp salt, I use Himalayan salt
- 1/4 tsp freshly ground nutmeg
Wet Ingredients
- 1 cup mashed avocado , (about 2 medium)
- 1 cup plain Greek yogurt
- 1 cup buttermilk
- 3/4 cup date paste
- 1/4 cup unpasteurized honey
- 1/4 cup melted coconut oil
- 3 large eggs
- 3 tbsp blackstrap molasses
- 1 tsp pure vanilla extract, store-bought or homemade
Add-ins
- 3 cups grated zucchini, squeezed dry*
- 3/4 cup chopped walnuts
- 1/2 cup dried apricots, roughly chopped
Instructions
- Preheat your oven to 350°F; grease and flour a 9" x 13" baking pan and set aside.
- Grate the zucchini and then squeeze it as dry as you possibly can, and I do mean AS DRY AS YOU POSSIBLY CAN. You want to be certain that your zucchini is absolutely, positively dry. Don’t stop squeezing until there isn’t a single drop of liquid coming out of it; Measure or weigh the required amount and set it aside.
- In a medium sized mixing bowl, combine the dry ingredients and mix them with a flat whisk until perfectly combined.
- In a separate bowl, combine the mashed avocado, Greek yogurt, buttermilk, date paste, honey and melted coconut oil. Beat with an electric mixer on medium-high speed until well combined, about 1 minute.
- Add the eggs and vanilla extract and resume beating until well incorporated. Next, add the dry ingredients and stir with a wooden spoon or rubber spatula until just combined, no more.
- Throw in the grated zucchini, dried apricots and walnuts and stir gently with the spatula or wooden spoon until well combined.
- Transfer the cake batter to your prepared pan, spread evenly and bake for about 45 minutes or until the top turns a beautiful dark golden brown and a toothpick inserted in the center comes out clean.
- Allow the cake to cool completely in the pan before cutting it into squares.
- Store in the refrigerator for up to a week.
Notes
Nutrition
If you’ve tried this recipe, please take a minute to rate the recipe and let me know how things went for you in the comments below. It’s always such a pleasure to hear from you!
You can also FOLLOW ME on PINTEREST, FACEBOOK, INSTAGRAM and TWITTER for more delicious, healthy recipes!




21 Comments on “Zucchini Cake – Naturally Sweetened”
I love this! Great way to use up all the crazy garden zucchini!! Gorgeous photos too!! 🙂
Thank you Ali! That’s very kind of you to say! 🙂
This looks wonderful. I wish I had a BIG square right now for my breakfast.
I think I like the second option best. Either one is fine though.
Option #2 is my vote.
Will be trying this cake for sure!
The smaller photos get my vote… but a word of advice from an avid reader, I think ALL recipe posts everywhere would be fine with a maximum of 5 well-chosen images. Do we really need to see a photo of every single step? (There are of course a few choice instances when this is appropriate, like if the steps are really complicated… but most of the time, like making a zucchini cake, there’s no magic involved).
Thank you for your input, Melonie, and I’m sorry to hear that you feel that way about my work, but you see, including thorough step-by-step pictures is what I do. While you may have no use for them, there are people out there who aren’t all that comfortable in the kitchen and who tell me they really appreciate having a visual reference to look at when trying to replicate my recipes. The way I see it, it’s much easier to scroll past a picture that’s not needed than to try and imagine what the one you precisely needed might have looked like… 😉
Fewer, smaller pics. I almost gave up with all the scrolling.
This looks amazing! My vote is for option #2 and I agree with Melonie, five photos would be perfect most cases.
Personalllllyyyy I like both. And you know I’m not going anywhere no matter what you choose to do 😉 and I adore your photography so as long as it’s there, Ima happy camper!
Side note. WHY HAVE I NEVER USED THE ZUCHINNI JUICE FOR A SMOOTHIE. brilliant.
Thank you Jordan! It certainly feels nice to read that someone appreciates my photography! 😉
I’m at the point where if it wasn’t weird, I would use your photography to decorate my apartment HAHAHA. I literally screen shot your pictures and send them to my friends. By far the best food photography of any blogger out there, in my humble opinion. (And I read aloooot of blogs!!). 😉
REALLY??!?!?! Oh my!!! Now I’m seriously flushed. That’s got to be one of the nicest things that’s ever been said to me. Thank you, thank you, thank you Jordan. You just totally made my day, my week, my month, my year! 😀
Option #2 gets my vote. It makes the page flow better and the reading much easier.
Option #2. And I agree with Melonie 🙂
I think i find option 2 is better, although I can deal with option 1. I love all your recipes. Every one I have tried has become my favorite. I do prefer gluten free but can tolerate sprouted flours a little at a time some will def. try this bread. Thank you for your blog and all the great recipes.
You are very welcome Karen and thank YOU very much for your awesome feedback! 😀
I’ve always been a huge fan of your photography! I could deal with either option 1 or 2. I really love the clean, blocky look – but you’re right, with vertical photos it seems pretty “in your face”. So in this case, option 2 is probably a bit better!
If you’re interested in something totally different, I’ve always admired how mynameisyeh.com organizes her photos in her posts. The vertical images are very small so they can fit side-by-side, and they still have that clean blocked look. Since you do step-by-step photos, though, I’m not sure if that would work.
Aww, thank you so much Chelsea. That’s very kind of you to say. 😀
Thanks for the tip, too. I must admit that I do like the way she organizes her photos, and the side-by-side thing could probably work in some instances. I’d have to look into it, for I have no idea how to do that, placing photos side-by-side…
Option 2, hands down. On my decent sized screen, I can’t see the entire photo in the browser window. And the big pictures with what seem like small bits of text in between make for so much scrolling.
Wow! This looks amazing! I’m so intrigued by your website. You certainly have creativity, and a unique style. And, of course, I like that these recipes not only use healthy ingredients, but the ingredients are familiar and the recipes accessible – by a “normal” baker (ie, someone who grew up cooking/baking from traditional cookbooks).
I do have a couple questions. What do you think of the idea of running the zucchini through a juicer to dry it out? Would the texture of the pulp, instead of shreds, alter the final product too much? I’m a little worried that I won’t be able to squeeze it dry enough…
Second, is it okay to use a common substitute for buttermilk: milk with lemon, or vinegar, or cream of tartar, or my preference, 3/4 cup yogurt mixed with 1/4 cup water? (Note this would also reduce calories a tiny bit).
And finally, do you have any suggestions for lightening this up? I feel that it may be too calorie dense for some of my healthy friends (whom I would be serving this to). I’m not sure there is room to adjust anything without ruining the recipe. And only a very minor impact could be made by swapping the honey for Stevia, or replacing the coconut oil with applesauce…
Thanks! I look forward to perusing your blog further.
Great healthy way cooking. I love this receipe.