Low Fat Chicken Stock – Make Your Own at Home
There are some things in life that we tend to take for granted. Like making chicken stock, for example.
To me, making stock has always been a very natural thing; a fantastic way to put chicken bones and vegetable scraps, or those slightly tired vegetables that had once seen better days, to good use.
It wasn’t until recently that it was sort of brought to my attention that creating a good home made stock from scratch happens to be quite the ordeal for some.
Well, if that’s the case for you, trust me, it really isn’t so bad… Agreed, it does take a little bit of time to make, but you’re basically just simmering stuff on the stove, so it pretty much takes care of itself, really.
No baby sitter will be needed here!
And you don’t need a degree in chemistry or access to a high tech lab either…
The hardest part in getting this done would be prepping the chicken to get the bones; This step does require a little bit of technique and involves carving some raw meat, which can be a little bit of a turn off for some… I can very well understand for I used to be the exact same. Even to this day, I can’t say that I am super thrilled at the idea of butchering meat. However, I have to admit that once you get the hang of it, it becomes “super facile” and you get to prep your own chicken breasts for a fraction of the price that you would pay for some that have been prepped for you by a professional butcher.
As an added bonus, you get to keep the bones to make beautiful stock with!
However, if you really can’t be bothered with carving your own meat, don’t sweat it! You can just dump the whole breasts in the pot and detach the flesh from the bones after it’s done cooking. Then you’ll have plenty of cooked chicken meat in the fridge, which you will be able to use to make all sorts of great dishes.
Alright, how’s about I give you an in depth tour of my stock-making technique?
I took a bunch of pictures for you, so let’s get cookin’, shall we?
Ready? – Let’s go!
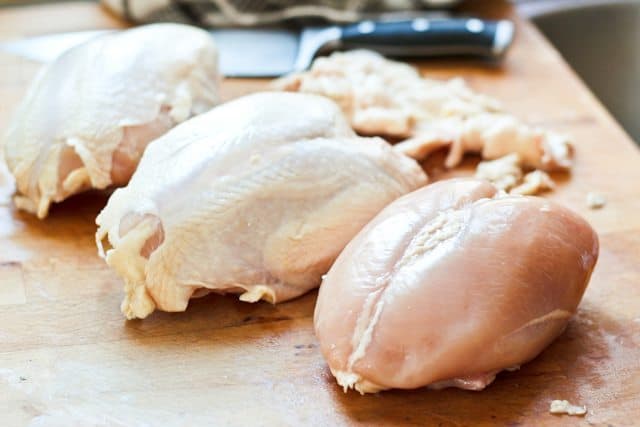
Start with 3 whole chicken breasts, complete with bones and skin. First, you’ll want to remove the skin by simply pulling on it. Don’t worry, it comes off rather easily.
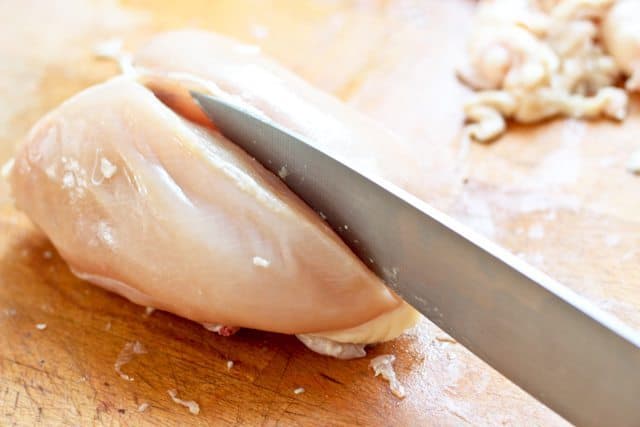
With the tip of your knife, make a slit down one side of the back bone. Stay as close as you can to the actual bone and cut all the way from one end to the other
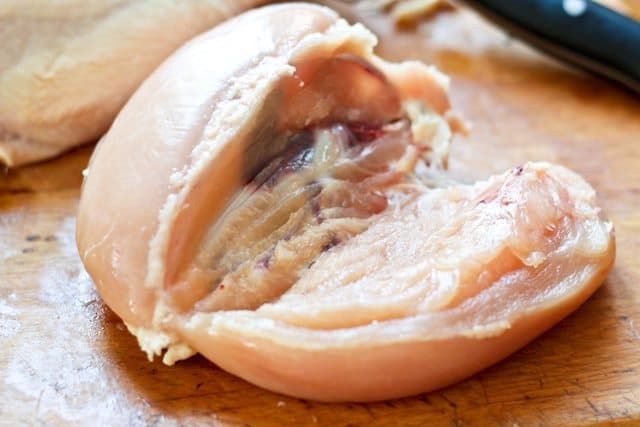
Continue working your way down that back bone with the tip of your knife, releasing the meat little by little, until you’re eventually able to detach the entire breast. Turn your chicken breast around and repeat the process with the opposite side.
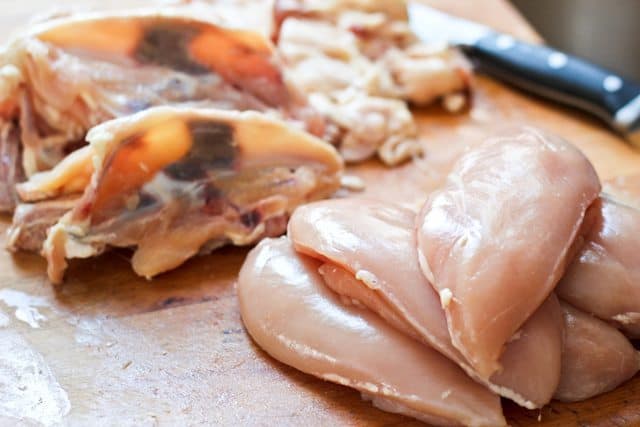
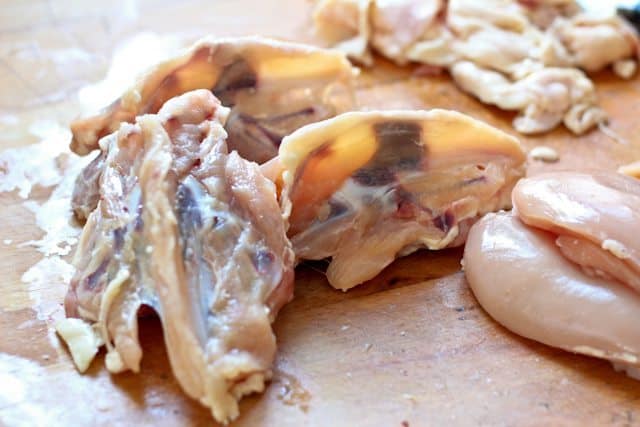
Before you know it, you’ll be left with a beautiful pile of nicely prepped chicken breasts on one side…
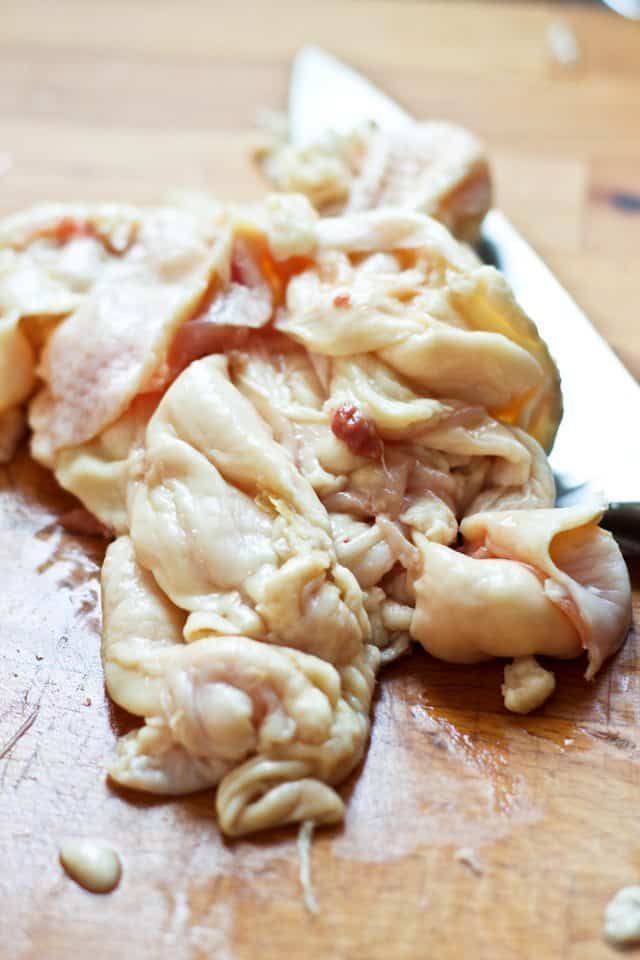
And the bones which you are going to use for this stock on the other… Make sure you remove as much of the visible fat as you possibly can.
Cuz’ that fat piles up kinda high!
You don’t really want that in your stock…
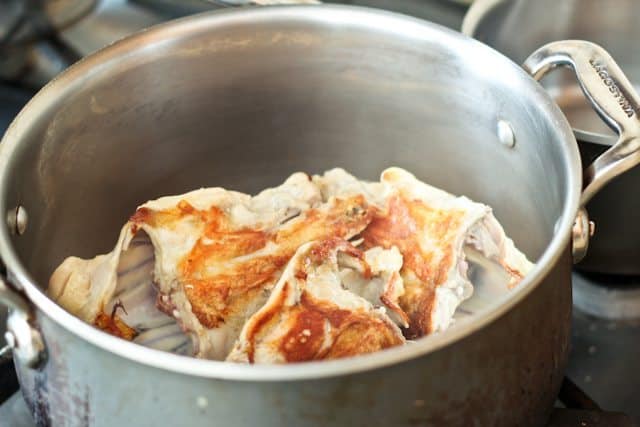
Brown the bones nice and good on all sides. You don’t even need to add oil here. When the meat has formed a nice golden crust like that, it will detach from the bottom of the pot very easily.
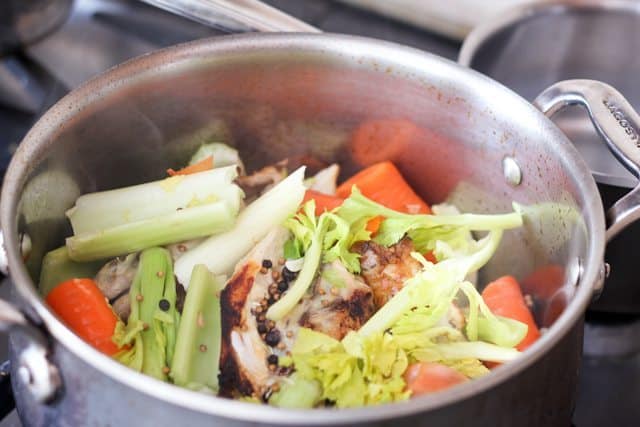
While the bones are browning, prep your veggies and spices. No need to fuss about it as this will all get discarded later. Leave the skin on the carrots, onion and garlic, the leaves on the celery and keep your spices whole.
When your chicken bones are all nice and brown on all sides, throw in all the veggies and spices…
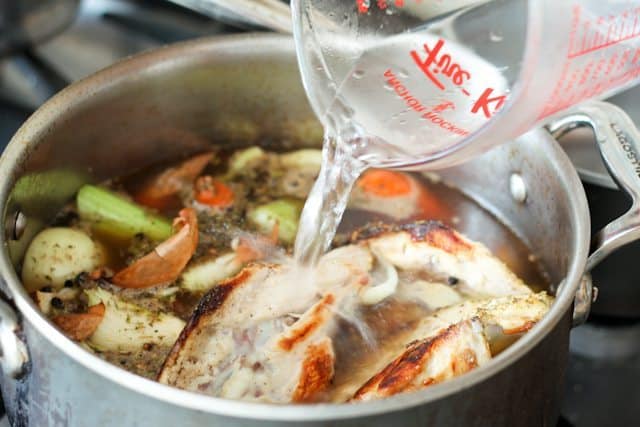
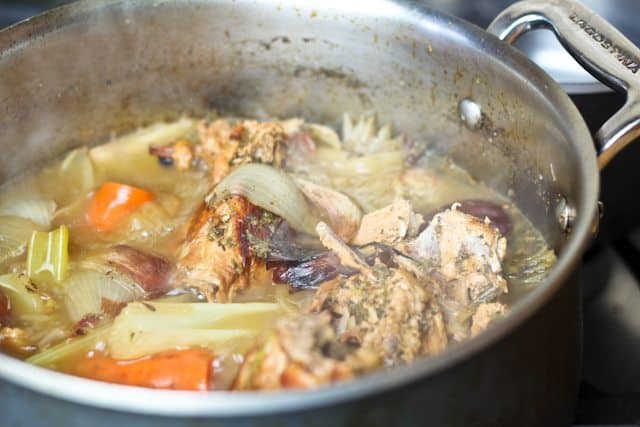
Add 12 cups of water, bring to a boil, cover loosely and simmer for about an hour and a half…
Check for seasoning, adjust if necessary. Simmer for an additional 3o minutes…
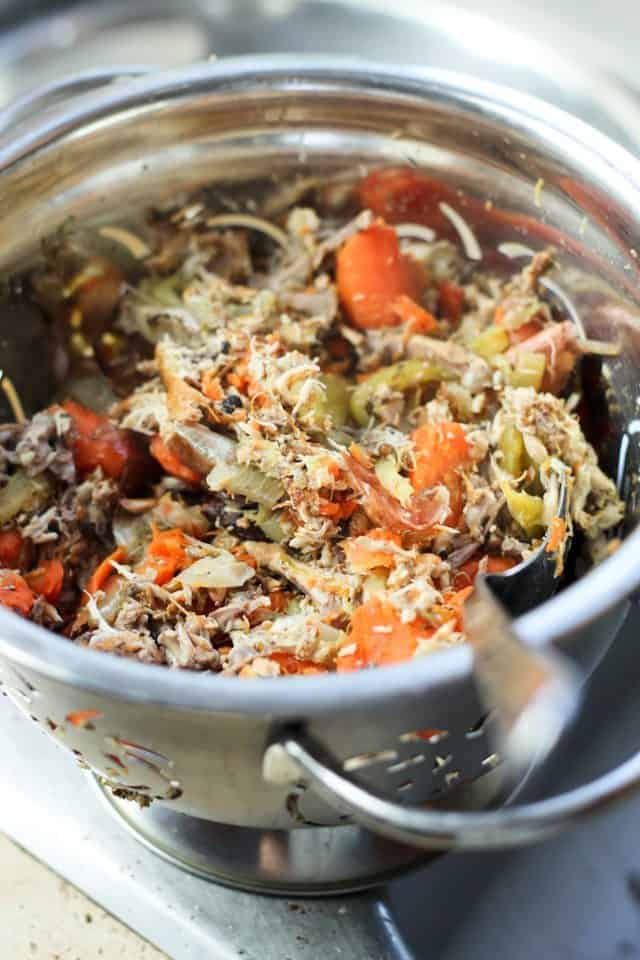
Strain through a colander. Really press it down nice and good, you want to get every last drop of flavor that the veggies and chicken have to offer!
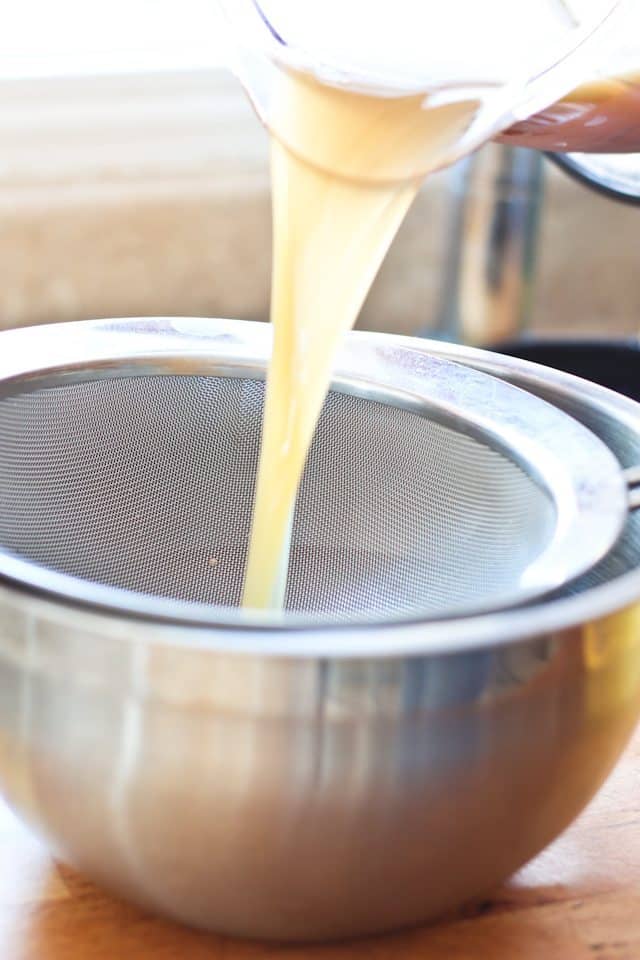
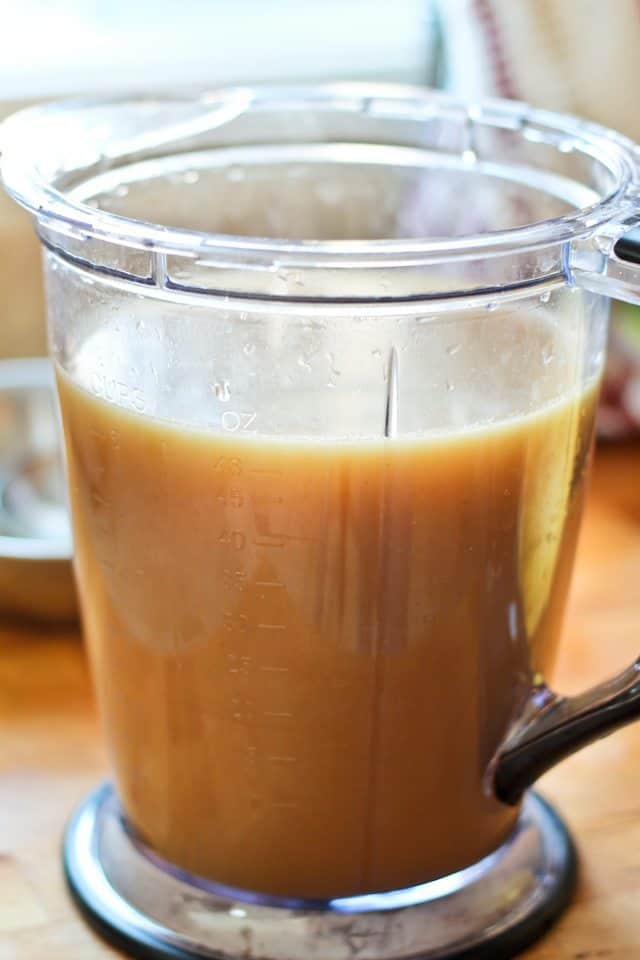
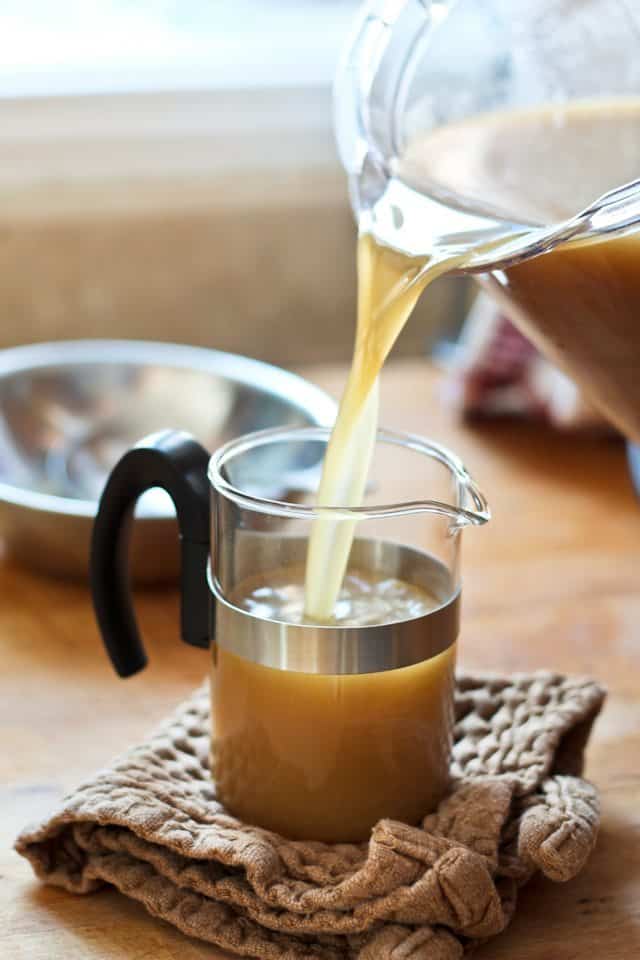
After the stock has been sitting in the fridge for the night, remove the fat that has solidified at the surface (if any) and strain the liquid one more time through a fine mesh sieve to collect any residues that may have been left behind
And this is what you’re left with: beautiful, tasty, healthy home made low fat chicken stock!
You can, of course, use this right away… Or store it in the fridge for a couple of days.
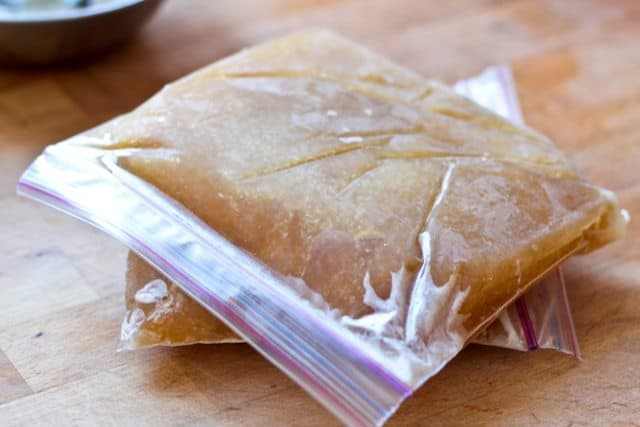
And if you have way too much, you could also freeze it. This is how I like to keep mine. I ladle it straight into resealable bags and freeze it flat. It makes it SO convenient to use!
I always have some of that in my freezer.
ALWAYS!
That’s how I can whip up gorgeous, comforting soups such as this one on a weeknight, after a hard day at work…
And there you have it. Not rocket science, is it?
Hope I convinced you to try your hands at making your own stock. It’s so much better than the canned stuff!
Home Made Low Fat Chicken Stock
Ingredients
- 3 chicken backs, bones only, trimmed of fat
- 2-3 carrots, skin on, chopped or broken into 2-3 pieces
- 2-3 celery stalks, chopped or broken into 2-3 pieces (don’t bother removing the leaves!)
- 2 medium onion, peel on, cut into 4-8 pieces
- 3-4 garlic cloves, peel on, smashed
- ¾ tsp Himalayan or fine sea salt
- ½ teaspoon whole peppercorns
- 1 tsp whole coriander
- 5-6 whole juniper berries
- 1 whole star anise
- 2-3 bay leaves
- 1 tbsp dried herbs, I used a mixture of thyme, oregano, savory and parsley
- 12 cups cold water
Instructions
- Preheat a large stockpot over medium-high heat. Add the bones and let them brown without moving them for about 4-6 minutes. Flip the carcasses over and brown the other sides (chicken backs have sort of a triangular shape, so you will have to brown them on all 3 sides).
- When your chicken bones are nice and golden all over, add the rest of the ingredients, including the water.
- Slowly bring to a boil over medium-high heat then reduce the heat, cover partially and simmer for about 1½ hours, until your stock is good and fragrant. Adjust seasoning if necessary and simmer for an additional 30 minutes.
- Remove from heat and let cool slightly then carefully strain the stock into a bowl through a colander. Press it down nice and good so you get every last bit of liquid out of the bones and veggies, then discard the solids. Let the stock cool at room temperature for about 1 hour then cover and refrigerate overnight.
- With a large spoon, remove any solidified fat from the surface (if any) and discard. Strain the stock through a fine mesh sieve to collect any residual fat that may have stayed behind.
- Use the stock immediately or cover and refrigerate for up to 2 days.
- You can also freeze the stock for up to 3 months*
- Makes about 6 cups.
Notes
If you’ve tried this recipe, please take a minute to rate the recipe and let me know how things went for you in the comments below. It’s always such a pleasure to hear from you!
You can also FOLLOW ME on PINTEREST, FACEBOOK, INSTAGRAM and TWITTER for more delicious, healthy recipes!






9 Comments on “Low Fat Chicken Stock – Make Your Own at Home”
As usual, it looks delicious… 🙂
How long its been since I’ve had real chicken soup. They say its good for colds and for the soul.
http://www.chickensoup.com/
What are you waiting for? Fix yourself a nice, big, piping hot bowl right this minute! 😀
I’m sure it WILL do you much good! 🙂
Looks so comforting! I love drinking bone broths and sometimes I’ll drink it just like a cup of tea. So many nutrients and so tasty – even all by itself – not to mention all of the other culinary uses! Your photos are lovely as usual, thanks for demystifying the process so well!
I love making my own stock. I really like the addition of star anise and juniper berries. I am wondering how that changes the flavor…I have to try it out!
It’s very subtle, Julia, but it works really well, I find. It adds a little hint of sweetness to the stock. Sometimes, I even throw in a pinch of cinnamon (but then again, I put cinnamon in everything…) 😉
Thanks for sharing this-every time I have attempted chicken stock it has always seemed greasy and didn’t really have the flavour I desired. I’ll definitely try it this way 🙂
I hope this one works out for you, Laura! I can guarantee you it’s not going to turn out greasy! As for the flavor, it’s always a personal thing, but I really hope that you like my spice combo! 🙂
Yay! So happy you got to join in the homemade challenge Sonia and with such a perfect recipe too! I have to confess that I don’t make my own stock often enough which is a shame really and one I am about to correct… 🙂 love your clear and detailed photo instructions!
Thanks Simone, glad you like this post! Now you got me thinking… did you want me to add a link back to your challenge in my post? It doesn’t specify in the guidelines, but I will gladly do that if you want me to! 🙂