Healthy Apple Pie – Rougemont Style [or wait… is it really a cake?]
If this pie was a story, it would be the ugly duckling!
Why?
Well, for starters, I was supposed to post this yesterday, but life got in the way… I ended up going to the movies with my kids to see “Life of Pi“… Ironic, isn’t it? Pi got in the way of pie… get it?
Alright, I know, my humor ain’t always the best. I think I need to work on this one!
So anyway, on top of getting tossed aside in favor of a movie night out, this poor pie came this close to never even getting an entry at all.
For real! I came *this* close to scrapping the entire recipe.
Photos and all.
Why, you ask?
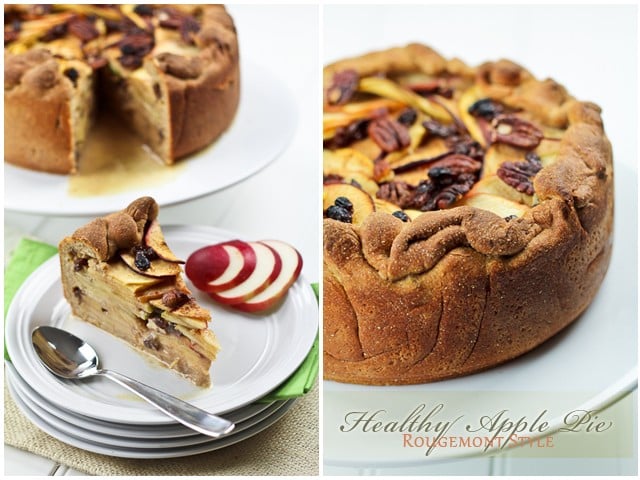
Well, if you look closely, you’ll see that this cake, oh, sorry, PIE, was pretty much what I call a disaster.
For real… look very closely…
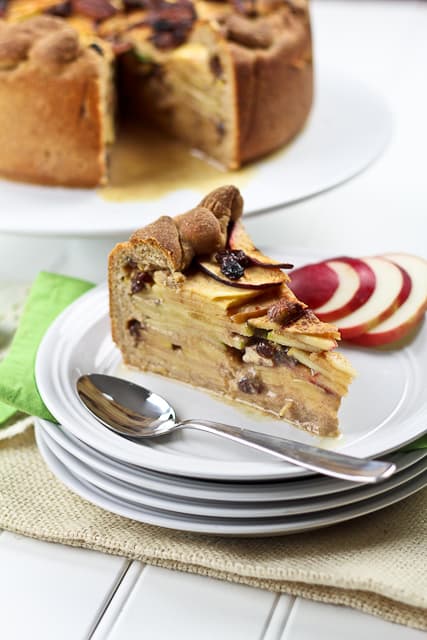
See all that liquid that’s escaping from it after I cut out a slice?
Hmpft! Not what I call desirable.
But you see, silly me forgot to add one key ingredient, and didn’t realize until it was too late. WAY too late.
However, after tasting said pie, I decided that it was way too good not to get logged anyway and that even if all that liquid were to remain, it was still very worthy of being made again.
Only, of course, if I was to make it again, I wouldn’t forget to add the arrowroot flour this time, so technically, all that liquid would disappear.
But like I said, even with all the liquid, this pie was absolutely delicious!
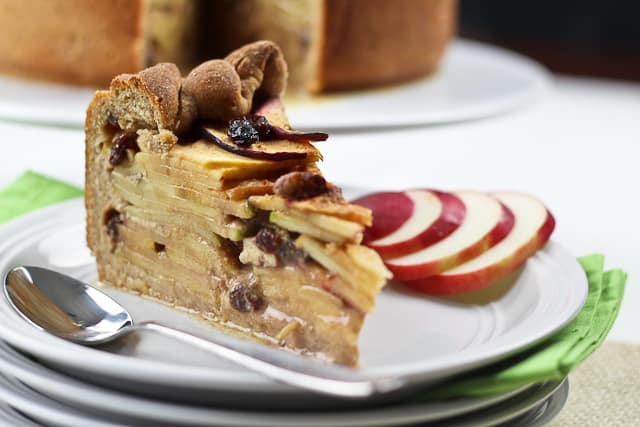
Just look at all those apple slices! It’s like a mile high.
And talk about flavor overload!
The raisins and pecans add just what it takes of extra sweetness as well as a little bit of crunch and a little bit of contrast in flavor and texture, too!
Plus, the dough that I chose to use is almost like a cross between crust and bread… Although it’s not sweet at all, I found it went perfectly well with this particular pie.
And you know what? Even with all that liquid, that crust never really got all super soaked and soggy. I, for one, absolutely can’t stand wet bread, yet, with every single piece that I ate, I kept a piece of crust for last.
I’m telling you, it really is becoming my favorite go-to crust recipe.
Oh, and another option that I would like to try if I make this one again would be to reduce the coconut water by half and add 3 or 4 more eggs, to make that milk mixture more like a flan.
That would bring this cake to a whole new dimension, I think.
But either way, this pie proved to be an excellent breakfast for me all week… topped with a little bit of protein powder mixed in plain yogurt, of course.
You know me and my protein powder!
I put that s@?$ stuff on everything! 😉
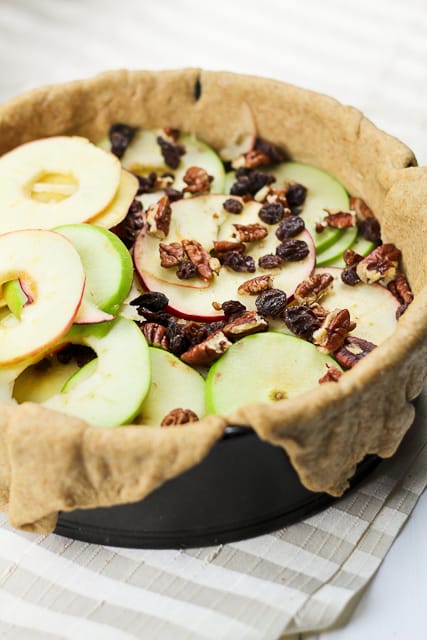
When you get halfway to the top, add half the raisins and pecans then resume layering the apples
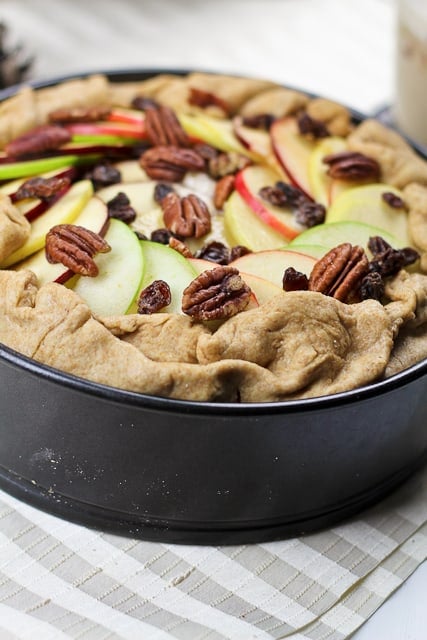
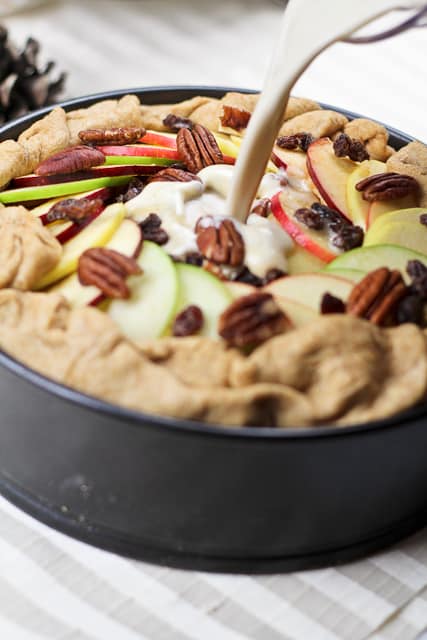
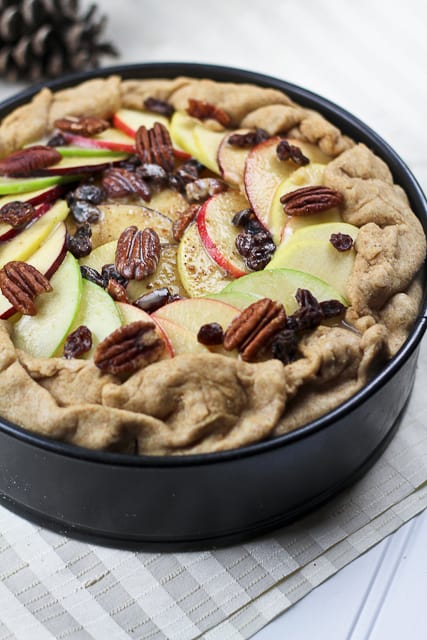
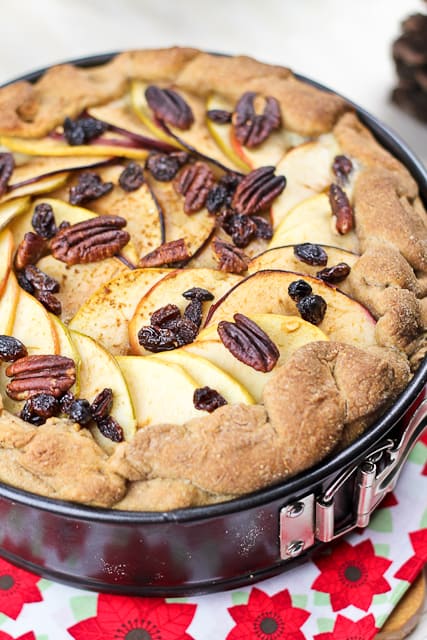
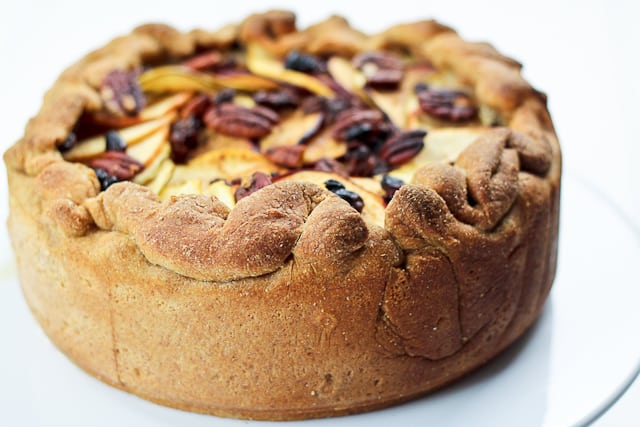
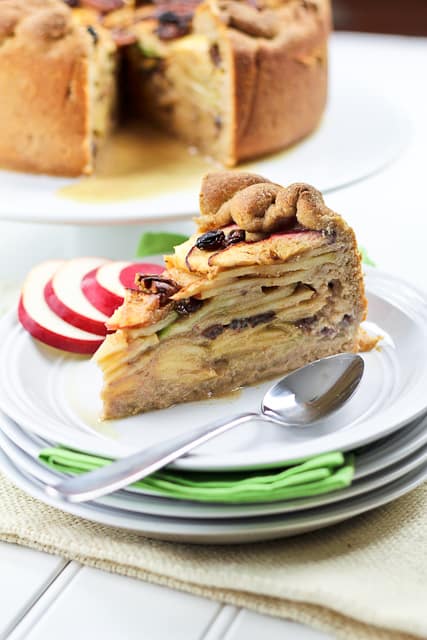
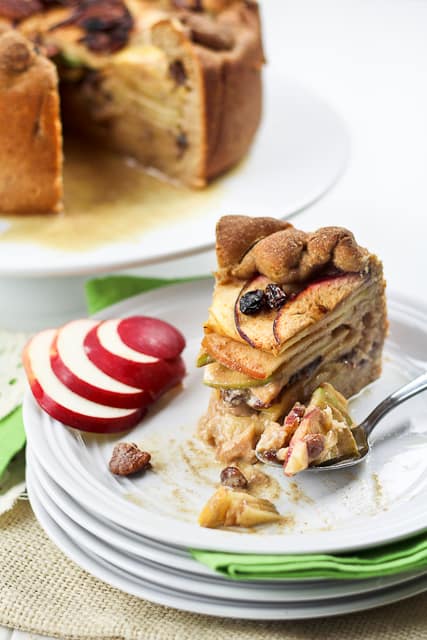
Oh man is that cake pie ever good!
Healthy Apple Pie – Rougemont Style
Ingredients
Crust
- 1 cup spelt flour
- ¾ cup whole wheat flour
- 1 tsp baking powder
- ½ tsp salt
- 4 tbsp extra-virgin olive oil
- ¾ cup buttermilk
- 1 egg
Filling
- 1 cup buttermilk
- 1 cup coconut water
- ½ cup egg whites
- 2 eggs
- ¼ cup date paste
- 3 tbsp arrowroot flour
- 1 tsp cinnamon
- Freshly grated nutmeg to taste
- The seeds from one vanilla bean, or one tsp pure vanilla extract
- 8 large apples, I used an assortment including Gala, Red Delicious and Golden Delicious
- ½ cup raisins
- ½ cup pecans, coarsely chopped
Instructions
For the crust
- Whisk flour, baking powder and salt together in a large mixing bowl. Set aside;
- In a separate bowl, whisk oil, buttermilk and egg; pour this over reserved flour mixture. Stir lightly with your fingers until the ingredients come together to form a fairly smooth dough. If your dough is too soft, add extra flour until you reach the desired consistency. Your dough should be soft, slightly tacky, but not sticky.
- Transfer dough onto a piece of plastic wrap. Press down to form into a thick disc, wrap and refrigerate for at least 30 minutes.
For the filling
- Preheat oven to 375F.
- On floured surface, roll out dough to form a 12-13 inch disc. Fit into 9 inch spring form pan, letting excess hang over edge; Set aside.
- Cut the apples in half and remove their core with a melon baller. Slice the apples as thinly and uniformly as you can; the use of a mandolin is strongly recommended. Reserve the prettiest slices for the top layer (the equivalent of about 2 apples).
- Arrange your apple slices in layers, working your way up in a somewhat circular pattern. No need to be super fancy until you get to the very last layer, but still, you want to keep your layers as level as possible.
- When you get about halfway up, sprinkle half the raisins and half the pecans, and then resume piling slices of apples. Make sure to make the final layer super pretty and sprinkle the rest of the raisins and pecans; Fold excess dough back over the apples and set aside.
- In a large mixing bowl, delicately mix the date paste, arrowroot and eggs with a whisk until smooth and well combined. Whisk in egg whites, followed by buttermilk, coconut water, cinnamon, nutmeg and vanilla. Whisk until all the ingredients are fully incorporated then slowly pour that mixture right in the center of your cake. Don't pour too quickly: you want the mixture to get between all the apple slices while avoiding getting too much of it on top of your cake.
- Place in the oven immediately and bake for 40-45 minutes, until the crust turns nice and golden brown and the cake is set.
- Turn the oven off and crack the door open. Let the cake cool in the oven for a couple of hours, then chill completely in the refrigerator for at least 6 hours, preferably overnight before very delicately removing from pan.
Nutrition
If you’ve tried this recipe, please take a minute to rate the recipe and let me know how things went for you in the comments below. It’s always such a pleasure to hear from you!
You can also FOLLOW ME on PINTEREST, FACEBOOK, INSTAGRAM and TWITTER for more delicious, healthy recipes!




21 Comments on “Healthy Apple Pie – Rougemont Style [or wait… is it really a cake?]”
Looks yummy but I’m not going to attempt this one. How as Life of Pi? I really want to see that movie!
Life of Pi was amazing Joann! You HAVE to go see it. Visually stunning, extremely touching and moving, sublime acting… one of the best movies I’ve ever seen. I have to go see it again at least once if not twice while it’s still in movie theaters.
Pie, cake, whatever – it’s gorgeous and needs to be made, asap!
Thanks much Cara! Glad you like my “ugly duckling”! Just make sure you don’t forget to add the arrowroot flour! 😉
GORGEOUS…to quote George Clooney I would add..”What Else?”…It’s to be EXPECTED that you continuously turn out marvels such as this ..cake/pie…NO ONE CARES…It’s simply beautiful.
Loving the “height” you get on this with a springform pan…everything looks better when the crust is “shimmied” up on a springform pan..I do quiches for my family in them..and the response is ALWAYS way more in a “ooh..and..aah” vein with this technique..as opposed to a plain-ol’ tart pan.
Although basically paleo..I have been wondering about “trying” spelt flour as I finally DO miss a REAL crust from time to time (Angie from Angie’s recipes uses it quite a bit to wonderful effect)
Your rougemont-style offering looks health, satisfying and is not in any way frightening on a nutritious/caloric basis…It looks like the perfect “capper” to a winter meal. Thank you again Sonia for the inspiration!
Donna… I am speechless again. Thank you so much. You’re simply amazing! 🙂
Wow! The mother of all pies! You know, when I eat apple pie and get to the crust part of my slice I am always bummed that I barely have apple left to eat the crust, that would not be a problem with this one, for sure!
Ahah! You got that one right, Adri! 🙂
This looks delicious! You didn’t include arrowroot flour in the recipe though. How much should I be adding?
You have got to be kidding me! I could’ve sworn that I had written it down! Seriously… it’s like that arrowroot powder really doesn’t want to be in there. I’ll go fix that right away, but for the record, 3 tablespoons is what I had elected to use.
Thanks for pointing that out, Katie! 😀
I love the way you assembled this pie and all the layers of apple that come through. Your pictures are absolutely gorgeous! And, wait a minute, did I miss it?! What, no protein powder? LOL. Good for you for sneaking out to the movies with your kids…those are precious moments, especially around the holidays, but anytime really.
Ah, but Kelly, I might not have used it IN the recipe, but I think you missed the part where I said that I topped my pie with protein powder mixed in yogurt… 😀
Do you think I have a slight addiction problem, maybe? 😉
Ugly duckling?! No way! I think this looks awesome. And it’s so tall, which I love 🙂
Thank you Heidi! Glad you think so! 🙂
Wow this looks delicious! I gotta try this one for christmas!
And you had me laughing with the “pi got in the way of pie;)” haha!
Whether it is a pie or a cake, I’ll just skip the naming issues and call it divine.
I’ve had this recipe saved since you first posted it and only just made it last night and oh my goodness. best breakfast ever. i’m definitely making this regularly! I used tapioca starch instead of arrow root and whole wheat pastry flour in the crust (i had to add about 1/4 cup extra to make it not sticky). Brilliant recipe!
Your food looks incredible, however I’m more concerned about calories during my cut (for a photoshoot) and less concerned about being paleo… However, I’m glad you put the nutrition info. Can you tell me what the serving size is? 1/8th of a pie in 9inch pan? Or 1/6th of a pie? Or maybe you can give me the grams? That would be amazing for us calorie counters. Thank u
I do believe that the information you are looking for is all there, David. A serving is 1/12 of the entire 9″ pie, and weighs 270g. Unless I’m not understanding your question?
Hello! I would love to make this, but was wondering if I could sub a vegan alternative to the buttermilk (cashew milk mixed with apple cider vinegar)?
I really wouldn’t see why not, Hannah, but since I haven’t personally tested it, I can’t guarantee the results… Let me know how it turns out if you end up trying it!