
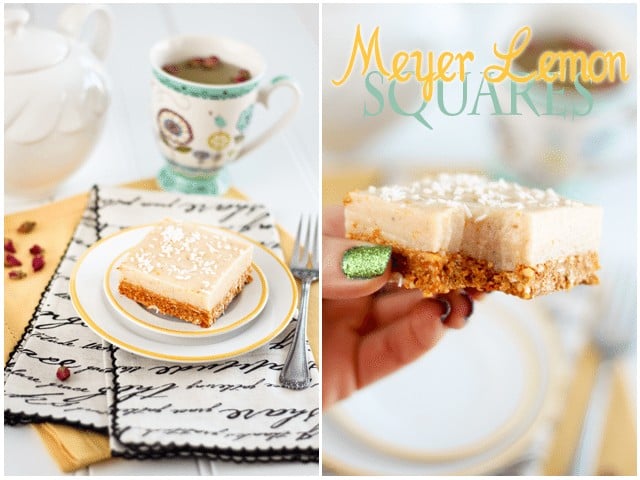
Meyer Lemon Squares or The story of a healthy dessert that almost never was…
It’s not what you think!
I have NOT given up on the Whole30 thing… don’t worry.
This is a recipe that I made BEFORE I went on my Lent Challenge.
Last one before I go type of thing… you know!
I had seen the original on Lauren’s Cravings Gone Clean not long before and just HAD to take them for a spin before I would temporarily give up on these kinds of things.
I think I should’ve made them a week earlier though… I only got to eat 3 of these babies before Lent got in the way and I had to reluctantly give the rest of ’em to my daughter. Mind you, I think that she was real happy to be inheriting these yummy little beauties.
For yummy, they truly were!
Although I was not really convinced at first. To be honest, while I was in the process of making them, I thought they would turn out to be a total flop and that there was no way they would ever make it onto this blog.
Nothing, but absolutely nothing, was going according to plan.
For starters, I was completely out of 2 ingredients that I fully intended on using, namely flaxseed and chia seeds. Darn. How did THAT happen? I wasn’t even started and already had to go back to the ole drawing board. Great!
I must’ve drawn all crooked because the crust, which I originally intended to be somewhat grainy and crumbly, like any good graham crust should be, ended up being super sticky and somewhat “batter-y”… Still, I poured it in the pan, spread it out, put it in the oven and and thought: “Meh… we’ll see…”
Then I got busy working on the filling.
Again, it came out way more liquidy than I expected; so much so that if I had poured it over the crust right away, no doubt it would have made its way under it and would have looked like a total mess. GAH!
It did, however, taste really great; it just needed to firm up some. So I placed it in the fridge and thought: “Meh… we’ll see…”
1 hour, 2 hours, 3 hours went by… the filling did get firmer, firm enough that it would actually stay OVER the crust, so I gave it a quick whisk to smooth it out and spread it evenly over the crust.
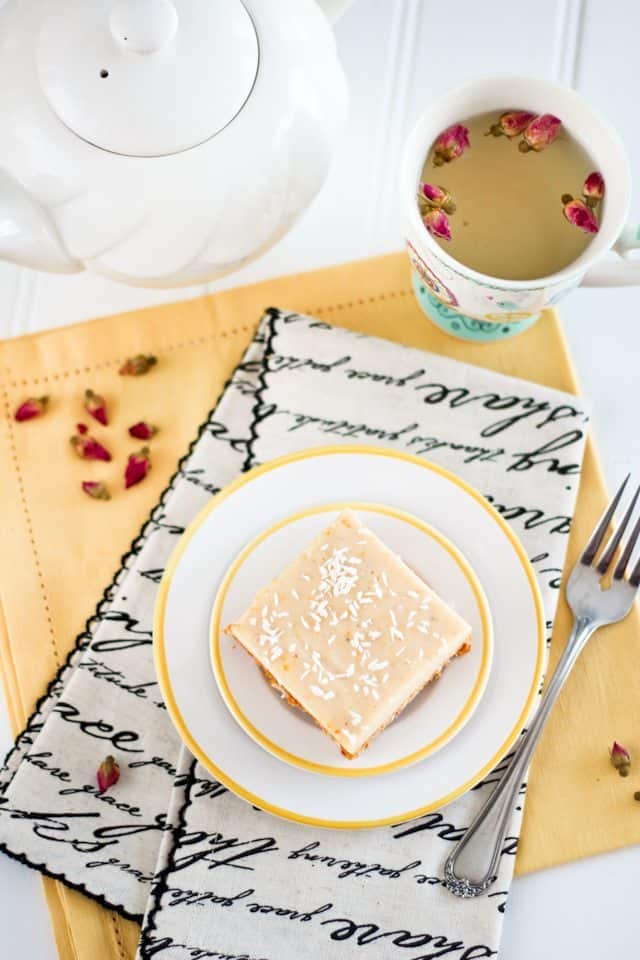
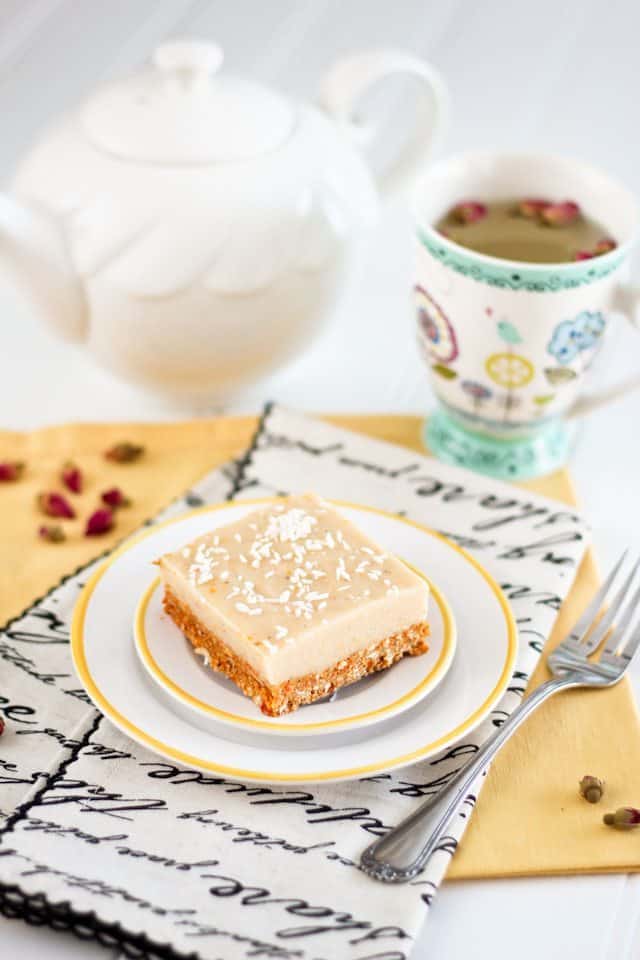
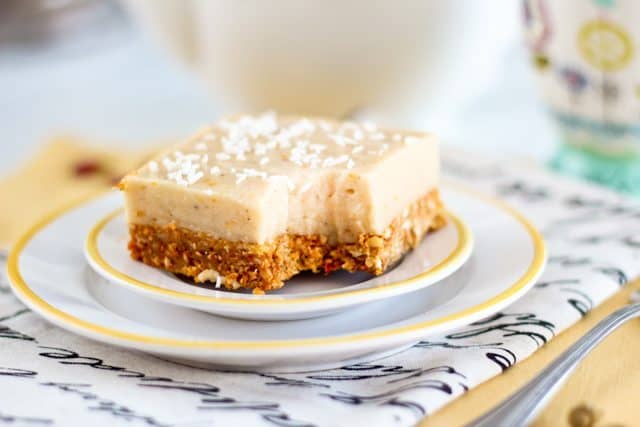
Hmpft. Wasn’t all that yummy looking, so I sprinkled a bit of shredded coconut on top to try and pretty it up, put it back in the fridge to set and again, thought: “Meh… we’ll see…”
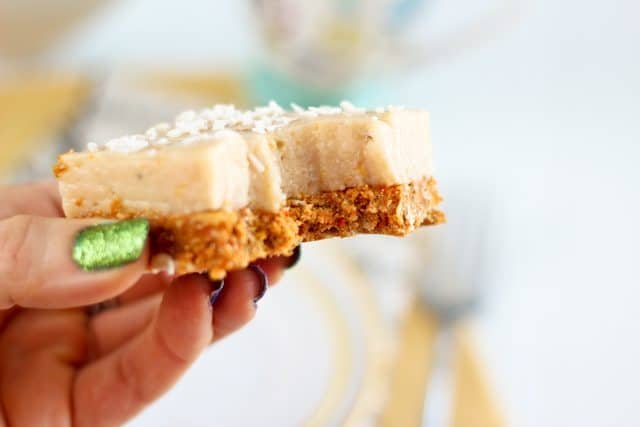
Night came and I got impatient! I couldn’t wait until the next morning’s planned photo shoot to get a taste of them, so I decided to trim the sides, to make them nice and perfectly square, you know…
I found the crust to be a tad too hard and the filling didn’t seem to want to adhere to the crust. Bummer!
Yet, I put them back in the fridge and thought: “Meh… we’ll see…”
The next morning, I finally cut them into squares, took a bite and tought:
WOWSERS!!!
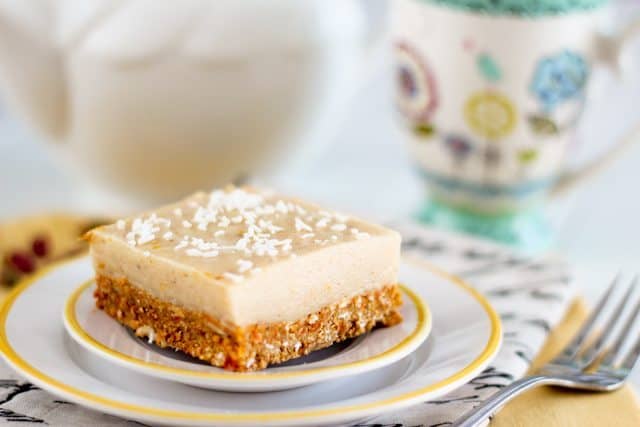
My eyes lit up! They were simply BRILLIANT!
It almost felt like I was eating lemon pie.
LEMON PIE!!! Oh, how I love that!

All that was missing was the meringue… that delicious creamy, light, warm and slightly crispy baked meringue.
And maybe a tad more lemon. I like my lemon pie to be real lemony.
Oh god. I almost cried.
The apparently jinxed little lemon squares turned out pretty darn good after all if you ask me. I’m so glad I persisted and never lost faith in them, cuz it really paid off in the end.
Now, I need to come up with a healthy lemon pie recipe, complete with meringue and all!

Healthy Meyer Lemon Squares
Ingredients
For the crust
Dry ingredients
- ½ cup dried goji berries
- ½ cup sliced almonds
- ½ cup old fashioned rolled oats
- ½ cup kamut flakes
- ½ cup spelt flour
- ½ cup wheat bran
- 1 scoop vanilla flavored whey protein powder
Wet ingredients
- ½ cup unsweetened applesauce
- ¼ cup egg whites
- ¼ cup date paste
For the filling
- 15 g 6 gelatin sheets (or 2 tbsp powdered gelatin)
- 1½ cups pure coconut water
- 2/3 cup freshly squeezed Meyer lemon juice, or regular lemons. I needed 4 lemons
- ½ cup buttermilk
- The zest of 4 Meyer lemons, or regular lemons
- 3 tbsp arrowroot flour
- ¼ cup coconut flour
- 4 scoops vanilla flavored whey protein powder
Instructions
For the crust
- Preheat oven to 375F.
- Spray a 9” square baking pan with cooking spray and line pan with parchment paper, leaving enough extra to extend over the sides.
- Combine dry ingredients in the bowl of your food processor and process until broken down to a coarse grainy texture. Add wet ingredients and process until well combined.
- Pour into prepared baking pan and spread uniformly all the way to the sides to form a crust. The mixture will be rather sticky and hard to spread; To make the process easier, use a rubber spatula dipped in water.
- Bake this crust for 12-15 minutes, or until nice and golden brown; remove from oven and set on wire rack to cool.
For the filling
- Soak the sheets of gelatin in a bowl of icy cold water for 5-10 minutes, until soft (if using powdered, use ½ cup of the coconut water to bloom your gelatin)
- Meanwhile, add lemon zest, coconut flour, arrowroot flour and protein powder to the bowl of your food processor and give this a quick spin to combine. Reserve.
- Bring coconut water and lemon juice to a simmer; immediately remove from heat.
- Lift gelatin sheets from cold water bath and gently wring to remove excess water; add to hot liquid and stir until completely dissolved (if using powdered, add bloomed gelatin along with blooming liquid and stir until dissolved).
- Add buttermilk to flour mixture and process until well combined.
- While motor is turning, pour in lemon juice and gelatin mixture and again, process until well incorporated.
- Transfer that mixture to a large bowl and place in the refrigerator to cool until almost completely set but still on the soft side, about 3 hours.
- Give the lemon mixture a quick stir with a whisk to smooth it out and pour over reserved crust; Delicately spread the mixture all the way to the sides of the pan.
- Sprinkle unsweetened shredded coconut overtop and put this back in the refrigerator to set completely, at least 8 hours but preferably overnight.
- Using the edges of the parchment paper, remove from pan and cut into 9 individual squares. (or more if you want smaller bars)
- These squares will keep in the refrigerator in an airtight container for up to a week.


Notes
If you’ve tried this recipe, please take a minute to rate the recipe and let me know how things went for you in the comments below. It’s always such a pleasure to hear from you!
You can also FOLLOW ME on PINTEREST, FACEBOOK, INSTAGRAM and TWITTER for more delicious, healthy recipes!


15 Comments on “Meyer Lemon Squares or The story of a healthy dessert that almost never was…”
Wow – I managed to get my hands on some Meyer lemons a couple of months ago (they’re pretty much impossible to find here in the UK) – I wish this recipe had been around when I had them in the kitchen! I might try these with normal lemons, though, as lemon squares are one of my favourite things. I would have thought a healthy version was impossible, so thanks for proving me wrong!
Haha! Pleasure is all mine Elly. I find Meyer Lemons work great with this recipe because they are not as tart as the regular ones, but I’m sure that regular lemons would give great results too! Do let me know how your squares turn out if you decide to give them a try! 🙂
This is wonderfull elly…
Nice pic and recipe!
Are those rose petals floating in your tea? How wonderful are you Sonia. The list of ingredients here is truly exceptional (I think I could live off the crust alone ;o) and I absolutely love lemon squares…mouthwatering photography.
Thank you Kelly, you’re just the sweetest thing alive, I tell you! I have to admit that I had the hardest time not cutting out a chunk of that crust as it lay there cooling. It looks THAT good after it’s baked. Sadly, I can’t say the same about before, though… 😉
Glad to know that you’re still going strong on the Whole 30 and that you were able to resist eating the last of these – that must have been tough! They look and sound amazing! I love all things lemon so these are right up my alley! Also – that nail polish is super cute! 🙂
Oh, but big time, Mellissa. I am loving this Whole30 thing so far and I am not about to give up! I haven’t even been having SWYPO and don’t intend to do it for the 3 weeks that are left to the official Whole30. I’ll see about the rest of Lent, I might very well give it up for that time also. I love being forced to think of new ways to eat. 🙂
HAHA. Glad you like the nail polish! It was a “Mardi Gras Special” theme. I actually had green, purple and gold on. I like to do themed nail polish! I know, call me weird… 😉
Beautiful, enticing photos and I love the little flowers in the drink.
Thank you Suzanne, that is very nice of you to say! 🙂
you’re a food genius and should have a tv show. that is all.
LOL! Thank you, Violet. I sure appreciate your super kind words! You totally rock! 😀
It’s commenting day and I had to start off with these! They look so good. Lemon goodies are a favorite of mine and I really have no idea how you managed to make them healthy. Oh and the pictures! Lovely, lovely pictures. 🙂
I’m happy you didn’t throw them away but gave them a chance! But how strange that they needed so long.
Oh and I do that thing with perfect edges. Of course this results in half of the brownies being cut away and into my stomach but there’s usually enough to photograph. 😉
Thank you, thank you Erin! And seriously… perfect edges are a must, you know. Sometimes, it requires that you trim quite a lot off to get them “just” right. But hey, that’s just the way it is. Not much we can do about it. We have to sacrifice ourselves for the sake of getting perfect pictures. Sad, I know! 😉